About
Creating Shaped Cards Use Dies
Create fun and exciting shaped cards by using your dies and die cut machine. You can use any shape or size of die that you would like to create a shaped card. Have fun and try some shaped dies such as a bird or a dress or stick to the basic shapes like rectangles and even circles!
The patterned paper for this card was the Couture paper line by Graphic 45.
-
 Karen D. favorited Not So Ordinary Card Shapes
20 Jun 02:30
Karen D. favorited Not So Ordinary Card Shapes
20 Jun 02:30
-
 PrincessUnie favorited Not So Ordinary Card Shapes
19 Apr 02:34
PrincessUnie favorited Not So Ordinary Card Shapes
19 Apr 02:34
-
 sandy.limbo favorited Not So Ordinary Card Shapes
15 Mar 18:39
sandy.limbo favorited Not So Ordinary Card Shapes
15 Mar 18:39
-
 Peg R. published her project Not So Ordinary Card Shapes
16 Feb 22:03
Peg R. published her project Not So Ordinary Card Shapes
16 Feb 22:03
You Will Need
-
 Step 1
Begin by lining up the die you would like to use with the pattern for the front of your card. Once you have it lined up run it through your die cut machine.
The die you choose for this will also be used to create the card base.
-
 Step 2
Create the card base making sure that the die will fit on it from the top to bottom. The fold of the card needs to be at the top. This card is a 5" x 7" card and the card stock was cut at 10" x 7" and then fold in half. Run the folded card stock through your die cut machine making sure the die sits a little above the fold of the card as shown in the picture. This will keep part of the fold from being cut and guaranteeing that your card stays together.
-
 Step 3
Measure a piece of ribbon that fits around the patterned paper piece you made in step one. Make sure that is it a little longer than the width of the piece. Wrap the ends around to the back and glue to adhere it.
Adhere this piece to the card base using a tape runner.
-
 Step 4
Choose another set of your favorite dies and cut a piece from card stock. Also, cut a piece from another media such as vellum. For this card, I cut an old pattern for the piece.
Adhere the special media (the pattern piece here) onto the piece of card stock. For the tissue paper that patterns are made from, I found it best to use a vellum adhesive to attach it so it does not tear.
-
Step 5
Cut a piece of card stock from the next smallest size of die that you used in the previous step and stamp the sentiment onto it.
Attach it onto the larger piece and then over the top of the ribbon using a tape runner.
-
 Step 6
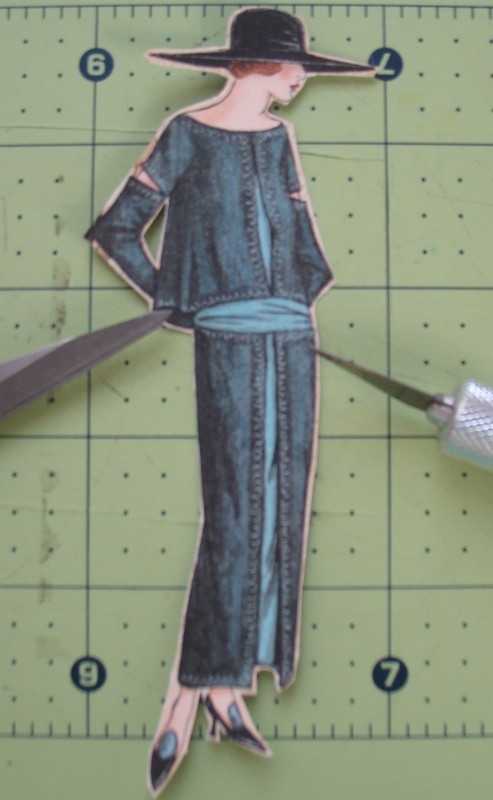
Choose an image from a piece of patterned paper and fussy cut around it. I like to use a pair of scissors for the larger areas and then go back in and use a craft knife and self healing mat for the small areas.
HINT: If you don't want to use patterned paper, stamp and image and color it and then cut it out or choose an embellishment such as a chipboard piece.
Place a 3-d adhesive such as pop dots on the back of the piece and attach it to the front of the card.