


About
a little something I made for my daughter... its easy
I made this project for my little girl. It became annoying to unknott her chains from her keeping them in a little box... so I made this... its easy.. and you can decorate it however you like. Just showing how I did mine. :)
The only thing I had to buy was the 3m hooks and the mod podge... I had everything else in my house. Hope you like it :)
Downloads
- 1.jpg 111 KB [ Download ]
-
 ElmoGeval favorited Necklace Holder
29 Jul 17:45
ElmoGeval favorited Necklace Holder
29 Jul 17:45
You Will Need
-
 Step 1
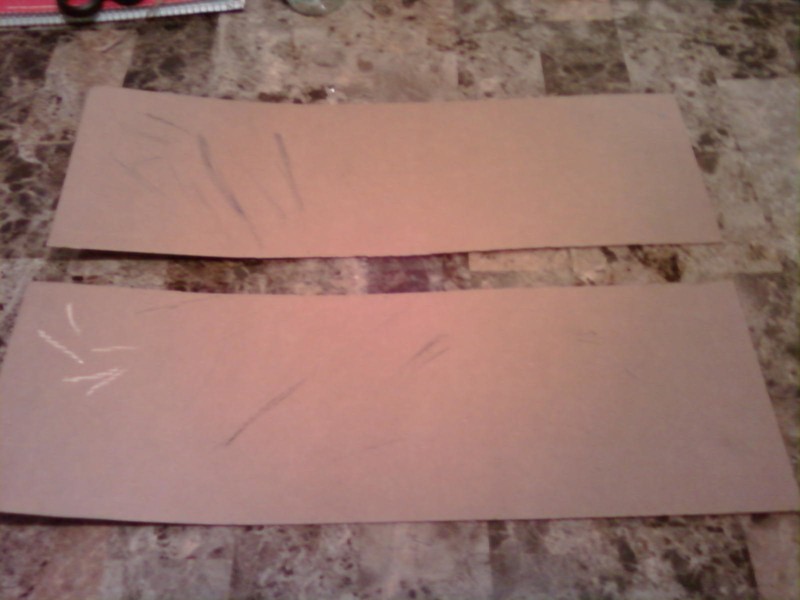
I used a carboard... cut it in half .. make sure it is even of course.
-
 Step 2
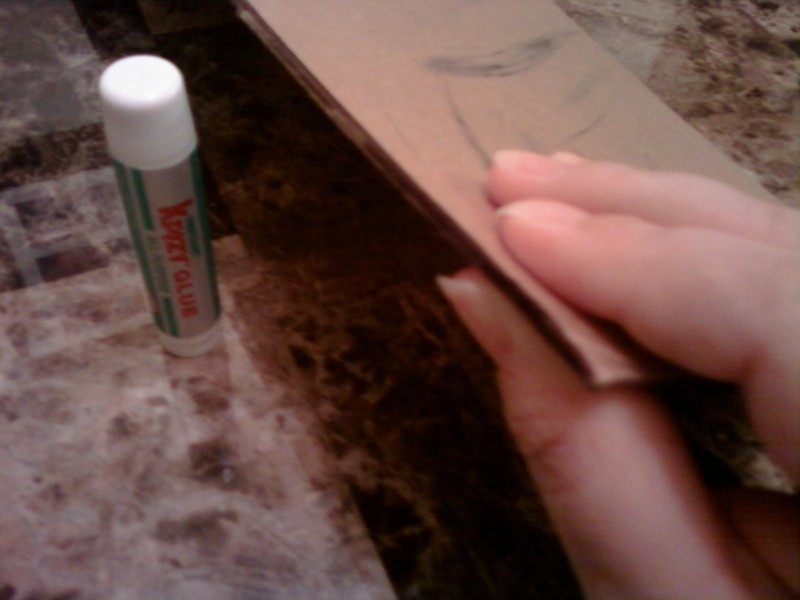
Hold the cardboard together at the edges and superglue the edges all around the cardboard.. hold for a few seconds to make sure they hold together. It will harden the cardboard and it dries pretty fast :)
-
 Step 3
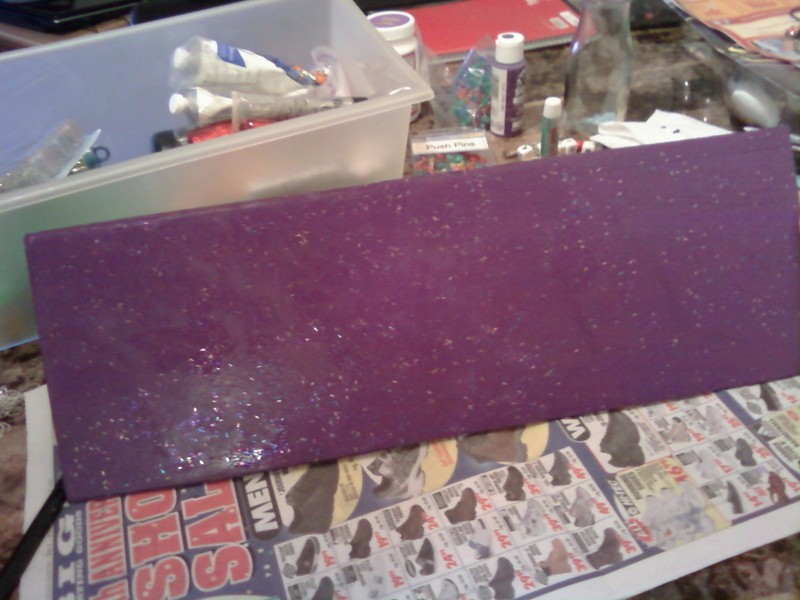
I used whatever paint I had on hand lol
wich was purple acrylic paint. I used a sponge brush... didnt leave crazy streaks... I used about 1 to 3 coats... and the paint dried pretty quick. -
 Step 4
this is what it looked like on both sides..
-
 Step 5
I know the pic is kinda hard to see but to give it I guess a little texture I used a brush and painted the cardboard with glitter glue.
-
 Step 6
once the glitter dried wich again did not take long I used my daughters paperoni lol for the borders. I used mod podge to glue it on and then layerd it over the paperoni a few times
-
 Step 7
I got some clear 3m hooks and yea superglued them on... I love superglue lol
and yet again dont take long to dry.
Then I used a ribbon and hot glued the ends to the back placed a thumbtack in the wall and my little project was done. :) -
 Step 8
this is what it looks like done :)


 1
Watercolor Art »
Watercolor Paints Made From Make Up
1
Watercolor Art »
Watercolor Paints Made From Make Up
