About
Learn to make a simple memory wire bracelet
I’m always trying to learn new jewelry making skills. I have been making and selling jewelry for over five years. My latest obsession is working with wire and beads. No matter how I try to downsize my bead collection, it just keeps growing.
I have a simple tutorial today that will help you use up all the extra beads in your collection that you love, but aren’t quite sure what to do with.
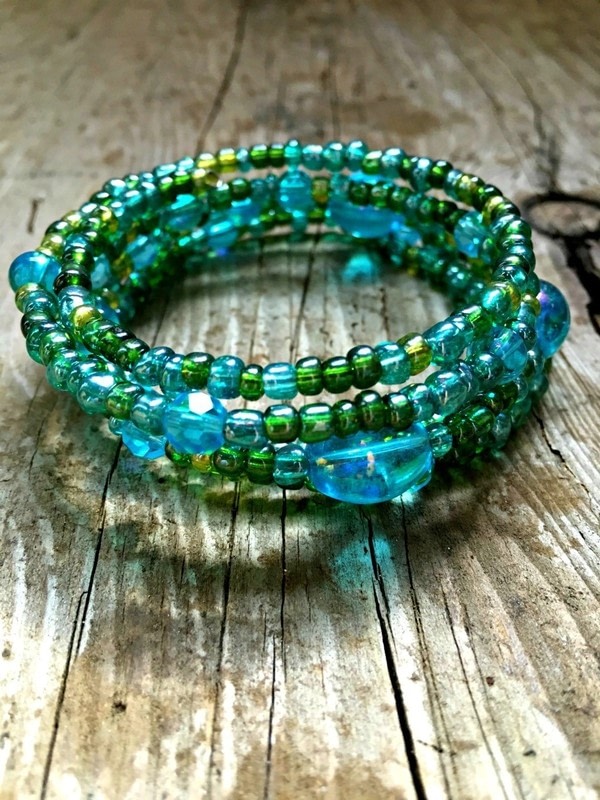
Memory wire bracelets are quite simple to make and look so lovely. The hardest part is choosing what beads to use.
-
 Adrienne the Crafty Little Gnome added her project Memory Wire Bracelet to Tropical Style
17 Oct 18:19
Adrienne the Crafty Little Gnome added her project Memory Wire Bracelet to Tropical Style
17 Oct 18:19
-
 Key West Witch favorited Memory Wire Bracelet
11 Sep 10:30
Key West Witch favorited Memory Wire Bracelet
11 Sep 10:30
-
 Rachel Y. favorited Memory Wire Bracelet
08 May 19:40
Rachel Y. favorited Memory Wire Bracelet
08 May 19:40
-
 Diane H. favorited Memory Wire Bracelet
26 Feb 13:55
Diane H. favorited Memory Wire Bracelet
26 Feb 13:55
-
 RareJewel favorited Memory Wire Bracelet
28 Jan 09:58
RareJewel favorited Memory Wire Bracelet
28 Jan 09:58
-
 julietierney14 favorited Memory Wire Bracelet
19 Nov 06:36
julietierney14 favorited Memory Wire Bracelet
19 Nov 06:36
-
 Crafterella featured Memory Wire Bracelet
16 Nov 23:00
Crafterella featured Memory Wire Bracelet
16 Nov 23:00
-
julietierney14 added Memory Wire Bracelet to Jewelry Making
15 Nov 17:13
-
joyce p. added Memory Wire Bracelet to Jewelry
14 Nov 00:10
-
 Diane S. added Memory Wire Bracelet to Jewelry
07 Nov 15:09
Diane S. added Memory Wire Bracelet to Jewelry
07 Nov 15:09
You Will Need
-
 Step 1
You can buy memory wire in a large spool or you can purchase it cut and ready to go at the right size. If you are cutting your own use strong metal clippers as memory wire is a lot stronger than other jewelry making wire.
-
 Step 2
Start by making a loop at the end of the memory wire with your pliers. Bend it at a 90 degree angle and then turn the wire into a circle.
-
 Step 3
Now all you have to do is string on your beads. I like to start with some seed beads and then add some larger beads in a pattern. When I get to the middle of the bracelet I add The biggest beads and then I continue with the opposite, and go smaller until I get to the end of the wire. Then I secure the end the same way I did at the beginning.
-
 Step 4
Memory wire is very strong and can be difficult to cut and bend so you may have to use some extra force to secure the ends with a loop.
-
 Step 5
Slip it on your wrist and you are ready to go!