About
Perfect for anyone with insatiable wanderlust.
For most of last term, I was lugging my university books around in a shoulder bag that just didn't suit academia - it was cute, but definitely not built to handle the battering of books which it received. Over my brief vacation at home, I decided that it was a better idea to invest in a backpack - but instead of finding one I liked only to meet someone else with one identical, I opted, as usual, for a DIY.
Tags
-
 Kendell V. favorited Map Backpack
25 Jul 01:48
Kendell V. favorited Map Backpack
25 Jul 01:48
-
 Pimke added Map Backpack to Upcycling
03 Mar 13:08
Pimke added Map Backpack to Upcycling
03 Mar 13:08
-
 MackAttack H. favorited Map Backpack
29 Dec 03:17
MackAttack H. favorited Map Backpack
29 Dec 03:17
-
 Jennifer P. favorited Map Backpack
12 Oct 21:29
Jennifer P. favorited Map Backpack
12 Oct 21:29
-
 ben.jake.1232 added Map Backpack to Halloween
05 Jul 22:26
ben.jake.1232 added Map Backpack to Halloween
05 Jul 22:26
-
 Dani favorited Map Backpack
25 Apr 21:23
Dani favorited Map Backpack
25 Apr 21:23
-
 Bridge S. favorited Map Backpack
11 Jan 22:34
Bridge S. favorited Map Backpack
11 Jan 22:34
-
Elizabeth T. added Map Backpack to Random Ideas
08 Jan 22:05
-
 Tori K. favorited Map Backpack
08 Dec 06:02
Tori K. favorited Map Backpack
08 Dec 06:02
-
 TheSophisaurus added Map Backpack to To-Do
22 Nov 14:05
TheSophisaurus added Map Backpack to To-Do
22 Nov 14:05
You Will Need
-
 Step 1
Make sure that your bag has a flat area on which to place your map. I had to remove a bunch of plastic buckles and straps from mine to achieve this, so don’t let that put you off!
-
 Step 2
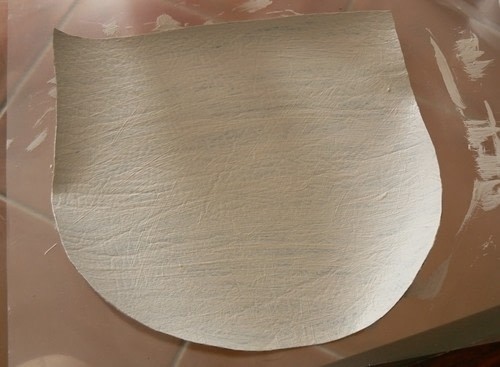
Cut out the size and shape of the area on which you want your map from the leather or faux leather (mine was in two sections, so I had two pieces of faux leather, which I painted with a base paint of acrylic paint first, though this isn’t completely necessary).
-
Step 3
Print out your map image. (I just did this on normal printer paper at the print shop down the road!)
-
Step 4
Modge-Podge your map onto the leather or faux leather, ensuring that it is completely stuck down and secured.
-
Step 5
Cover the map in another layer of Mod-Podge and wait for it to dry completely.
-
 Step 6
Sew the leather or faux leather onto the backpack, covering the appropriate section.


Comments