

About
Lil Blue Tweet
I found inspiration to create this cute bird in the Lily Sugar 'n Cream Chicken Kitchen booklet. I purchased my copy at a Michaels Arts & Crafts Store.
Abbreviations used:
sc = single crochet
sl st = slip stitch
Ch = chain
2 sc tog = 2 single crochet together (single crochet decrease)
Tags
-
 AndiSam favorited Little Blue Bird
24 Aug 22:56
AndiSam favorited Little Blue Bird
24 Aug 22:56
-
 Belle favorited Little Blue Bird
25 Jul 23:30
Belle favorited Little Blue Bird
25 Jul 23:30
-
 Step 1
You will need to use a crochet hook H (5mm)
The Body:
Chain 21st Round: Work 8 single crochet in the second chain from hook. Join with a slip stitch to the first single crochet.
2nd Round: Chain 1, Word 2 single crochet in each single crochet to the end. Join with a slip stitch to the first single crochet. 16 sc
Rounds 3 to 10: Work even, 1 sc in each sc. 16 sc
Join with a sl st to the first sc and fasten off. Hide the tail on the inside or wrong side.
-
 Step 2
You will make two wings:
Ch 2
Row 1: 1 sc in second ch from hook.
1scRow 2: Ch 1, 2 sc in sc. 2 sc
Row 3: Ch 1, 1 sc in first sc, 2 sc in next sc. 3sc
Row 4: Ch 1, 2 sc in first sc, 2 sc
4 scRow 5: Ch 1, 1 sc in each sc. 4 sc
Row 6: Ch 1, 2 sc tog, 2 sc tog.
2 scRow 7: Ch 1, 2 sc tog, fasten off
1 sc -
 Step 3
Bird Legs: I recommend using a smaller hook than the H such as the E (3.5mm)
Ch 8
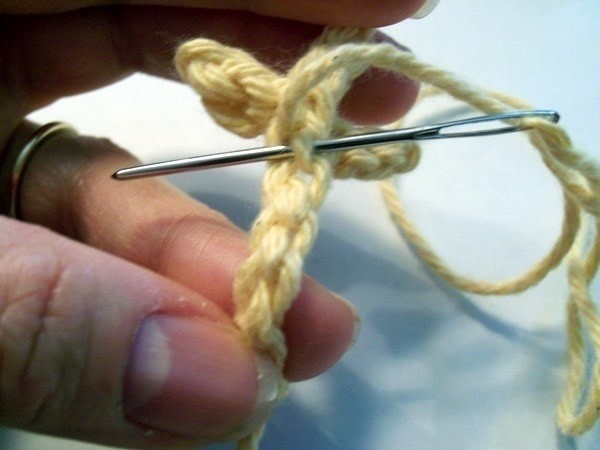
Row 1: 1 sl st in second ch from hook. 1 sl st in the next 2 chains. *Ch 3. 1 sl st in second ch from hook. 1 sl st in the next 2 chains. Anchor this last sl st with another sl st. Repeat from * once more. Fasten off.
-
 Step 4
Detail of second toe made by slipping stitches.
-
 Step 5
Detail of third toe. This shows the three chains before the slip stitches are made.
-
 Step 6
Last toe made by slipping stitches.
-
 Step 7
Carry the yarn to the top by sewing along the back of the chain.
-
 Step 8
The yarn is now at the top. You will use this yarn to sew leg to the body.
-
 Step 9
Sew the legs to the body using 3 to 4 stitches. Weave any left over tails on the wrong side.
-
 Step 10
The Beak:
Chain 6 - 1 sc in second ch from hook, 3 sc, 3 sc in last ch. Continue working on the opposite side of the ch, 4 sc, join with a sl st to first sc. Fasten off. Leave enough yarn to sew beak to body.
-
 Step 11
Carry the yarn left on the wrong side to the middle.
-
 Step 12
Fold the beak in half and sew to the body.
-
 Step 13
Using 2 strands of the black embroidery or a thin black yarn make french knots for the eyes.
-
 Step 14
Sew the wings along the side, front and back.
-
 Step 15
Hide any tails left.
-
 Step 16
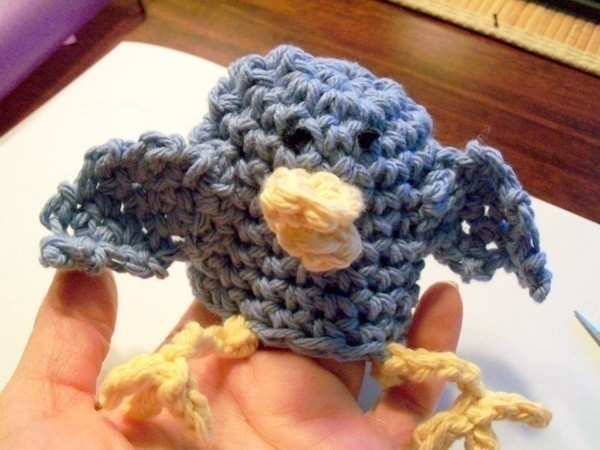
Your little bird is finished. He can be used as a finger puppet, egg cozy or simply as a decoration. He sits well on an inverted votive holder. I plan to give these to my grandchildren in their Easter baskets.
Have fun making many more birdies.