

About
Use appliqué with your embroidery
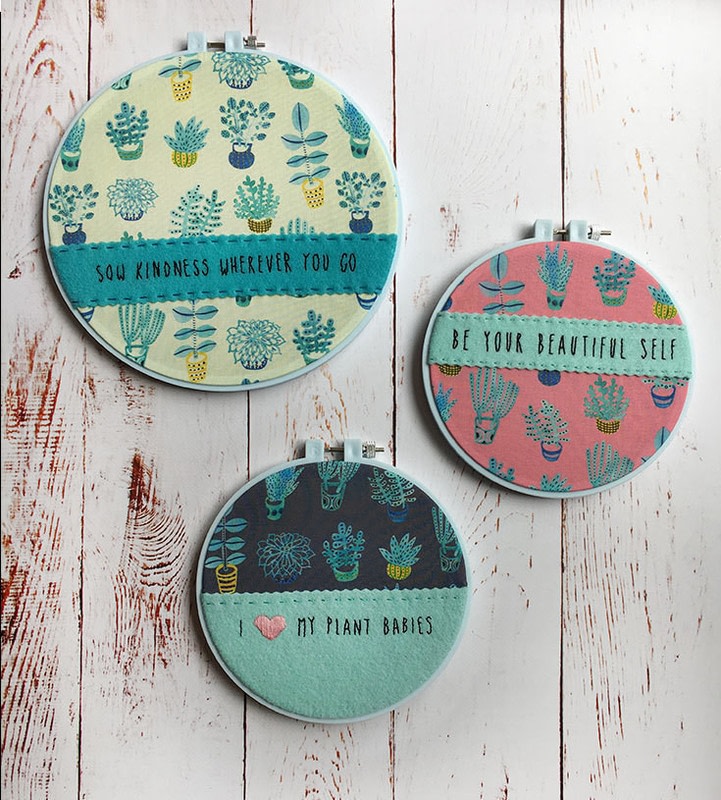
Appliqué work is when fabrics are layered with embroidery stitches in a decorative way. The projects here are meant to introduce you to a basic appliqué technique and demonstrate how you can create some simple embroidery hoop art for fun or inspiration.
Downloads
- 2018-08-02-181507-BethColletti_SucculentInspiration_Patterns.pdf 1.34 MB [ Download ]
-
 Beth C. published her project Inspirational Appliquéd Embroidery Hoop Art
03 Sep 08:41
Beth C. published her project Inspirational Appliquéd Embroidery Hoop Art
03 Sep 08:41
You Will Need
-
 Step 1
Download the inspirational embroidery pattern above.
-
 Step 2
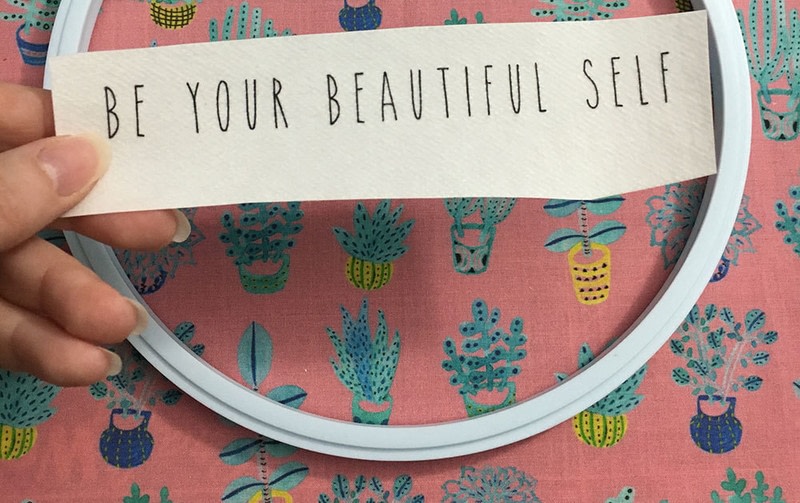
Print out your chosen phrase and print it on Stick-N-Washaway (or a similar product which will dissolve in water after stitching). Once you have your phrase printed and cut out, you’ll have a sense of how much fabric you need to cut for the 6” or 8” hoop.
-
 Step 3
Cut enough fabric so that it will hang over the hoop by a good 1 to 1.5 inches all around. Using a fabric scissors, cut a piece of felt big enough for your printed phrase to fit on. I made mine about 2” deep and as wide as my background fabric.
-
 Step 4
HeatnBond® Lite is a sewable, permanent iron-on adhesive that helps affix your two pieces of fabric in place prior to sewing. Use your scissors to cut a piece of HeatnBond® Lite slightly smaller than your felt.
-
 Step 5
Follow the instructions to iron one side of the HeatnBond® Lite to the felt. Let it cool completely and test to make sure it’s properly bonded before moving on to the next step.
-
 Step 6
Using your cutting mat, ruler and scalloped rotary blade, put the felt with the HeatnBond® Lite facing up (paper backing should still be attached) and trim off the excess felt so that the HeatnBond® Lite comes right to the decorative edge. I trimmed my felt to be about 1.5 inches deep at this point.
-
 Step 7
Peel off the paper backing from the HeatnBond® Lite. A thin layer of adhesive should remain on the felt. Flip the felt over so the adhesive is facing down on the background fabric and follow the instructions to iron it in place. Once the two fabrics have cooled, check them to make sure the adhesive has bonded.
-
 Step 8
The HeatnBond® Lite should provide enough of a bond to stabilize your two fabrics before you hand stitch them together. You’ll be using a running stitch to secure the felt edges to the background fabric. Using the ruler and a water erasable pen, draw a straight line about 1/8 inch away from each decorative edge of the felt on both the top and bottom.
-
 Step 9
Next stretch your fabrics in an embroidery hoop and put your printed phrase on the felt where you want it.
-
 Step 10
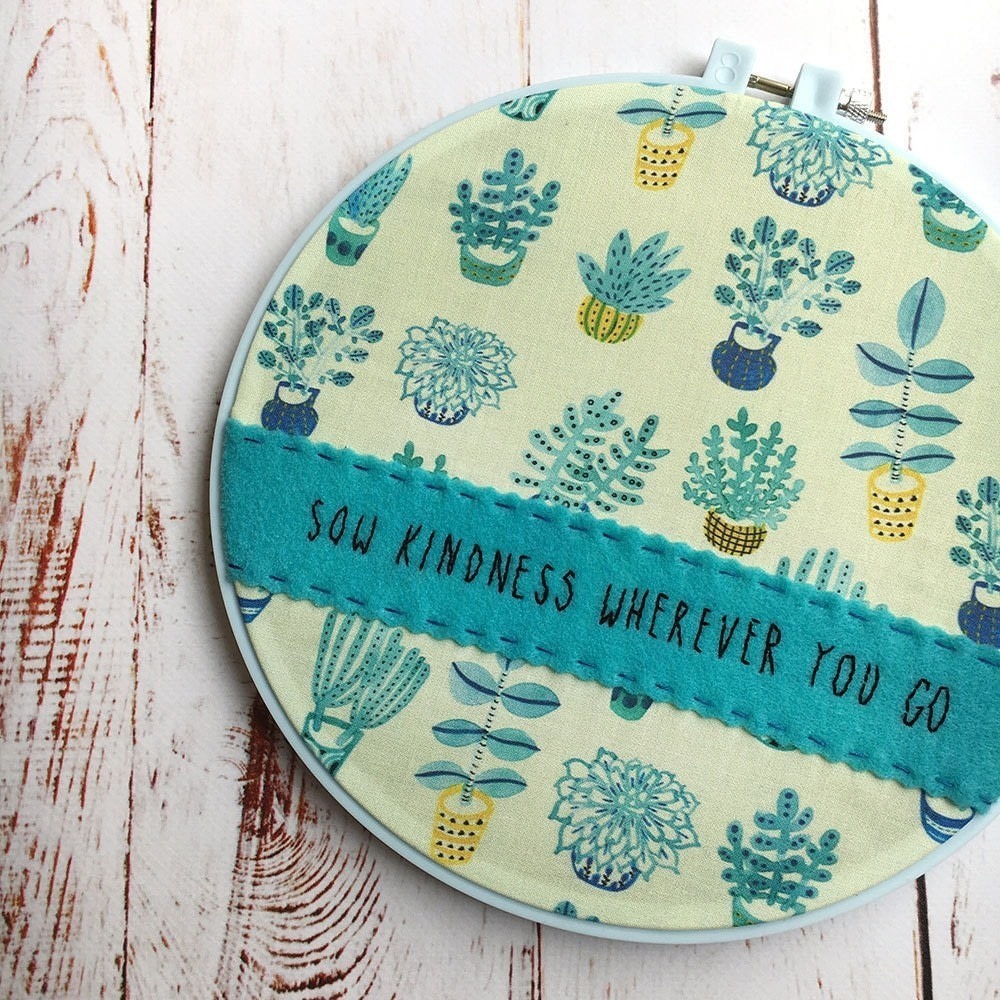
Choose embroidery floss and stitch running stitches along the lines you drew on the felt. Stitch the phrase according to the instructions in the downloadable pattern.
-
 Step 11
When you are finished stitching, rinse out the marks from the erasable fabric pen and the printable Stick-N-Washaway. Lay the fabric flat, allowing it to dry completely and iron if needed. Finally put it back in its embroidery hoop for display.