

About
A messy but fun way to decorate your funiture
Be warned this can be a messy sticky project that requires patience so try not to get too stressed about keeping things neat and ordered until everything is dry. You can do little sections each day if you like and at the end coat the whole thing in varnish. Either way it's a lovely personalized way of decorating just about anything, not just furniture!
Tags
-
 Key West Witch favorited How To Decoupage
27 Jun 11:49
Key West Witch favorited How To Decoupage
27 Jun 11:49
-
 Joanna C. added How To Decoupage to Furniture
16 Mar 01:28
Joanna C. added How To Decoupage to Furniture
16 Mar 01:28
-
Sarah M. added How To Decoupage to Furniture
11 Feb 00:36
-
 clarisse.cramer favorited How To Decoupage
10 Sep 21:49
clarisse.cramer favorited How To Decoupage
10 Sep 21:49
-
 BlackCherry favorited How To Decoupage
27 Aug 21:06
BlackCherry favorited How To Decoupage
27 Aug 21:06
-
 Step 1
Decide on what piece of furniture you want to decoupage. Clear the area, make sure the surface if clean and you have plenty of space to be creative and messy.
-
 Step 2
I live in the UK where B&Q is a famous decorating & home improvement store. I brought "Decorators PVA" glue and a "Satin Clear Wood Varnish" I
chose "satin" because I was told it's not so glossy. It just depends on taste but make sure whatever varnish you use is "CLEAR" -
 Step 3
I had lot of little panels to work on so I folded the paper to fit the space I was working on. It is a good idea to have a theme if paper design/pattern is busy. I used pages from children's books, 3 different books in total. Old destroyed books are ideal for decoupage as you have a lot of paper to work with and you are recycling so it's much cheaper than buying fancy wrapping paper or special wallpaper/decoupage paper.
-
 Step 4
Then I would either cut or tear the paper.
-
 Step 5
I have found tearing the paper creates a more natural rustic look, as shown here. When working with bends or small panels you want to try to keep your paper parallel to each other as if working with wallpaper. You wouldn't turn a sheet of wallpaper 60° just fit.
-
 Step 6
You want to be working with your Glue first! Pour it into a small cup to minimize spillage accidents and use a big paint brush and give each paper a healthy amount of glue all over. You can't be a cheapskate with the glue or it will your handy work wont last.
-
 Step 7
Once you have glued down all your paper to the surfaces on your furniture allow the glue to dry for about an hour or two then you can add your clear wood varnish.
-
 Step 8
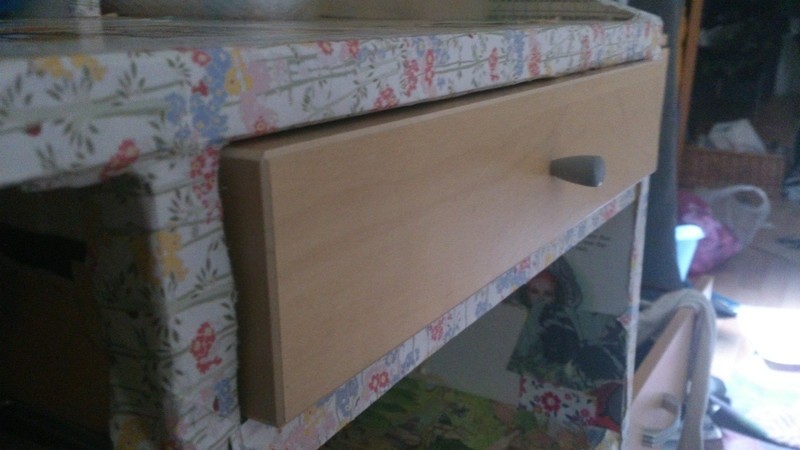
As shown you can see the contrast between paper before and after the wood varnish has been applied. The wood varnish protects your paper from absorbing moisture and erosion. I recommend doing two coats to make sure extra sure you didn't miss a bit.
-
 Step 9
I wanted to keep some of my panels free from decoupage so I would recommend keeping some napkins handy for wiping away an excess glue/varnish.
-
 Step 10
Once I had completed the work on the big panels I got to work on the tiny panels, sort of like the skirting board. I would recommend using the same paper throughout as a motif as it looks more consistent. And this is really effective as the small details making your overall design stand out. Don't forget to add your varnish!
-
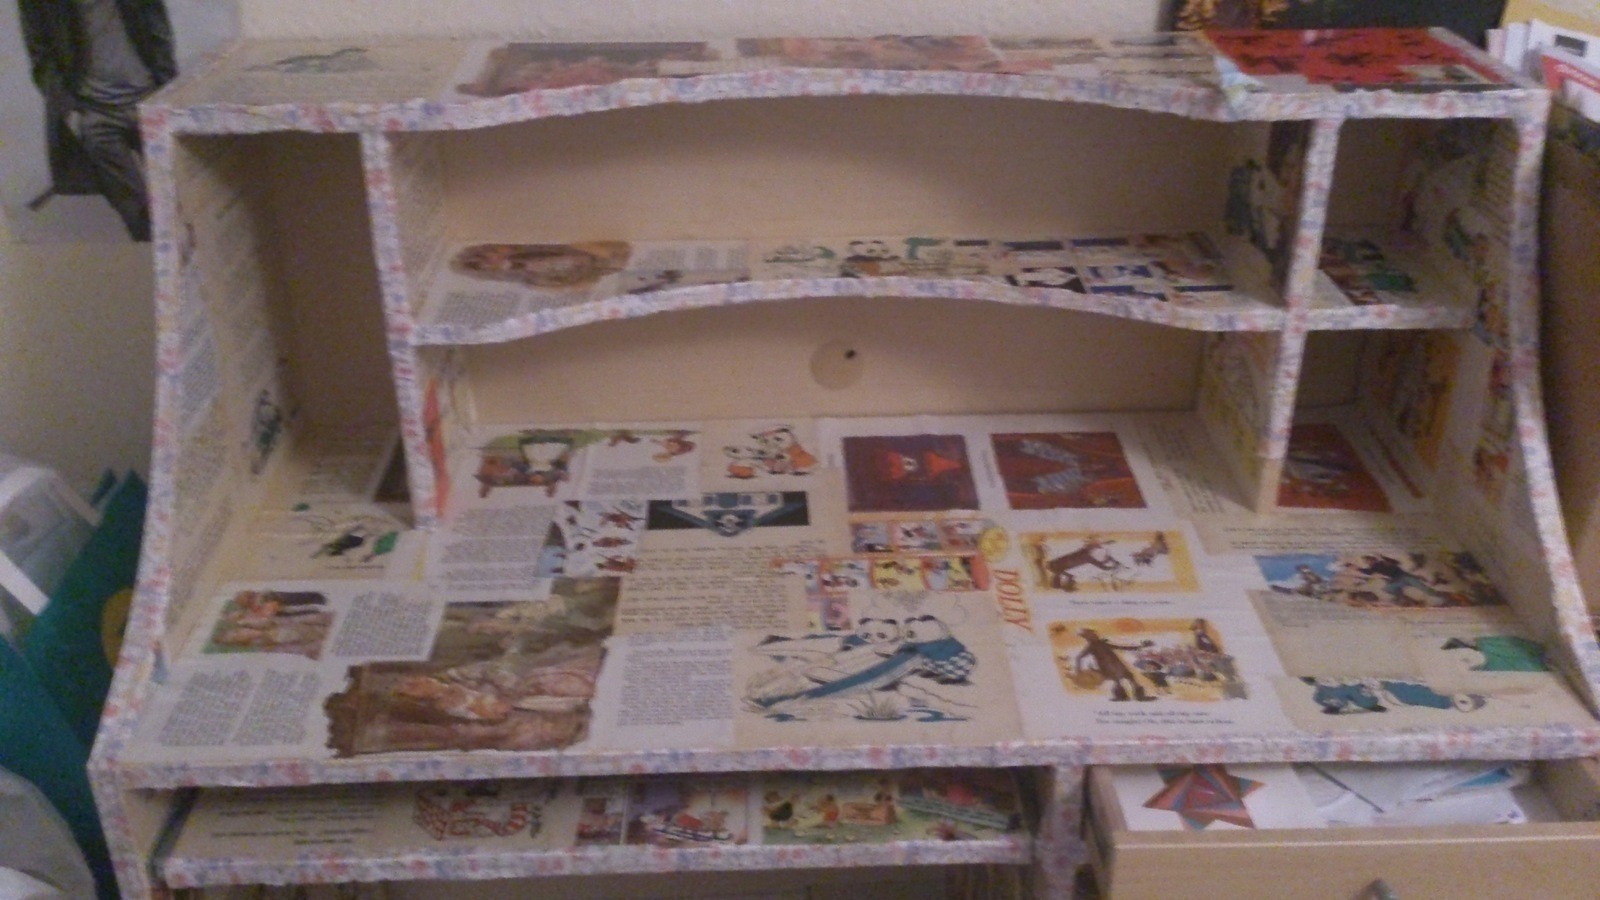
 Step 11
It's a long process but this is what the finished result looks like. It's difficult to show a great picture from afar as my camera on my phone is funny with lighting at night. But I promise I'll do some smaller decoupage projects showing off how good the gloss looks when reflecting natural sunlight.