


About
How I painted a world map on my coffee table
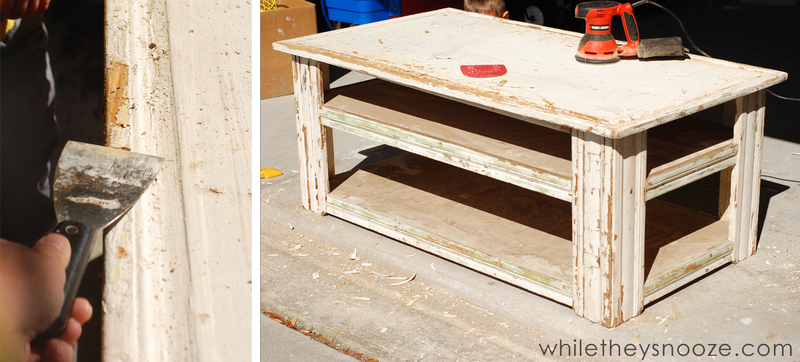
I found this coffee table at an antique/flea market for $40 (it is not antique... but very sturdy... witch is important when you know your children will be diving off of it onto the couch). It also has storage and is large... exactly what I was looking for. My husband was WAY less than trilled when I brought it home. It was dirty, peeling, chipping, and covered in 20 coats of old paint. I don't blame him, but I had a vision.
-
 Maddi B. favorited Diy Painted Map Table
08 Mar 03:28
Maddi B. favorited Diy Painted Map Table
08 Mar 03:28
-
 chelsea g. favorited Diy Painted Map Table
24 Aug 07:40
chelsea g. favorited Diy Painted Map Table
24 Aug 07:40
-
Taylor E. favorited Diy Painted Map Table
10 Jul 00:27
-
 Pimke added Diy Painted Map Table to Upcycling
03 Mar 13:33
Pimke added Diy Painted Map Table to Upcycling
03 Mar 13:33
-
Eatacatify .. favorited Diy Painted Map Table
20 Jan 14:34
-
 xcreepylicious favorited Diy Painted Map Table
21 Nov 06:00
xcreepylicious favorited Diy Painted Map Table
21 Nov 06:00
-
 Siana favorited Diy Painted Map Table
11 Jun 07:54
Siana favorited Diy Painted Map Table
11 Jun 07:54
-
 Sara S. favorited Diy Painted Map Table
20 Sep 15:01
Sara S. favorited Diy Painted Map Table
20 Sep 15:01
-
 Corvii favorited Diy Painted Map Table
29 May 01:07
Corvii favorited Diy Painted Map Table
29 May 01:07
-
 Chelsea.Grin favorited Diy Painted Map Table
26 May 01:54
Chelsea.Grin favorited Diy Painted Map Table
26 May 01:54
You Will Need
-
 Step 1
Sand and scrape your furniture piece until you have a mostly smooth, even surface. I had to dig chunks of old paint out of the molding on the top. Wipe off the dust.
-
 Step 2
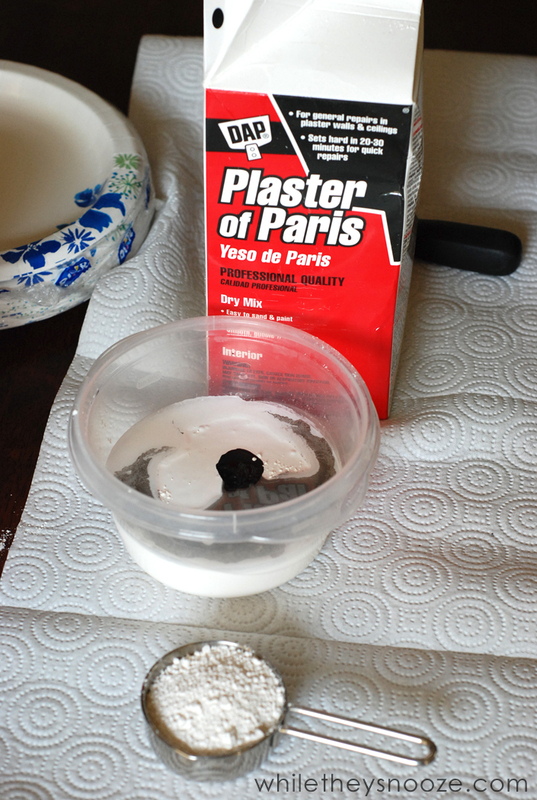
Mix your chalk paint. Mix 2 cups of your base color with 1/3 cup of plaster and a tiny bit of water. I added some black to my white base color. So my table is actually really light gray. This part is forgiving... you can eyeball it.
-
 Step 3
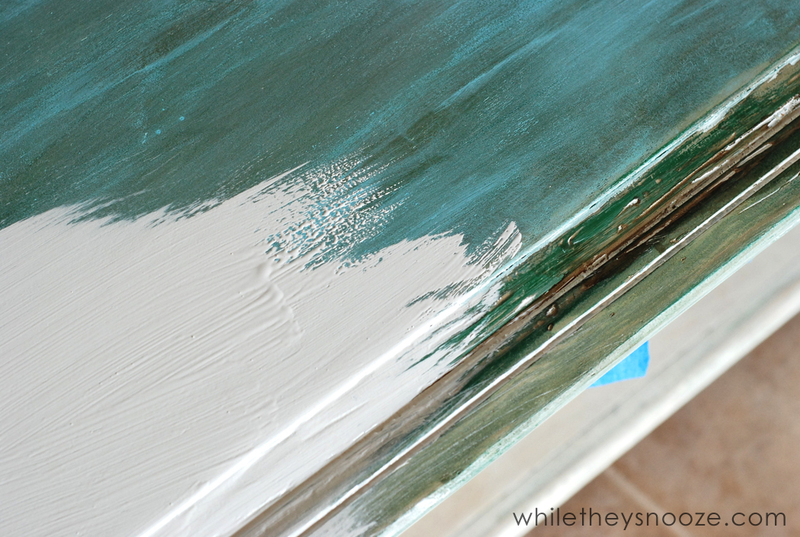
Paint your base color. I did 2 coats of chalk paint and lightly sanded after the last one to make the surface really smooth.
-
 Step 4
Cut your map. I used an X-acto blade and roughly cut out the majority of land masses. There are going to be several angry Canadians out there because I edited many of their upper islands. Sorry, there were too many and it's cold up there anyway! Japan is missing as well! It's "art", right?? : /
-
 Step 5
Paint your world. I placed the map on top of the table and taped it in place. Then I painted lightly from the outer edges inward around all of the continents until the whole map was roughed in. I switched between all of my craft paints to do this. Sometimes blue, sometimes green, yellow and gray.
-
 Step 6
Remove the paper map and continue painting. This is the part thats up to you. You can make it as "painterly" or crisp as you want. I chose to water down my paint and let a lot of it drip onto the map using a plastic spoon. Then I smudged a bit with a damp rag.
-
 Step 7
If you have another area on the piece, tape off a cool pattern. I did an X shape on my center shelf using 1" painter's tape. Just find the center and go from the corners to there. Then work your way out using another piece of tape as a spacer. I painted these stripes in the same colors I used on the top.
-
 Step 8
Add some detail to storage boxes. This took less than a minute. I lined up the boxes, eyeballed a stripe with two pieces of tape, and painted across all 3 at once. Then I painted the little paper ovals that came with the boxes and put those inside the handle space. Very easy!
-
 Step 9
Wax on, wax off! Give your piece a coat of finishing wax to protect your work, buff it off, and you're done!


Comments


