
About
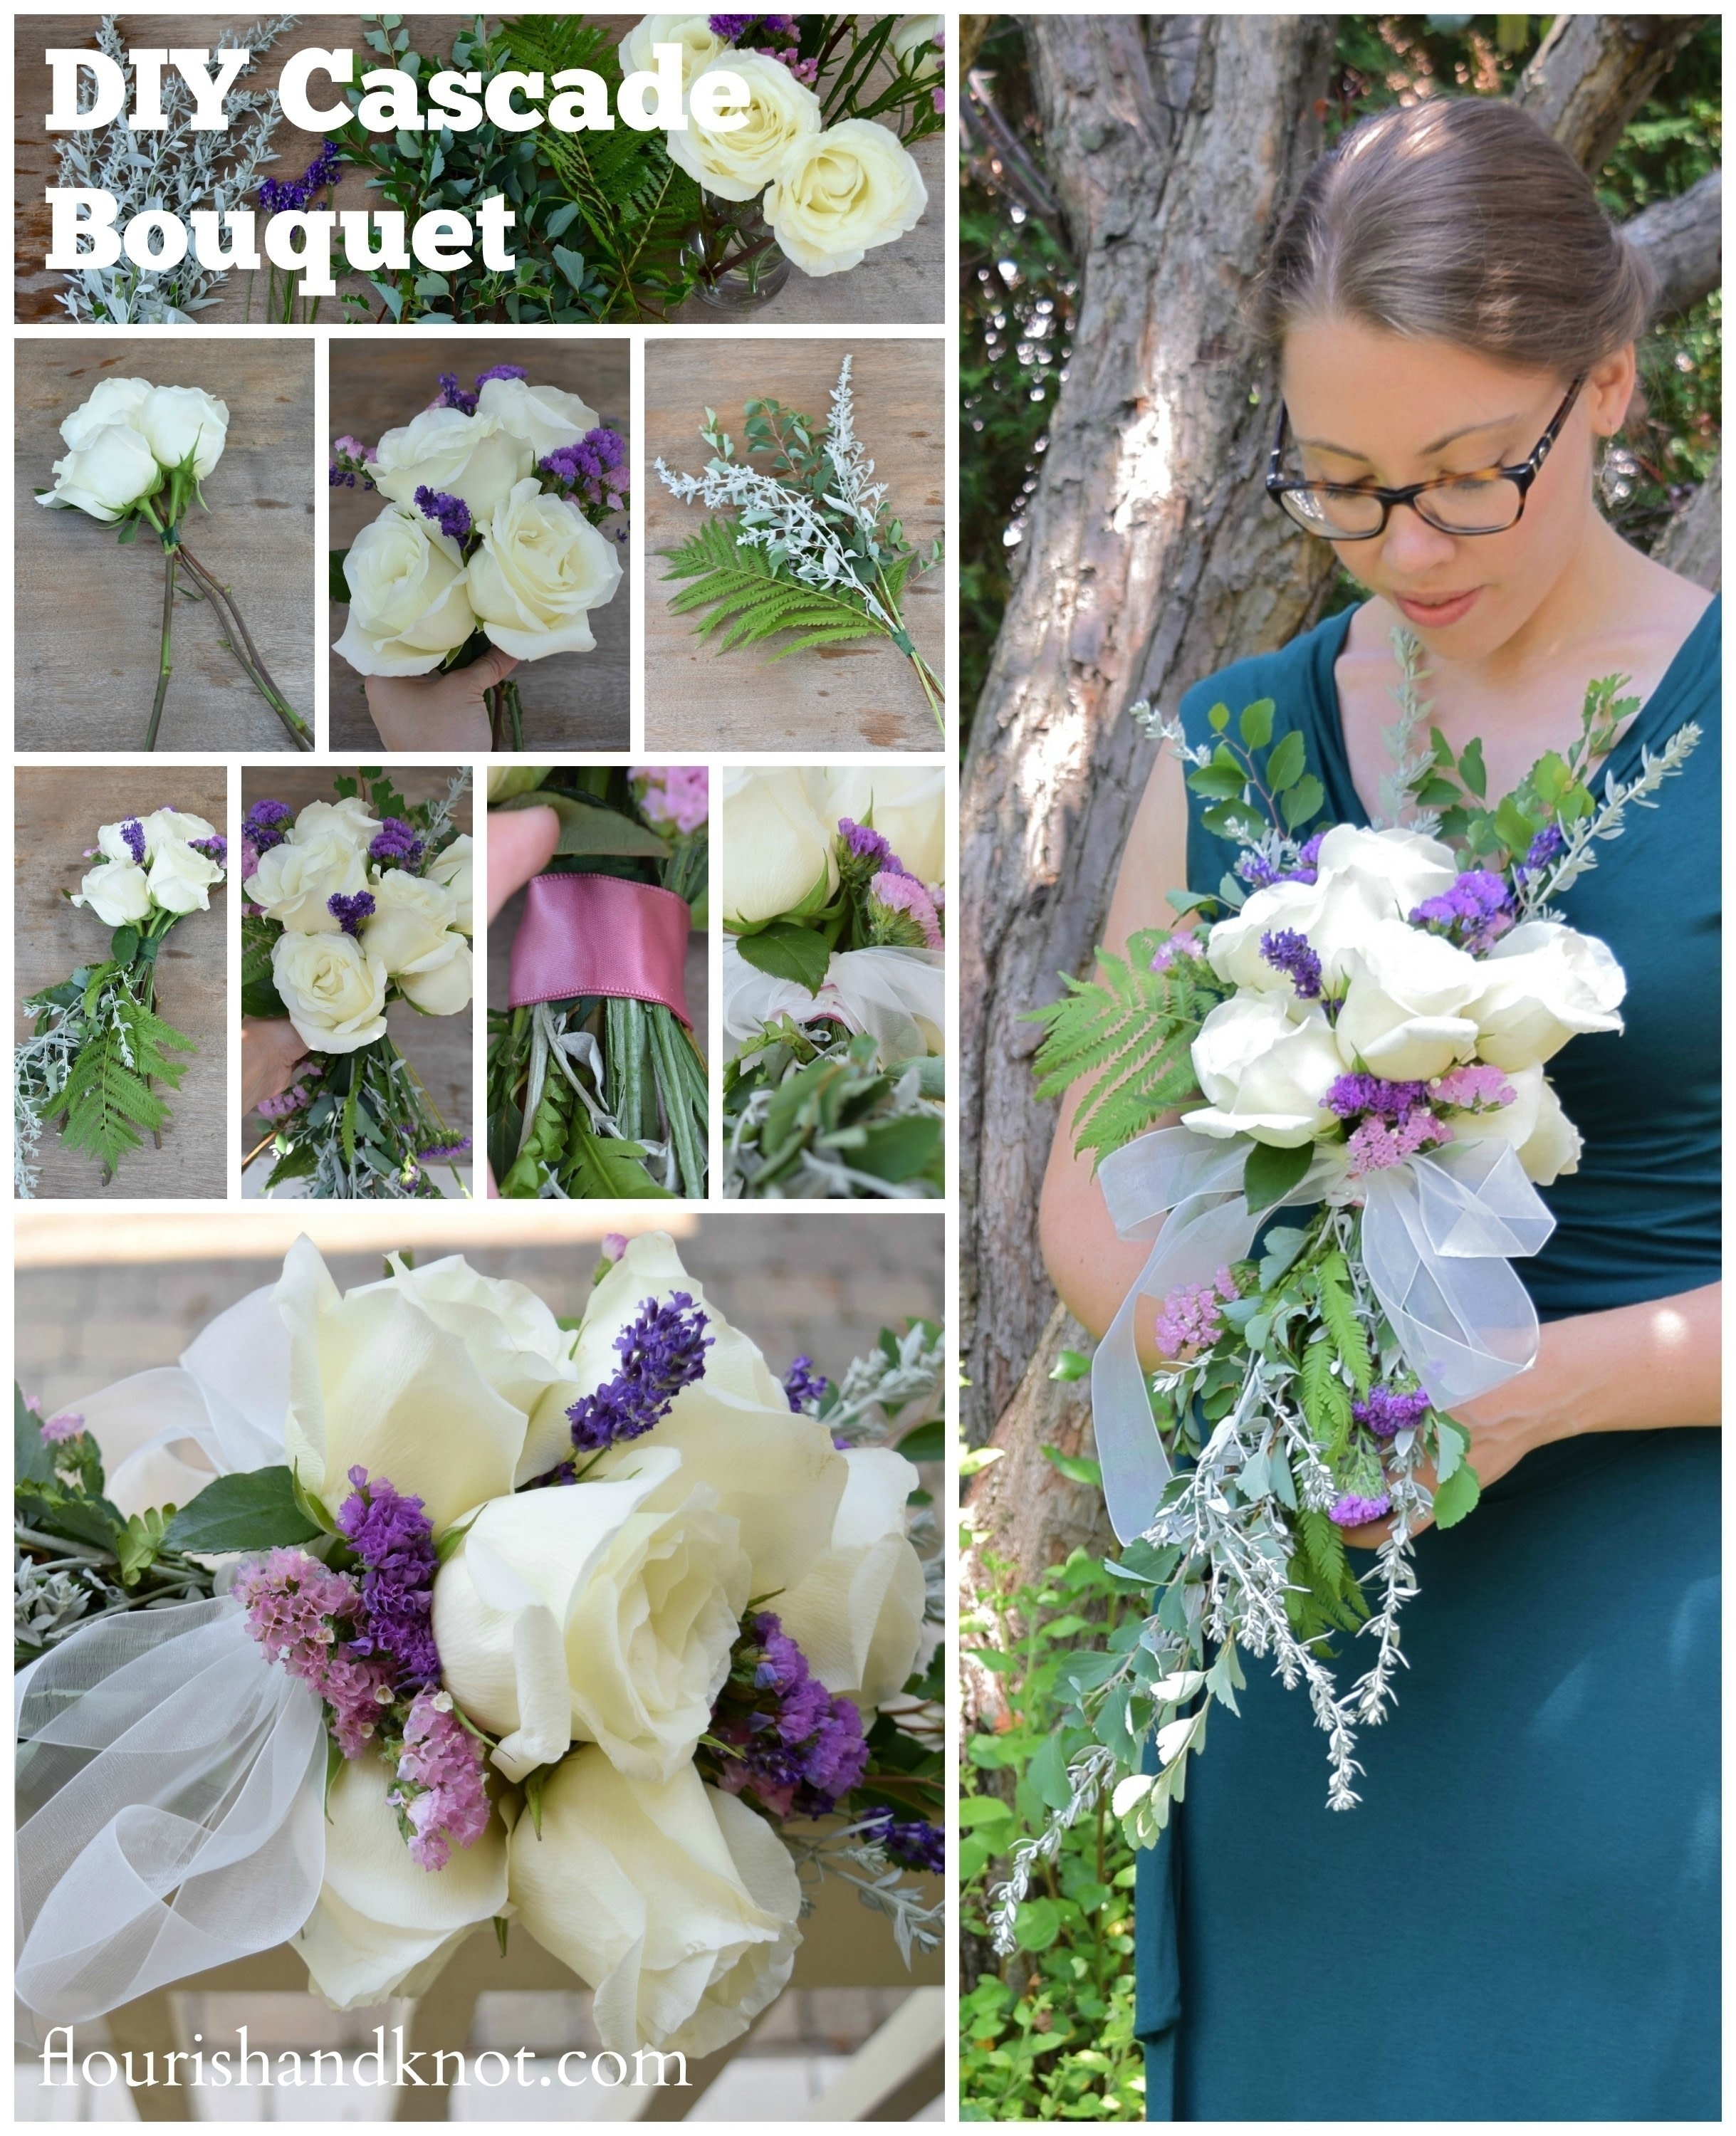
How to create a whimsical floral "cascade" bouquet
Try your hand at creating this romantic, Midsummer Night's Dream-inspired floral bouquet. It is not as difficult as it looks, and make a gorgeous bridal or bridesmaid's bouquet, or can be used as a tall floral arrangement!
Tags
-
 Key West Witch favorited DIY Cascade Bouquet
28 Jun 18:41
Key West Witch favorited DIY Cascade Bouquet
28 Jun 18:41
-
 Alissa B. favorited DIY Cascade Bouquet
24 Oct 21:55
Alissa B. favorited DIY Cascade Bouquet
24 Oct 21:55
-
 Flourish & Knot published her project DIY Cascade Bouquet
21 Oct 06:00
Flourish & Knot published her project DIY Cascade Bouquet
21 Oct 06:00
-
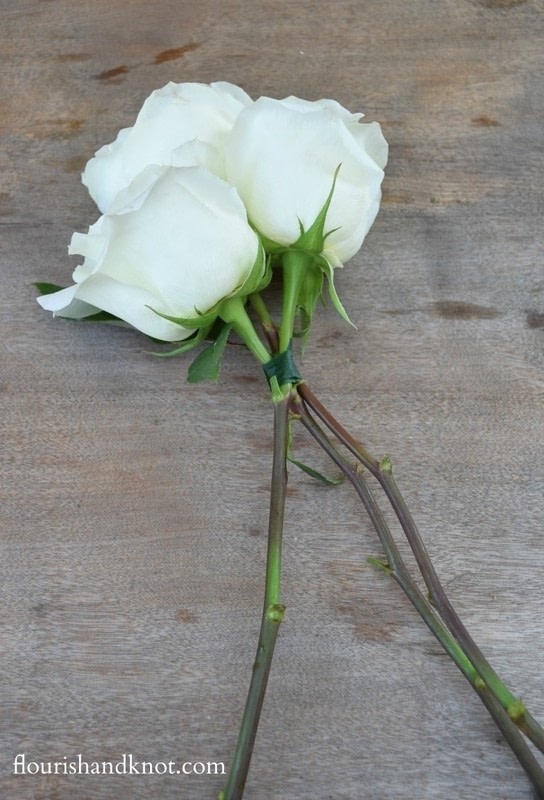
 Step 1
Arrange 3 focal flowers in a triangle, crossing the stems in the same direction, and tape them together using the floral tape.
-
 Step 2
Add a few filler flowers, taping as you go. Try to continue crossing the stems in the same direction. Add a few more focal flowers.
-
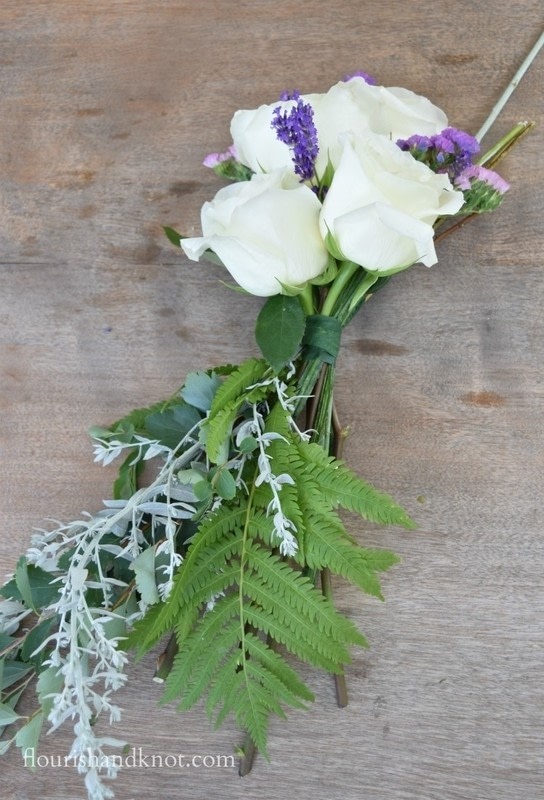
 Step 3
Create the basic greenery structure of the cascade part of the bouquet. Remember to keep things asymmetrical for visual effect. Tape this part together.
-
 Step 4
Once you have the basic structure of the top and bottom of the bouquet, tape them together with the top stems down and the cascade (greenery) stems pointing upwards at the back of the top bouquet. Remember not to cut the stems just yet!
-
 Step 5
Fill out both the top and cascade parts of the bouquet, building outward in a fan shape. Use two or three kinds of greenery for a more varied look.
-
 Step 6
Once you are content with your arrangement, tape everything together solidly. Leave a small section of stem between the top and bottom of the bouquet. That’s where your ribbon will go (it will hide the floral tape).
-
 Step 7
Accessorize your bouquet with a beautiful ribbon (or more than one)! Wrap the ribbon around the floral tape to hide it. Secure the ribbon in the back with a straight pin or hot glue, folding over any rough edges. You can wrap the ribbon around the stems several times.
-
 Step 8
Take a longer, second piece of ribbon and tie it at the base of your first ribbon. Loop both ends around the front of the bouquet and criss-cross them, twisting in the middle. Loop back around and repeat until you reach the top of your first ribbon. Tie the ribbon in a bow. Insert decorative straight pins into the centre of each of the criss-crosses.
-
 Step 9
Trim the stems on the handle of your bouquet to the desired length. Make sure to leave enough that they can be put in water!