


About
A girly yet ghoulish jewellery set!
Tags
-
 CazSteele favorited Day Of The Dead Necklace, Bracelet And Earrings Set
22 Aug 09:20
CazSteele favorited Day Of The Dead Necklace, Bracelet And Earrings Set
22 Aug 09:20
You Will Need
-
 Step 1
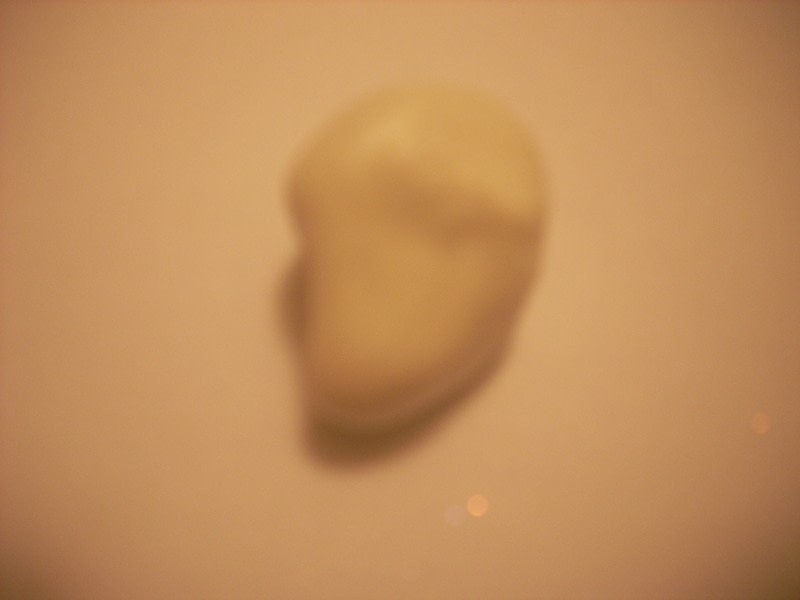
Firstly you will need to make the skulls. You will use 6 skulls in total, 3 for the necklace, 2 for the earrings and 1 for the bracelet. Start by making 6 balls of Pearl coloured Fimo, each about the size of a large cherry. I would suggest you work straight onto a baking tray as it means that when you're done you can put your work straight into the oven, with less chance of damaging it.
-
 Step 2
Shape the skulls by pressing the sides of the balls to make them elongated. Then push into the bottom to make a chin shape. Push the front of the ball inwards to create a forehead.
-
 Step 3
Use a skewer to make holes in the skulls, so that when they are baked you can thread them onto your necklace. 4 of the skulls will need to be skewered horizontally through the side, where the ears would go (for the necklace and bracelet), and 2 will need to be skewered vertically from the top of the skull to the bottom (these are for the earrings).
-
 Step 4
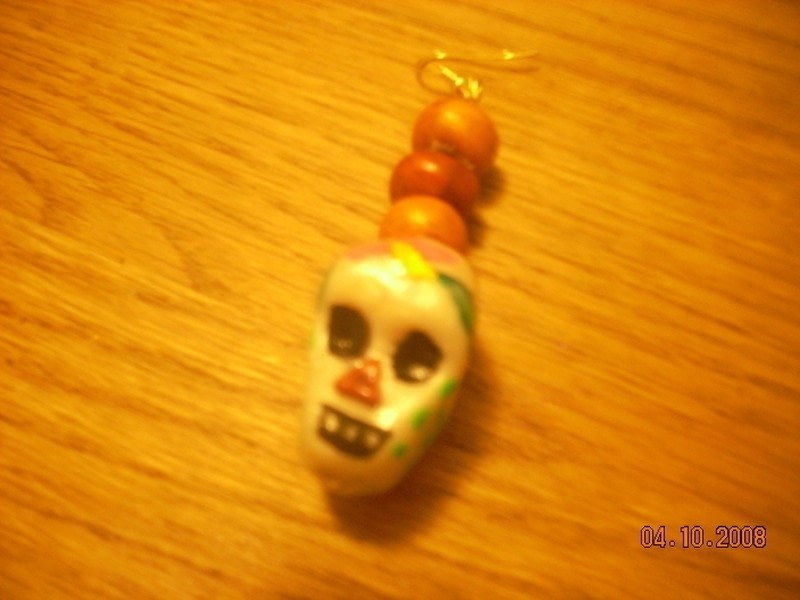
Add noses by making a thin sausage from Copper coloured Fimo, then cutting small lengths off and making tiny triangles. Press these to the fronts of the skulls in the appropriate place.
-
 Step 5
Using the end of a paintbrush mould eye sockets. Then the shaping of your skulls is finished.
-
 Step 6
Now you will need to make the beads for the necklace, you will be using 3 different sizes of bead. For the main beads make small balls using the Fimo, about the size of a blueberry, then flatten them slightly to make a fat disc and pierce them through the centre with a skewer. They should end up looking a bit like tiny doughnuts. You will need to make of these beads in Copper and in Pearl. You will need to wash your hands in between using different colours otherwise the colours will transfer onto eachother.
-
 Step 7
Next make larger beads using the Gold Fimo. These will be used to separate the skulls. Use the same method as for the smaller beads but using a larger ball of Fimo. You will need to make 6 of these.
-
 Step 8
Now for the tiny beads, these will be used for the earrings. Again follow the same method but with smaller balls of Fimo this time. You will need to make 2 in Copper and 4 in Gold.
-
Step 9
Put all of your beads and skulls into the oven. There should be basic intructions on the Fimo packet for baking your creations, it usually says to bake them at 130C for up to 30 minutes. I bake mine on Gas Mark 1 for about 20 minutes and that seems to work fine. Just make sure you keep checking them as Fimo burns surprisingly easily.
-
 Step 10
Once your beads and skulls are baked, leave them to cool for a few minutes-they stay hot for a while and can burn you, as I have learnt from experience! Put small amounts of acrylic paints in black and a selection of bright colours onto a plate and set up your brushes and water pot while you're waiting for the Fimo to cool.
-
 Step 11
[If you wish, you can sand your beads and skulls to give a more polished look and erase any flaws. However I wanted mine to have quite a rustic, antique effect so I didn't do that with mine.] Carefully paint Mexican inspired designs onto to skulls. As they are small it is probably best to stick to simple swirls, dots and simple flowers/leaves. You will also need to fill in the eye sockets and outline the teeth with black paint. If you're stuck for inspiration then search for 'sugar skulls' on Google images and something good should come up. Then leave the skulls to dry for about an hour.
-
 Step 12
Once the skulls are dry you need to paint ALL of the beads and skulls with the Fimo Gloss Varnish. They will then need 24 hours to dry completely. Although they will be touch dry quite quickly, I would not advise stringing the beads before 24 hours is up as the varnish can easily rub off or chip during this time.
-
 Step 13
After the beads have completely dried, you will need to string them. Tie a loose knot in one end of your jewellery cord, then string on copper and pearl beads alternately. You will need to put 7 pearl and 6 copper beads on alternately, then add a gold bead, then a skull, then a gold bead, then a skull, then a gold bead, another skull, and another gold bead. Then add another 7 pearl and 6 copper beads alternately. Tie your clasp and jump ring to the ends securely, or use crimps to attach the clasp, which will need to be pinched with pliers.
-
 Step 14
For the bracelet, string 5 alternating copper and pearl beads onto your elastic, which should have a loose knot in the end to prevent them falling off. Add a gold bead, then a skull, then another gold bead, and then 5 more alternating copper and pearl beads. Tie the ends of the elastic together in a tight knot, then trim the loose ends.
-
 Step 15
For the earrings take two 4 inch lengths of jewellery wire and make a twisted loop at the end of each one. Slide a skull onto each one, then add a small gold bead, then a small copper bead, and another small gold bead to each one. Bend the top end of the jewellery wire through an earring hook, and cut off any excess.
-
Step 16
Enjoy wearing your new jewellery!


and thanks 4 the commnt^^