


About
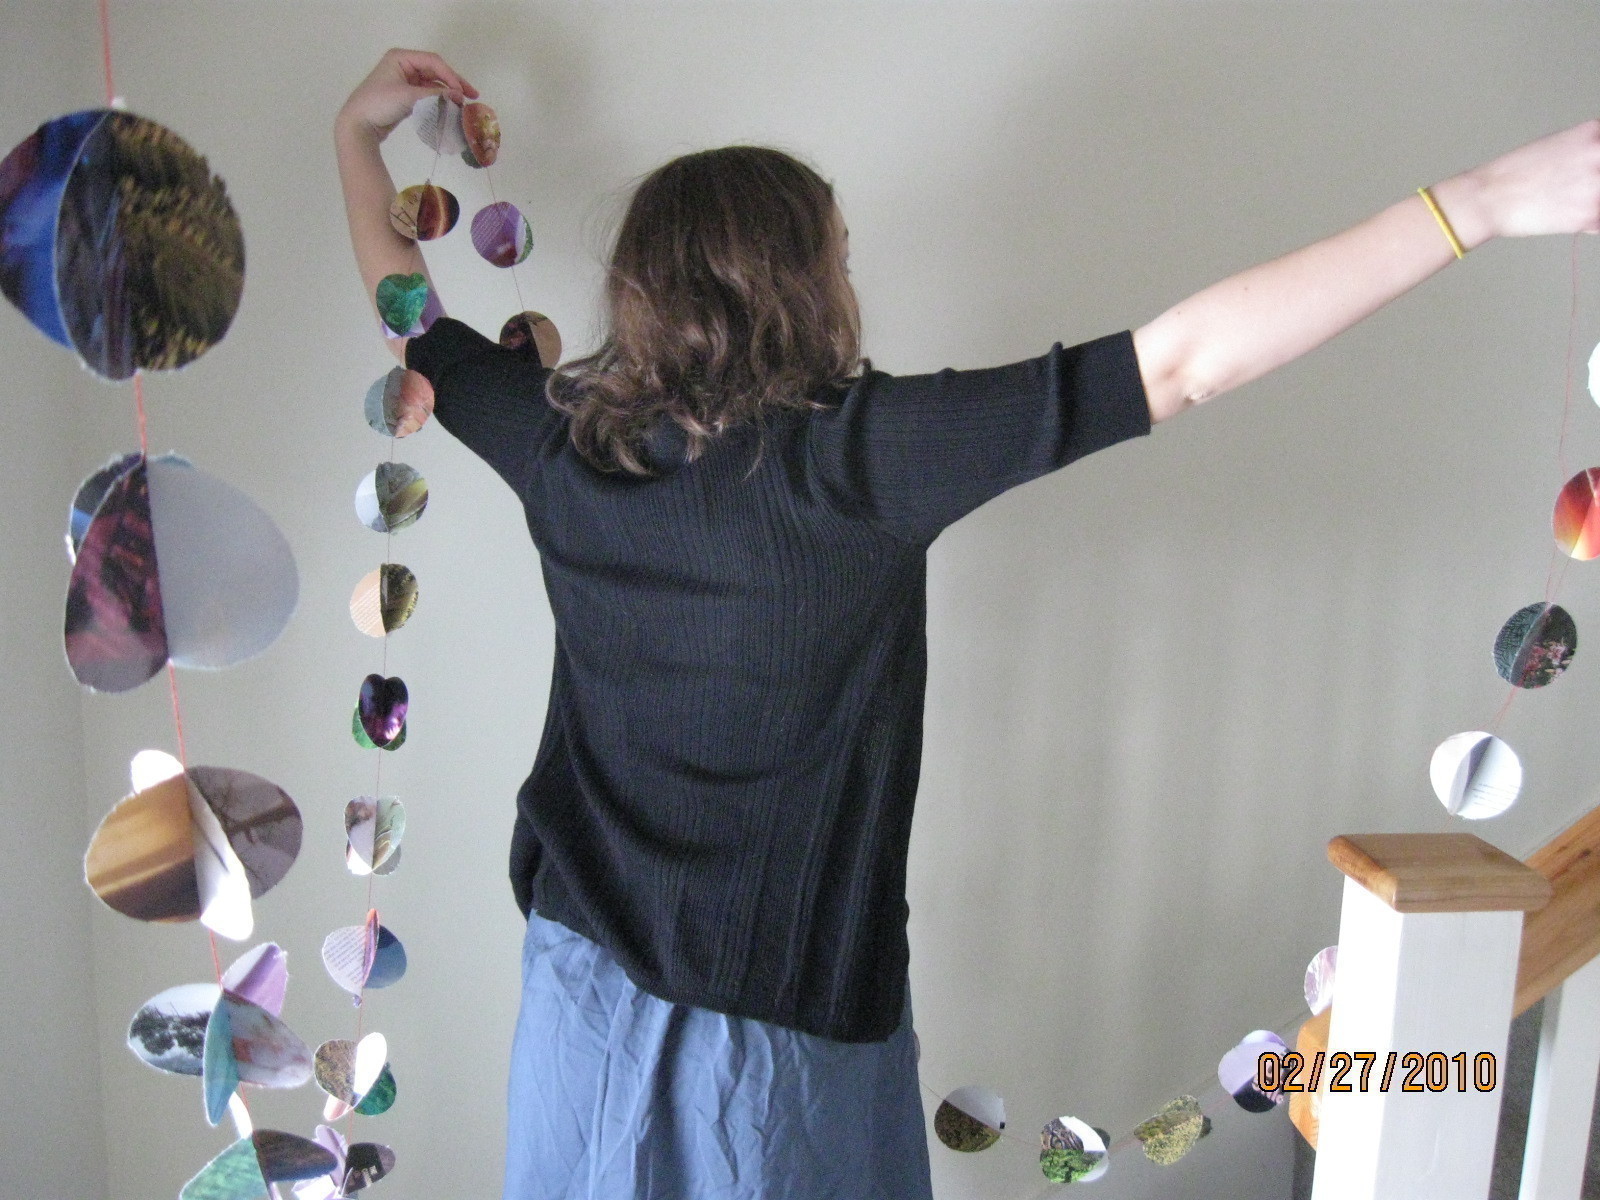
Make a cute, compliment-snatching garland!
My mother and friends have been on a bit of a garland-spree recently, and when one of them mentioned paper, I automatically thought of doing this! I think I've seen one before, and loved the idea. Enjoy!
-
 Terry Ann W. favorited Circle Garland
04 May 19:28
Terry Ann W. favorited Circle Garland
04 May 19:28
-
 Second Hand Susie added Circle Garland to Earth Hour Party
26 Jan 00:36
Second Hand Susie added Circle Garland to Earth Hour Party
26 Jan 00:36
- Monika Gottindottir favorited Circle Garland 11 Nov 17:55
-
 Claudia C. favorited Circle Garland
05 Aug 21:57
Claudia C. favorited Circle Garland
05 Aug 21:57
-
 silentband favorited Circle Garland
04 Aug 02:02
silentband favorited Circle Garland
04 Aug 02:02
-
Helen G. favorited Circle Garland
19 May 20:27
-
Renee M favorited Circle Garland
14 Jan 23:53
-
gloria z. favorited Circle Garland
04 Nov 14:07
-
 Bofoofer added Circle Garland to Decorating
29 Sep 14:09
Bofoofer added Circle Garland to Decorating
29 Sep 14:09
-
 amanda.harris.16144 favorited Circle Garland
17 Sep 06:36
amanda.harris.16144 favorited Circle Garland
17 Sep 06:36
-
Step 1
First, go through your magazine and rip out pages that have color, patterns, etc. Anything you'll want to display in your garland.
-
 Step 2
Now take one of your magazine pages and place your round cup over it. Cut around it with your x-acto knife.
(I did mine over a carpet. I found that it was easier than cutting over a hard surface or more paper. I also liked the jagged edges it gave the circles. You could also draw around the cup and then use scissors, but I found this more natural and organic, and I liked that.)
-
 Step 3
I found that this jagged technique of cutting the edges didn't go all the way through. You might have to tear around the edges of some of them.
-
 Step 4
Keep on cutting out circles until you get as many as you want.
(You can sort of estimate the length by taking the number of circles, divide by two, and then multiply that number by the diameter of of the circles plus about 1.5 inches. Or you could just cut until it looks like a lot.)
-
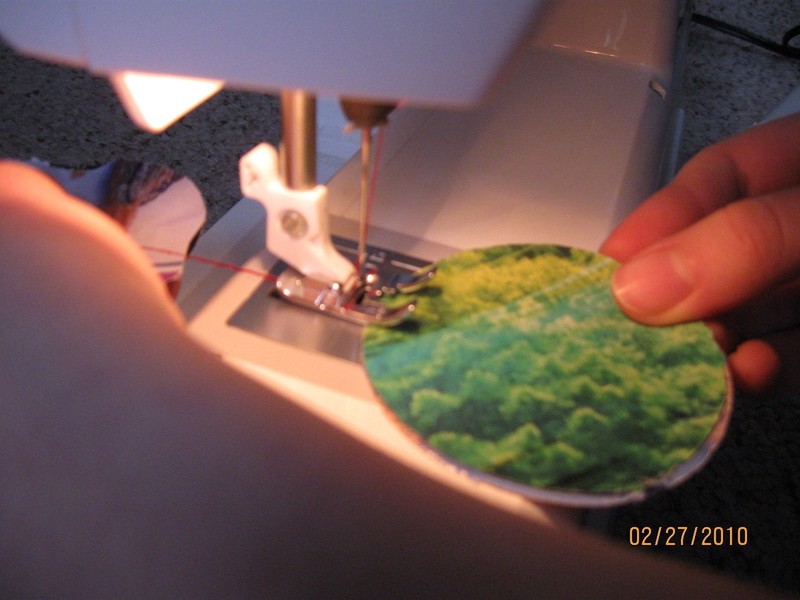
 Step 5
Now take two circles and line them up. Feed them through the sewing machine on a straight stitch. Leave a long tail at the beginning and end and sew about 1.5 inches of empty space between each circle pair.
(Don't sweat it if the circles aren't perfectly matched or the stitching isn't right down the middle. It'll look fine, and no one will notice :) )
-
 Step 6
When you've finished stitching, fold each of the circle pairs outward like butterfly wings, fanning them out.
-
 Step 7
Now hang your beautiful garland in its natural habitat! (Or yours!)


cuz it's SOOO CUTTTE !
ps. i'll use the HOWTO to decorate my art classroom (its so bland !)