


About
Bring the forest to your home with these quickly made pine jars
I discovered this idea while shopping one day. The jars costed over 15 dollars where I can MAKE around 3 of them for that price. I love them for putting on the mantle over your fireplace or sending to friends with your Christmas cards. Plus they only take around 20 minutes to actually make, although, they take a few hours to dry the glue in one of the steps.
Tags
-
 zoegirl221 added Christmas Pine Jars to Christmas
21 Jul 07:27
zoegirl221 added Christmas Pine Jars to Christmas
21 Jul 07:27
-
 Tristahx favorited Christmas Pine Jars
26 Nov 03:08
Tristahx favorited Christmas Pine Jars
26 Nov 03:08
-
 Liu* favorited Christmas Pine Jars
21 Sep 21:57
Liu* favorited Christmas Pine Jars
21 Sep 21:57
-
 Step 1
Gather your materials
-
 Step 2
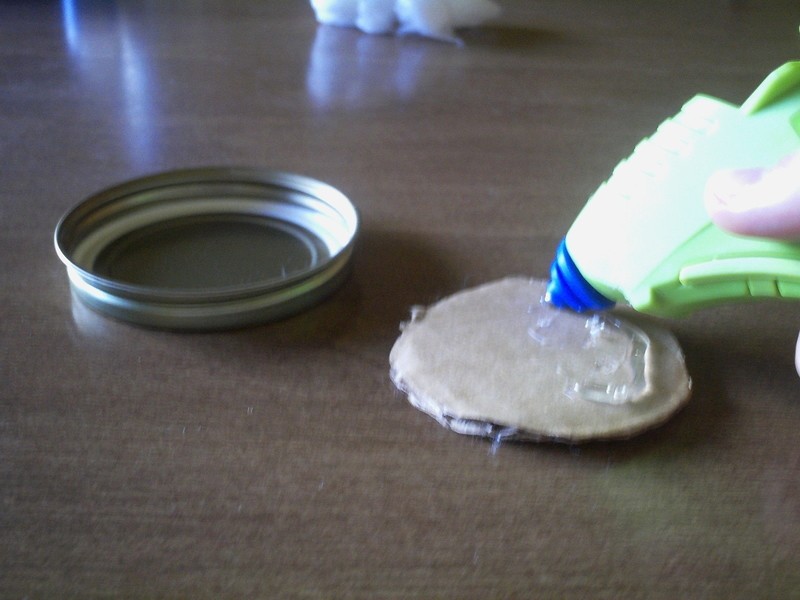
Take your card board and cut it slightly smaller than the bottom of your jar lid because if it is the same size, the jar will be unable to screw on. Then, take your hot glue gun and glue the cardboard to the bottom of the inside of the jar lid.
(the cardboard is used for volume so that the pinecones will later be able to be seen)
-
 Step 3
Next, take your hot glue gun and the trees you have selected and glue them to the cardboard. MAKE SURE to NOT glue them right on the edge of the lid! otherwise you will not be able to screw the jar on. Trust me I learned this the hard way. Then press down on the bottom of the trees immediately afterwards to secure the tree.
-
 Step 4
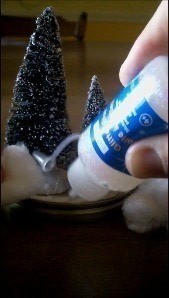
Now take your cotton and tear it into pieces that will fit around your trees. Use the glitter glue this time so if you can see any glue it will be sparkly like snow.
-
 Step 5
Now you wait. I let mine dry overnight just to be sure. This is what it looked like in the morning.
-
 Step 6
Place the pinecones in your jar and then place about the amount of glitter that you want to cover the bottom of the forest in your jar. I put about a centimeter. Take your hot glue gun and quickly put glue on the top of the jar where it screws to the lid. (this step is optional but i would recommend it if your small kids will be able to reach it because then they cannot unscrew them) Quickly turn the trees upside-down and screw it onto the jar. You have to do this very fast otherwise your glue will dry and will prevent the jar from screwing. But don't worry, if this happens, wait a few minutes and chip the glue off.
-
 Step 7
Now wipe all of the glue that squeezed out while you were screwing.
-
 Step 8
Next take your festive ribbon and cut just enough to go around the edge of your jar lid. Then cut about the same amount more and tie a bow. First glue the one that goes around the lid with your hot glue gun. Then take the bow and glue it where the ends meet on the other ribbon.
-
 Step 9
Now place it somewhere in your house where everyone will see it.


 1
Watercolor Art »
Watercolor Paints Made From Make Up
1
Watercolor Art »
Watercolor Paints Made From Make Up

