


About
A modern up-cycling take on a a classic.
So... I really wanted a locket but, surprisingly, I haven't been able to find one in any local stores, so I decided to make my one. It's really easy to make!
The estimated time for the project does not include drying time
-
 Brittney S. added Bottle Cap Locket to Jewelry
07 Jul 05:51
Brittney S. added Bottle Cap Locket to Jewelry
07 Jul 05:51
-
 Amanda P. added Bottle Cap Locket to Jewelry
17 Jun 22:31
Amanda P. added Bottle Cap Locket to Jewelry
17 Jun 22:31
-
 Crystal added Bottle Cap Locket to Misc. Crafts
18 May 16:39
Crystal added Bottle Cap Locket to Misc. Crafts
18 May 16:39
-
 Key West Witch favorited Bottle Cap Locket
06 May 03:09
Key West Witch favorited Bottle Cap Locket
06 May 03:09
-
 CraftyCat added Bottle Cap Locket to Crafts
29 Nov 07:40
CraftyCat added Bottle Cap Locket to Crafts
29 Nov 07:40
-
CraftyCat favorited Bottle Cap Locket
29 Nov 07:40
-
 amanda.shillito favorited Bottle Cap Locket
12 Jun 19:56
amanda.shillito favorited Bottle Cap Locket
12 Jun 19:56
-
lia c. favorited Bottle Cap Locket
28 Mar 02:42
-
 L2theT. favorited Bottle Cap Locket
19 Oct 13:55
L2theT. favorited Bottle Cap Locket
19 Oct 13:55
-
 Brigit favorited Bottle Cap Locket
10 Oct 02:06
Brigit favorited Bottle Cap Locket
10 Oct 02:06
You Will Need
-
 Step 1
Wash the bottle caps with water and soap and let them dry well.
After they're dry, flatten the caps using pliers to bring out the edges. Use a piece of fabric to protect the cap from scratching.*Note*: I've seen somewhere that you can also flatten a bottle cap with a hammer. I don't recomend it, it'll ruin you bottle cap (at least it ruined mine). If you can do it successfully with a hammer, that's fine too, though I much prefer this way.
-
 Step 2
This is what they should look like.
-
 Step 3
Paint your bottlecaps according to your taste. I used a chrome spray paint (spray paint will give a smooth, uniform finish). Paint both sides and allow to dry.
-
 Step 4
String some small pearl beads. String as many as you nedd to go around the edge of the bottle cap.
-
 Step 5
This one will be hard to explain. I didn't want a knot to be showing, so I tucked the loose ends of the strings back into the beads chain with the help of a needle, in the opposite direction.
-
 Step 6
The red dot shows where the ends meet and how I tucked the string into the beads.
-
 Step 7
Cut off excess of the string, and voilá!, perfect knot-free-circle-beads-chain-thingy!
-
 Step 8
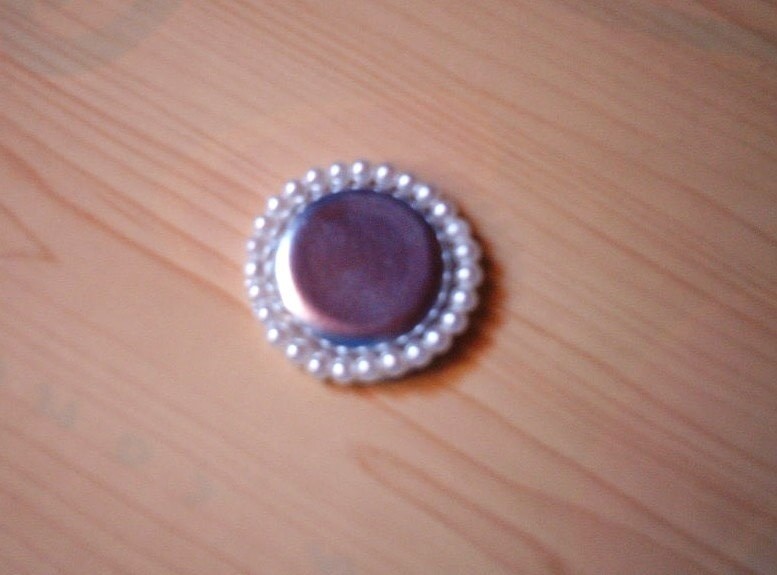
Glue the beads to the bottle cap, as shown.
-
 Step 9
Cut a 6 cm/2,5" piece of ribbon and glue each ends to the inside of the bottle cap, as shown.
-
 Step 10
Cut two 2,1cm/1" diameter circles out of your pictures/whatever you want to be in your locket (I used a pretty magazine page and hand wrote my personal motto - "tempus omnia dabit") and glue them to inside of each of the caps.
Then apply a thin coat of white glue to the images and allow to dry. This will protect the picture from water damages. If you want them to look all glossy and shiny, apply a coat of clear nail polish on top of the glue coat. -
 Step 11
close your locket and make a small stitch with needle and thread as shown in image (it will prevent the locket from falling off the chain). Add any embellishments you like. I glued a button on the front.


Versions


Posted by
Princess Pam-attitude


Posted by
Lima


Posted by
Super Dooper


Thanks for sharing