


About
Basic Homemade Bread Tutorial
There is nothing better than Homemade bread in the winter. I am not a bread making expert, but I have been working at it for the past few months. Making bread, by hand, is not as hard as it may sound....and it is satisfying. The recipe I use is one that I have tweeked to make it just what my family likes. (plus added a few healthy extras without them knowing!)
-
 Jessica favorited Basic Homemade Bread
14 Sep 12:16
Jessica favorited Basic Homemade Bread
14 Sep 12:16
-
 Allison S. favorited Basic Homemade Bread
01 Jul 07:48
Allison S. favorited Basic Homemade Bread
01 Jul 07:48
-
 Mildred favorited Basic Homemade Bread
26 Jun 11:40
Mildred favorited Basic Homemade Bread
26 Jun 11:40
-
 Rupre c. favorited Basic Homemade Bread
30 May 12:00
Rupre c. favorited Basic Homemade Bread
30 May 12:00
-
 Linda s. favorited Basic Homemade Bread
28 May 18:28
Linda s. favorited Basic Homemade Bread
28 May 18:28
-
 Diane favorited Basic Homemade Bread
28 May 10:26
Diane favorited Basic Homemade Bread
28 May 10:26
-
 Alex Poser added Basic Homemade Bread to Culinary
11 Jan 18:40
Alex Poser added Basic Homemade Bread to Culinary
11 Jan 18:40
-
 bitteraloevera favorited Basic Homemade Bread
19 Oct 02:00
bitteraloevera favorited Basic Homemade Bread
19 Oct 02:00
-
 Bofoofer favorited Basic Homemade Bread
06 Oct 19:55
Bofoofer favorited Basic Homemade Bread
06 Oct 19:55
You Will Need
-
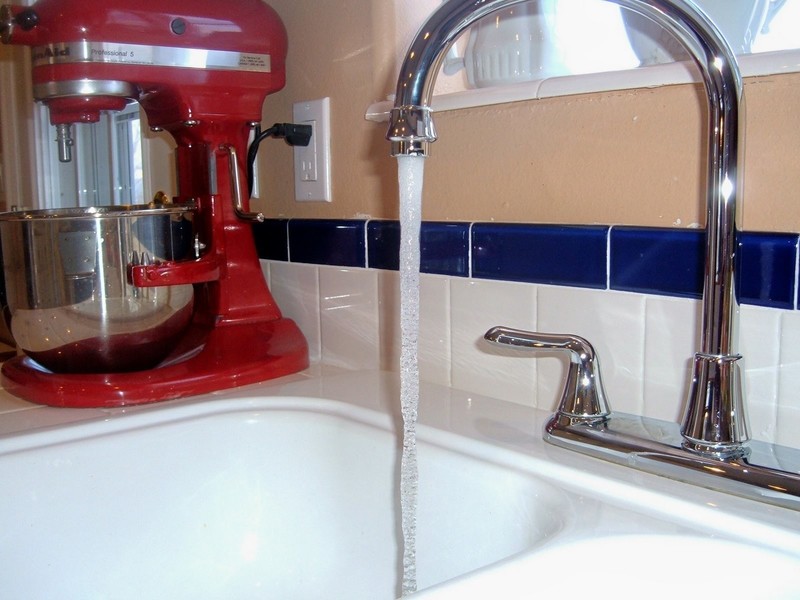
 Step 1
First you need to heat up the tap water. If you have a thermometer it needs to be around 111-115 degrees. If you don't have one test water with the back of your hand. Water should be hot, not scalding.
-
 Step 2
Get out the rest of your ingredients. Diet coke is helpful, but optional!
-
 Step 3
"Proof" your yeast by sprinkling 1 tablespoon full over water. Set this aside for now!
-
 Step 4
Put your Dry ingredients in a big bowl. It needs to be big enough to hold the ingredients, and then have extra room for the bread to raise.
-
 Step 5
Mix it around by hand! I love this part! It makes me feel like a kid again...getting dirty!
-
 Step 6
Add Wet ingredients. This is where I add my secret ingredient! The honey makes it taste like candy. The twins (not actually twins-they are 1 year apart) call it Candy Bread!
-
 Step 7
This is what your yeast should look like. It is kind of foamy!
-
 Step 8
Mix with a spoon until all dry ingredients are wet.
-
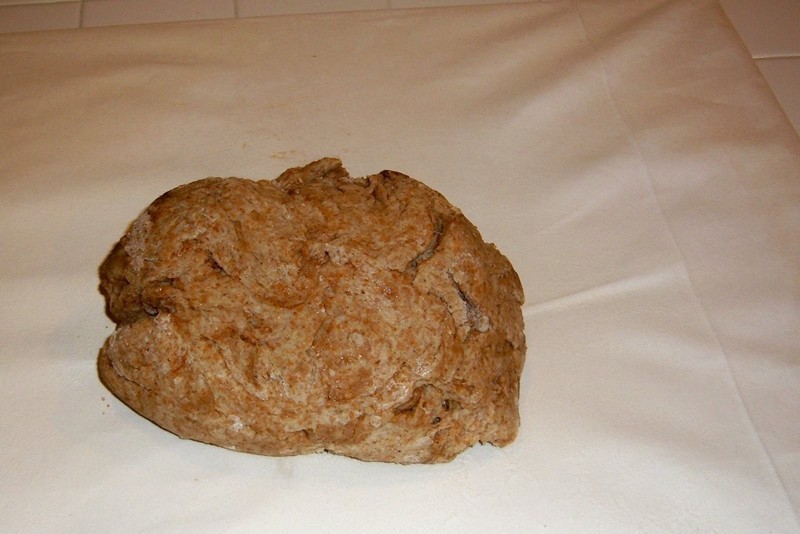
 Step 9
Dump dough onto lightly floured counter, or bread board. It is still not all of the way mixed, so knead the dough until it is smooth. It only takes a minute or two.
-
 Step 10
Let your dough rest while you wash out your big bowl.
-
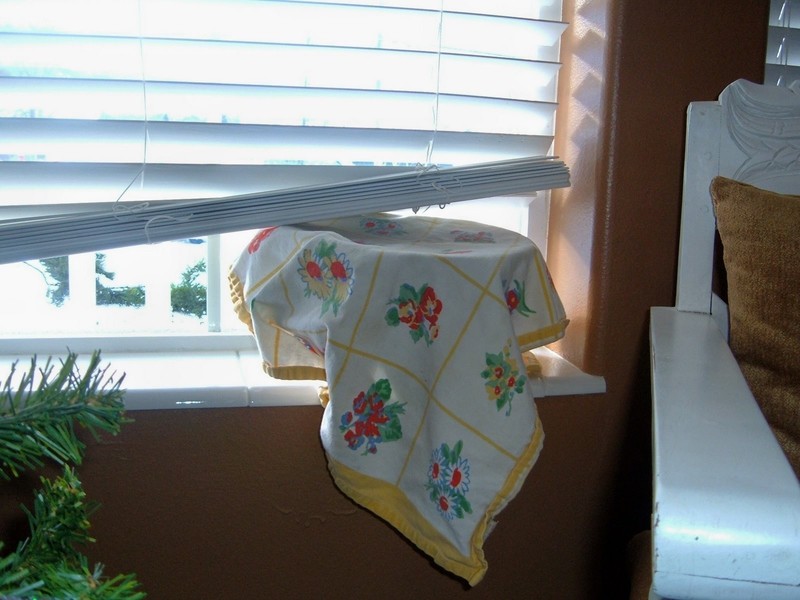
 Step 11
Put your dough in the lightly oiled bowl. I cover it with plastic wrap, and an old flour sack towel.
-
 Step 12
Put it in a warm spot to raise. The dough should double in size. This takes about 45 minutes to one hour.
-
 Step 13
Now we are ready to punch the dough down. You can punch it if you want, I prefer to push my fist into it.....I don't like to punch things that I love so much!
-
 Step 14
It is about time to really knead the bread! Dump it out onto your surface again and get ready to work out those arms!! (This is great for the saggy "under" arm skin!)
-
 Step 15
The way to test if your bread is kneaded enough is to poke it with your finger. The dough should spring back out. (it takes a few seconds though)
-
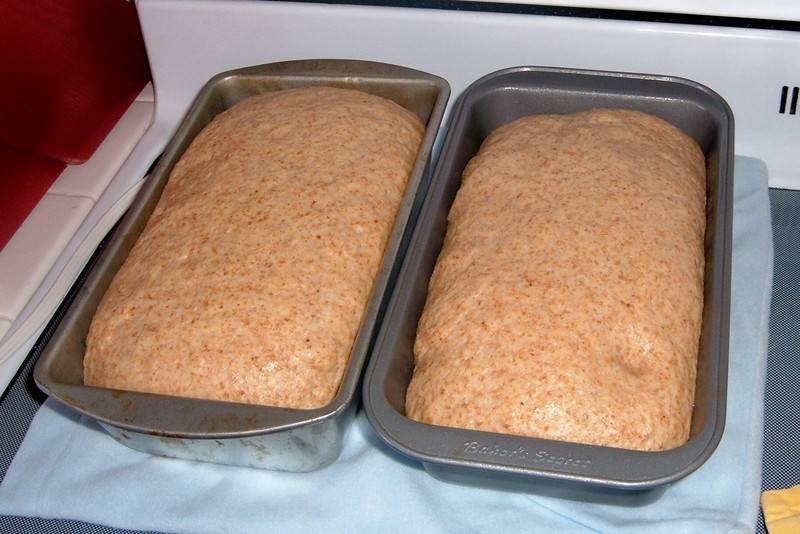
 Step 16
Divide it into 2 loaves, and place them in greased bread pans. Time to cover them again with plastic wrap, towel, and stick in that warm spot. They should double in size again.
-
 Step 17
To make sure that the yeast is fully developed you have to do the "poke" test again. This time your finger dent should stay in.
Now you bake it. Turn your oven on to 350. Put your dough into the cold oven, and set your timer for 25 minutes.
When the timer rings, take the bread out of the oven. Remove bread from bread pan, and let it cool for a little while. -
 Step 18
Enjoy the wonderful bready goodness!!! You did it!!


I now bake this bread every 3 days for the family instead of buying from the store. Its so cheap and healthy.