

About
Woven Fabric Basket Tutorial
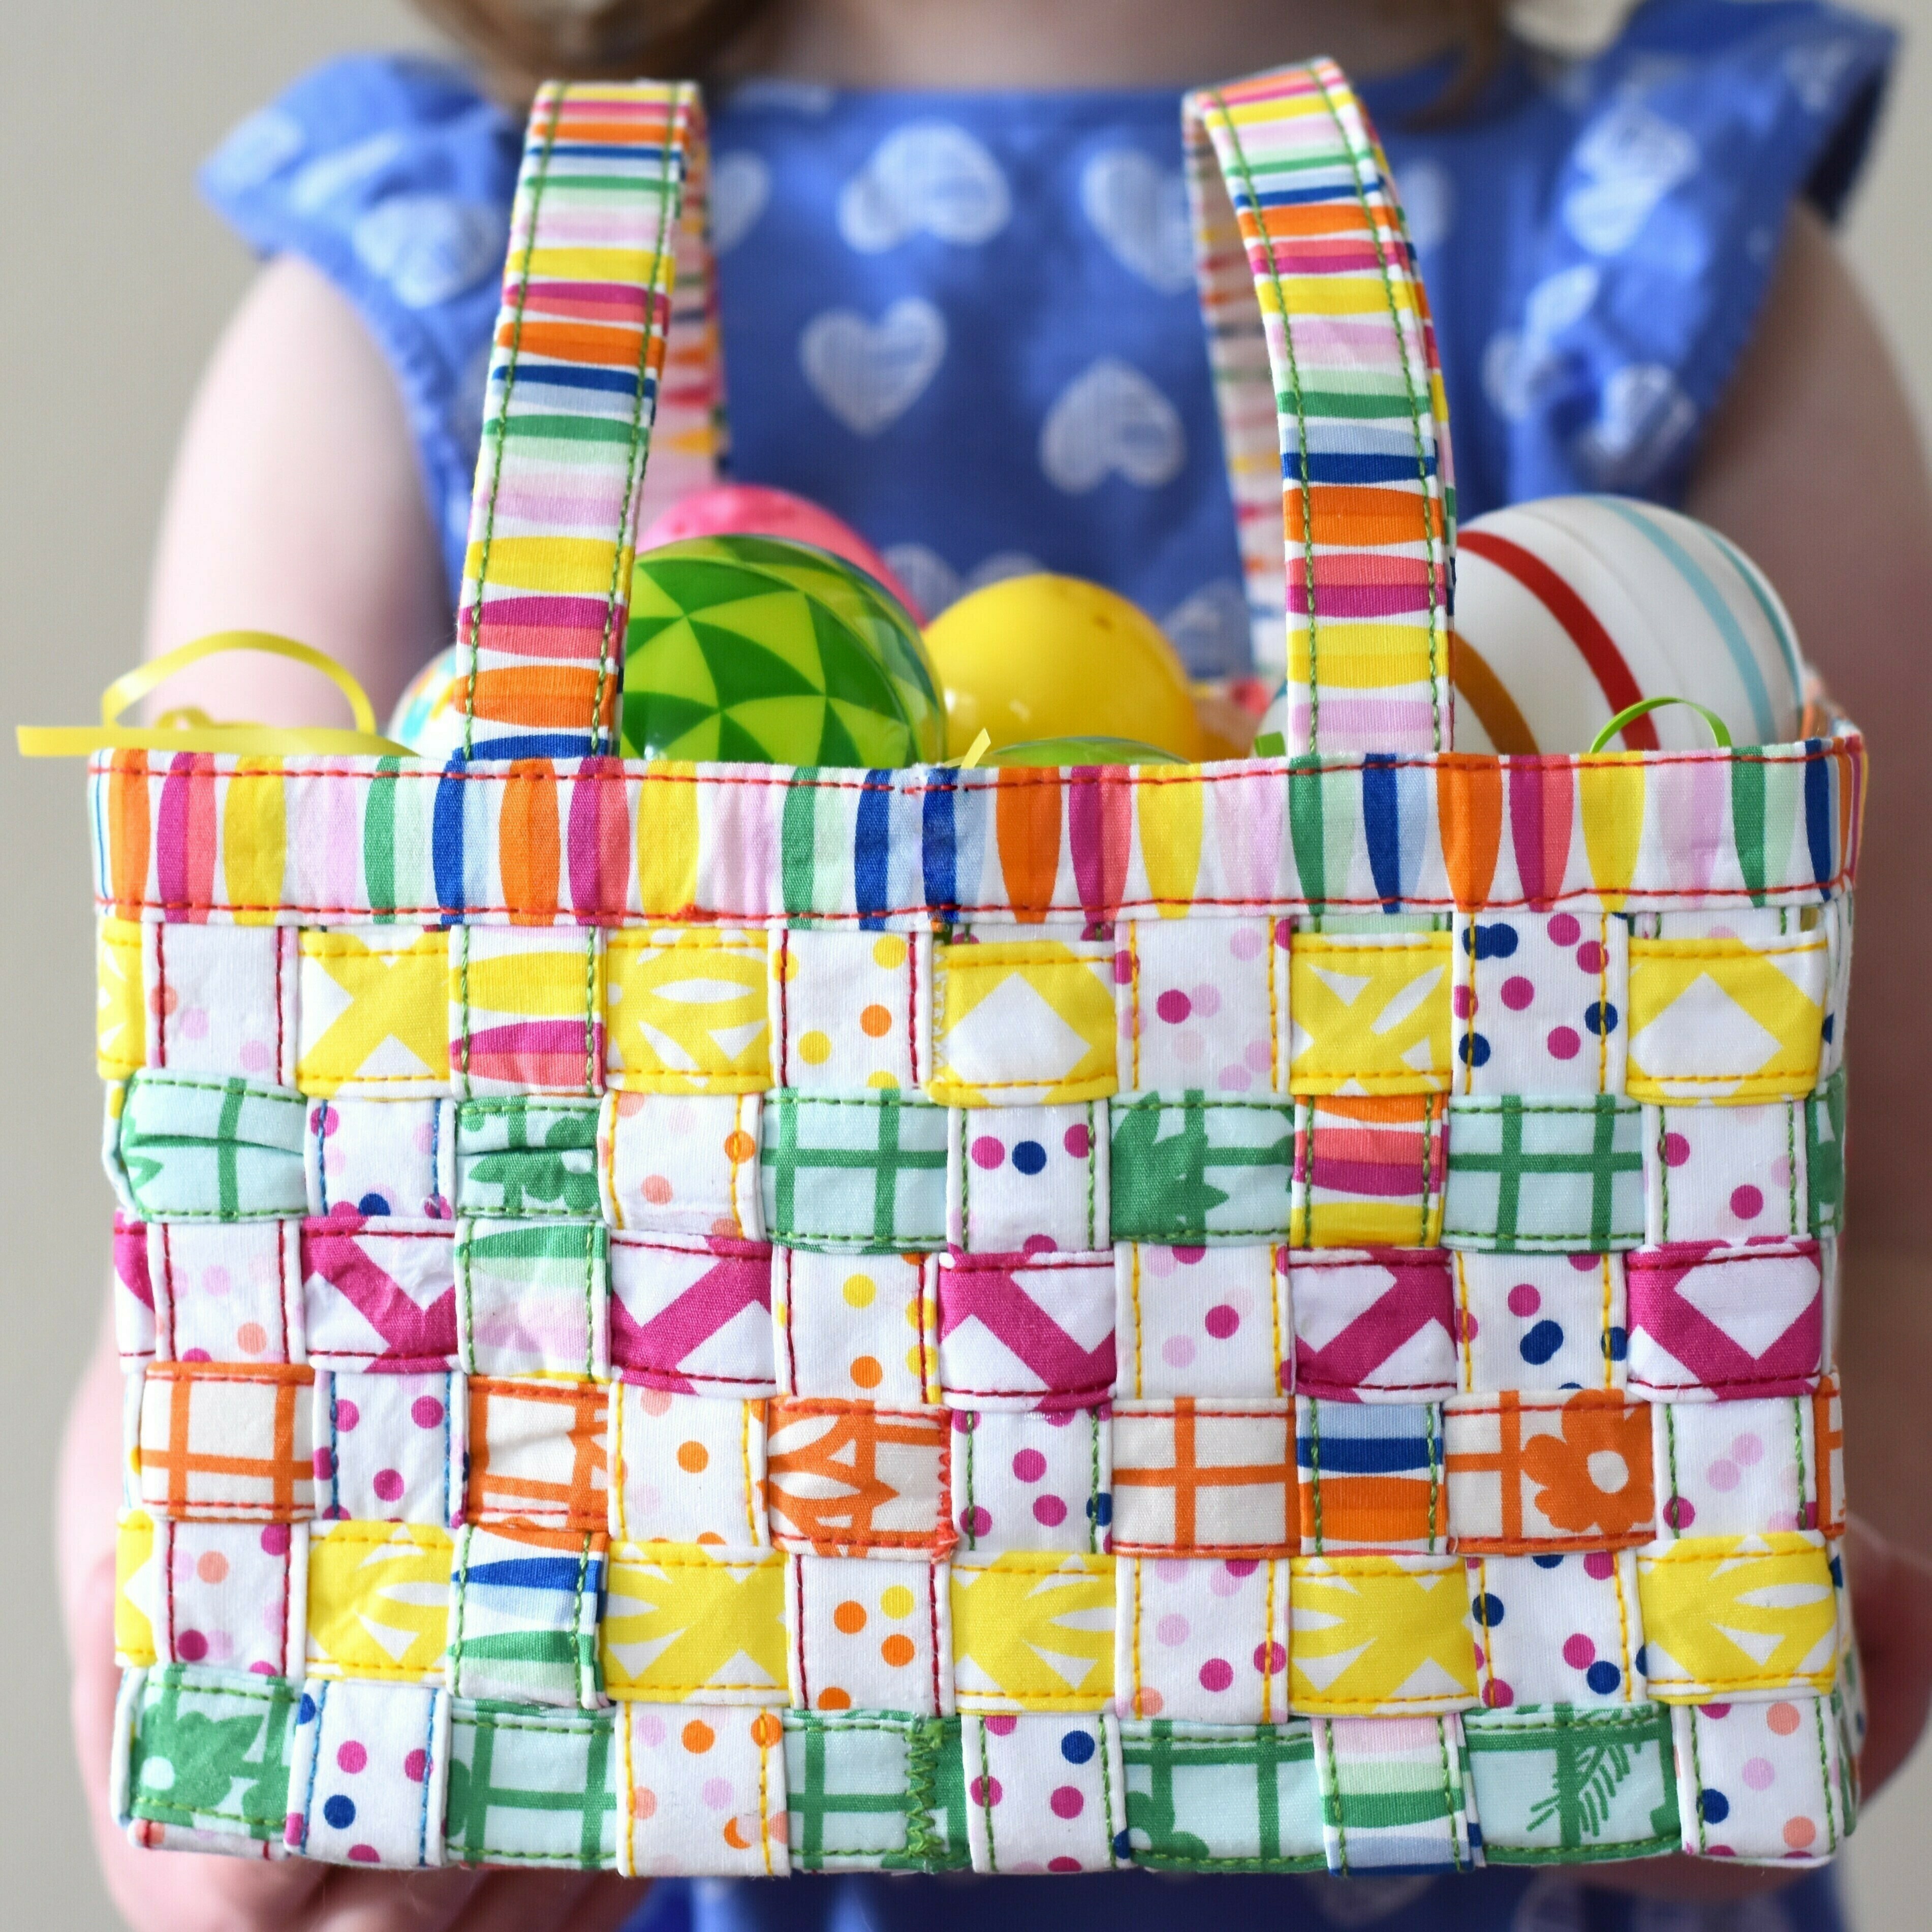
After the success of my 3D weaving projects, I had been foaming at the mouth to make this Woven Fabric Basket. And while the fabrics I chose for this specific basket definitely leans toward spring and the collecting of eggs, in other fabrics this could be a gem for all seasons most definitely.
-
 Southern Crafter favorited Woven Fabric Basket Tutorial
13 Feb 20:02
Southern Crafter favorited Woven Fabric Basket Tutorial
13 Feb 20:02
-
 Russell M. favorited Woven Fabric Basket Tutorial
13 Feb 09:50
Russell M. favorited Woven Fabric Basket Tutorial
13 Feb 09:50
-
 PattyMadeIt favorited Woven Fabric Basket Tutorial
06 Feb 00:05
PattyMadeIt favorited Woven Fabric Basket Tutorial
06 Feb 00:05
-
 Mac Joy favorited Woven Fabric Basket Tutorial
24 Jan 20:21
Mac Joy favorited Woven Fabric Basket Tutorial
24 Jan 20:21
-
 Crafterella featured Woven Fabric Basket Tutorial
18 Jan 23:00
Crafterella featured Woven Fabric Basket Tutorial
18 Jan 23:00
-
 Deb E. favorited Woven Fabric Basket Tutorial
17 Jan 01:26
Deb E. favorited Woven Fabric Basket Tutorial
17 Jan 01:26
-
C.J. M. added Woven Fabric Basket Tutorial to Sew
16 Jan 15:45
-
C.J. M. favorited Woven Fabric Basket Tutorial
16 Jan 15:43
-
 Mister Domestic published their project Woven Fabric Basket Tutorial
16 Jan 09:00
Mister Domestic published their project Woven Fabric Basket Tutorial
16 Jan 09:00
-
 Step 1
Cut List
From the main fabric, you will need to cut nine 2″ WOF strips, which should use the entire 1/2 yard.
From the handles fabric, cut two 2″ WOF strips and set the rest of the fabric aside for later.
From the secondary fabric(s), cut six 2″ WOF strips.
From the interfacing, cut seventeen 1.5″ WOF strips. -
 Step 2
With a steam iron, fuse each interfacing onto the center of the wrong side of each fabric strip.
-
 Step 3
Next, use your steam iron fold and press the raw edges of the length of each strip over the interfacing.
-
 Step 4
Fold and press each strip in half length-wise and top stitch both lengths of each strip. Fold and press each strip in half length-wise and top stitch both lengths of each strip.
-
 Step 5
On the foam board, draw a 12″ vertical line and a 12″ horizontal line directly in the center. Before you lay down the primary fabric strips, cut each one in half. Now you should have 18 strips that are roughly 20-22″ in length. DO NOT cut the handle strips in half. They need to stay WOF. Taking ten of your primary fabric strips, pin each one with top-stitching down and going the same direction, starting in the center and working your way out. Leave a slight space in between each strip as you pin them down.
-
 Step 6
Starting at the center line, take one of the other primary fabric strips and weave it through going over-one/under-one and pin onto the foam board at the ends. Before moving on to the next strip, glue each strip intersection. To ensure proper adhesion, alternate pinning down glued intersections to the foam board until dry.
-
 Step 7
Once you’ve woven and secured the middle four strips leaving a slight space in between each, take your WOF handle strips and weave one on both sides of the center four, following the same method you did as before. Make sure that the excess strips are the same length on both sides of the weave. Finish weaving the other four strips into the base and let dry per the manufacturer instructions of the fabric glue.
-
 Step 8
The next step involves making the 3D magic happen, but you’ve got some preparation to do first. The first thing is to measure the perimeter of the base of your basket. Mine was 33 inches (of approximately 8.25 per side). I will use this measurement in the instructions for this section, but adjust accordingly if yours is dramatically different or you’re adventurous and making a different size.
-
 Step 9
Using the 8.25 measurement for each side, I measured and marked the secondary fabric strips with an erasable pen starting at 4.125 (or 4 1/8), then three 8.25 lengths, and then again at 4.125. This final marking is the end of the strip so you can cut it there. Once all the secondary strips are marked and cut to the appropriate length of 33″ each, connect each strip using a reinforced zigzag stitch.
-
 Step 10
Now you have six rings wanting to make a square box, which should be no problem since you have the marks every 8.25″. Start weaving the bottom “ring” into the side straps making sure that the marks end up on the corners. I secured this bottom strip by glueing the intersections and pinning until dry, but this step isn’t mandatory if you’re itching for your box to be done.
-
 Step 11
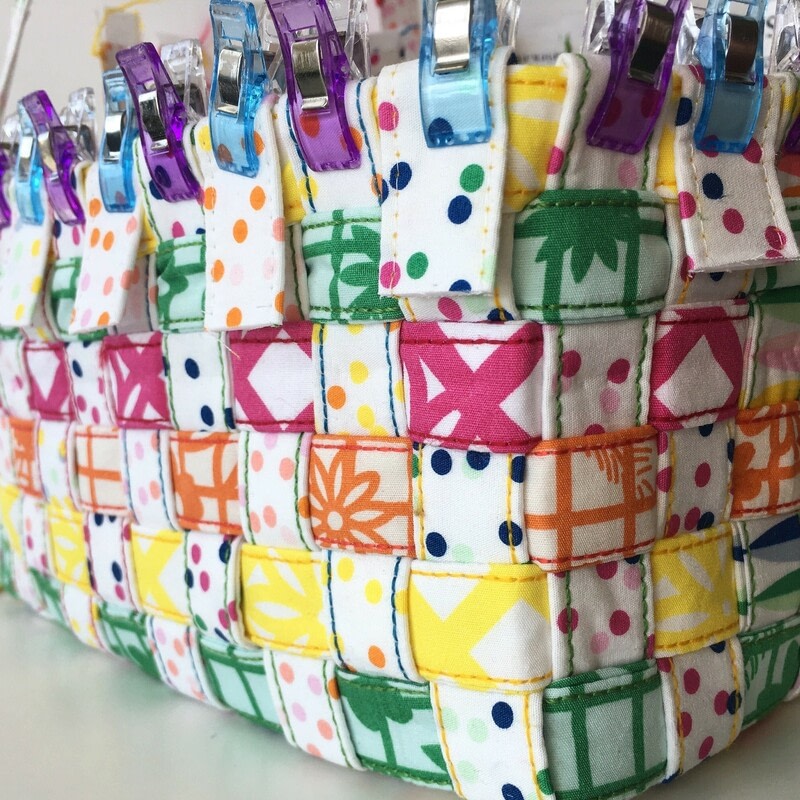
Weave the remaining five side strips using the same over-under technique as before with the marks landing on the corners. You’ll continually need to pull the primary strips up and push the secondary strips down as you add another. Once you get all six secondary fabric strips woven with your desired level of tautness, glue each of the intersections with the sixth strip. Fold over the intersecting strip and clip it and wait for this step to dry.
-
 Step 12
WOOHOO! You’ve made it to the last step, which is all about making the top look pretty and reinforcing the handles. Now go find the handles/binding fabric and cut two 1.25″ WOF strips. Also cut two 3/4″ WOF strips from your fusible interfacing.
-
 Step 13
Fuse each interfacing strip onto the center of the wrong side of each of the strips of fabric. Now sew these together right-sides facing with a 1/4″ seam allowance. Fold and press the remaining lengthwise raw edges toward the interfacing and fold and press the sewn strips on top of each other.
-
 Step 14
Before you try attaching this to the top of the basket, make sure that the excess primary fabric strips are even and measure 3/4″.
-
 Step 15
Starting in the top in between the two straps begin glueing the top binding onto the excess strips. When you reach one of the straps, use a seam ripper to open up the seam just enough to get the strap through and then slip the handle strap through. Continue this process until you get all four handle straps through and reach where you started. Measure where the two ends meet and cut the excess. Use clips to secure the top binding in place.
-
 Step 16
Next, measure and cut the handle straps to make sure that all four are the same length. FYI, I trimmed mine off at 12″. Now take one strap and tuck into the inside of the opposite binding. Place a glue line across the top of that strap. Take the strap from the other side and place in on top of that strap while tucking the excess into the outside of the opposite binding. Repeat this with the other handle straps. Now wait for all of this to dry.
-
 Step 17
Once this last step is all dry, all you have left is to use a reinforced zigzag stitch to connect the binding and then top stitch the binding to give it that final ooh la la
-
 Step 18
“Wait wait hold up Mathew. That can’t be the end because my box doesn’t look all crisp like yours does.” Bingo! The final thing you need to do is iron this puppy. What I love love love about Decor Bond fusible interfacing is that when you use an iron it will get soft and pliable. And then when it cools down it stiffens up and maintains the shape you created. Now you might have some dents in the binding from the clips, which should go away if you iron over it using a steam iron on high heat. Also, fold down each of the edges of the box place a steam iron on it for like ten seconds. This will give your box that crisp look that was missing.
-
 Step 19
Woop woop! Now all you have to do is enjoy your new Woven Fabric Basket. And if you post of social media, use the hashtag #wovenfabricbasket so we can see.