


About
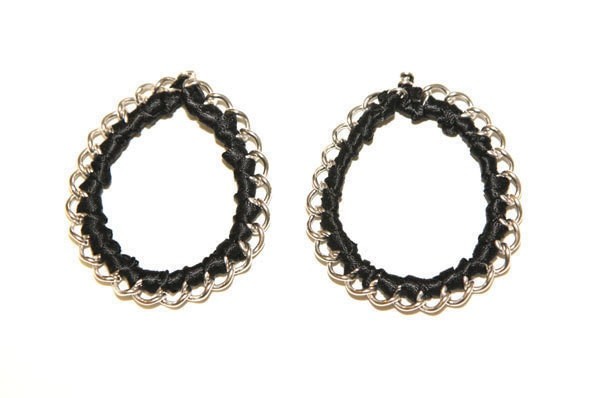
Equal parts hard and soft, these earrings go great with everything - especially black!
-
 Key West Witch favorited Woven Black Ribbon Chain Earrings
06 Sep 15:10
Key West Witch favorited Woven Black Ribbon Chain Earrings
06 Sep 15:10
-
 GiftedDiva24 favorited Woven Black Ribbon Chain Earrings
26 Nov 17:39
GiftedDiva24 favorited Woven Black Ribbon Chain Earrings
26 Nov 17:39
-
 Brenda M. favorited Woven Black Ribbon Chain Earrings
23 Apr 09:50
Brenda M. favorited Woven Black Ribbon Chain Earrings
23 Apr 09:50
-
 Olivia H. added Woven Black Ribbon Chain Earrings to Amy Lee
23 Apr 02:41
Olivia H. added Woven Black Ribbon Chain Earrings to Amy Lee
23 Apr 02:41
-
 rosa r. favorited Woven Black Ribbon Chain Earrings
20 Nov 01:49
rosa r. favorited Woven Black Ribbon Chain Earrings
20 Nov 01:49
-
Ida V. favorited Woven Black Ribbon Chain Earrings
05 Nov 19:58
-
 everlasting27 added Woven Black Ribbon Chain Earrings to project ideas
03 Sep 22:51
everlasting27 added Woven Black Ribbon Chain Earrings to project ideas
03 Sep 22:51
-
Renee C. added Woven Black Ribbon Chain Earrings to Beading Projects
02 Sep 16:52
-
 tara.henderson.9480 favorited Woven Black Ribbon Chain Earrings
17 Jun 22:38
tara.henderson.9480 favorited Woven Black Ribbon Chain Earrings
17 Jun 22:38
-
 Ariel favorited Woven Black Ribbon Chain Earrings
23 Mar 07:22
Ariel favorited Woven Black Ribbon Chain Earrings
23 Mar 07:22
-
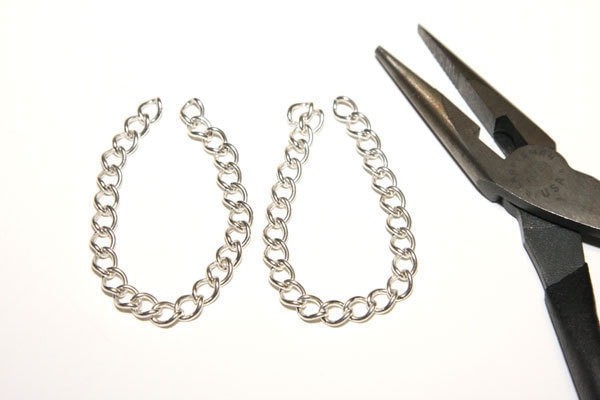
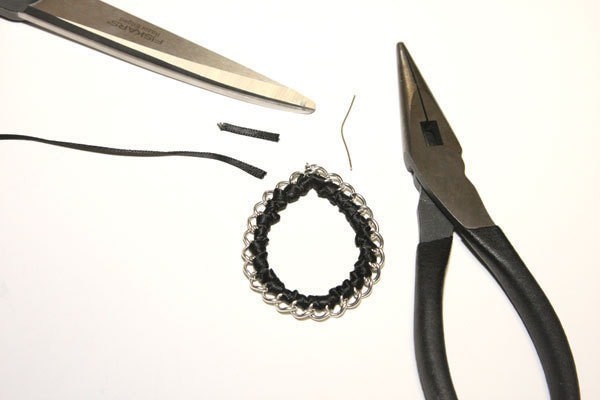
 Step 1
Cut the curb chain into two lengths the size you want for your earring drops.
-
 Step 2
Connect the ends of the curb chain together with a jumpring for each earring.
-
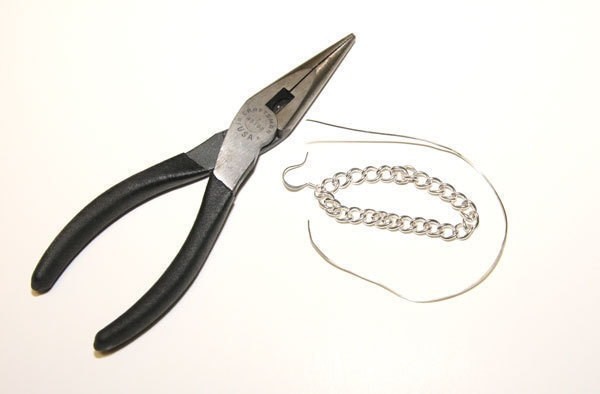
 Step 3
Cut a long length of the jewelry wire. Thread one end into the jumpring holding the chain ends together for one of the earrings.
-
 Step 4
While holding the wire below the curb chain, thread the end of a long piece of the ribbon into the first link of the curb chain, wrap it around and below the wire, going from front, to back, and then to the front again. Keep the loop of ribbon loose until you pull the end back around and into the loop, then pull tight to knot the ribbon around the wire + chain link.
-
 Step 5
Weave the ribbon into the same link and towards the back, and down and around to the front again. One more time, loop it into the same link towards the back, but this time keep the loop loose, bring the ribbon end down and back around to the front, and into the loop. Pull tight to knot, and now move onto the chain link next to it.
-
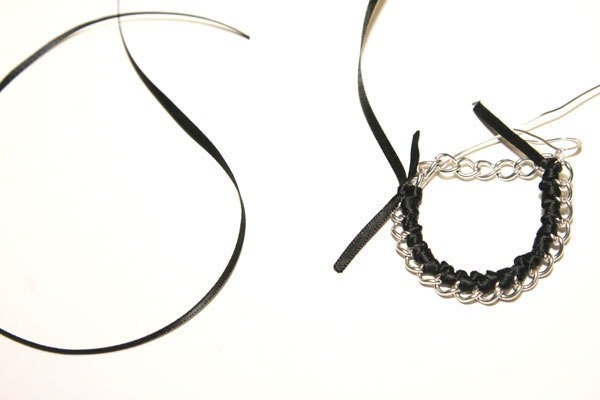
 Step 6
Follow this weaving pattern through each link in the chain: ribbon in, loops around, knots, in and around again, and then in, loops around, and knots...and moves onto the next link.
-
 Step 7
By doing this you are not only disguising the wire below but are also creating a crochet-like look to the ribbon and the chain links.
-
 Step 8
Keep bending the wire around into a teardrop-shape as you follow the curve of the chain.
-
 Step 9
If you run out of ribbon, cut another long length of ribbon, and tie the new piece in a square knot with the piece that's just run out.
-
 Step 10
Pull the square knot into the looping-and-knotting pattern you've created around the inside of the earring loop.
-
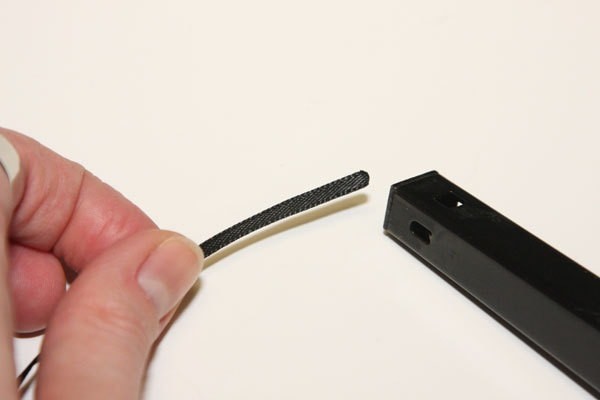
 Step 11
Heat-seal the cut ends with an open flame and wrap them with the ribbon as you continue to weave and loop.
-
 Step 12
Once you reach the jumpring at the start of the teardrop, cut the wire (with about 1/2" to spare). Wrap the end of the ribbon around the jumpring a few times, and then trim the end and heat-seal it.
-
 Step 13
Wrap the ends of the wire around the ribbon ends so nothing gets loose.
-
 Step 14
Repeat steps 3) - 8) for the other earring chain piece.
-
 Step 15
Attach a jumpring and a french hook to the top of each chain piece.


Thanks for your comments, and sorry it's taken me awhile to get back to you.
As for the length of craft wire, I think it heavily depends on the type and size of chain you are using, and how big you make the loops of chain. For mine, I used about 6.5" for the main piece, and 1.5" for the extra at the ends that I coiled around each other at the top. I think just measure your chains and add about an inch and a half for the extra, and it should be fine!
Have fun making them!
xoxo
Carly
Could you give an estimate on the length of craft wire that might be needed for this project? I'd like to make them with as high-end materials as possible -- they deserve it! -- and I'd like to minimize scraps of leftover wire.
If you're done with the project and don't feel comfortable estimating, I understand.
Either way, these are a great pair of earrings and I appreciate that you shared them with us!
Allie
xoxox
Carly