


About
3D Pen Jewelry
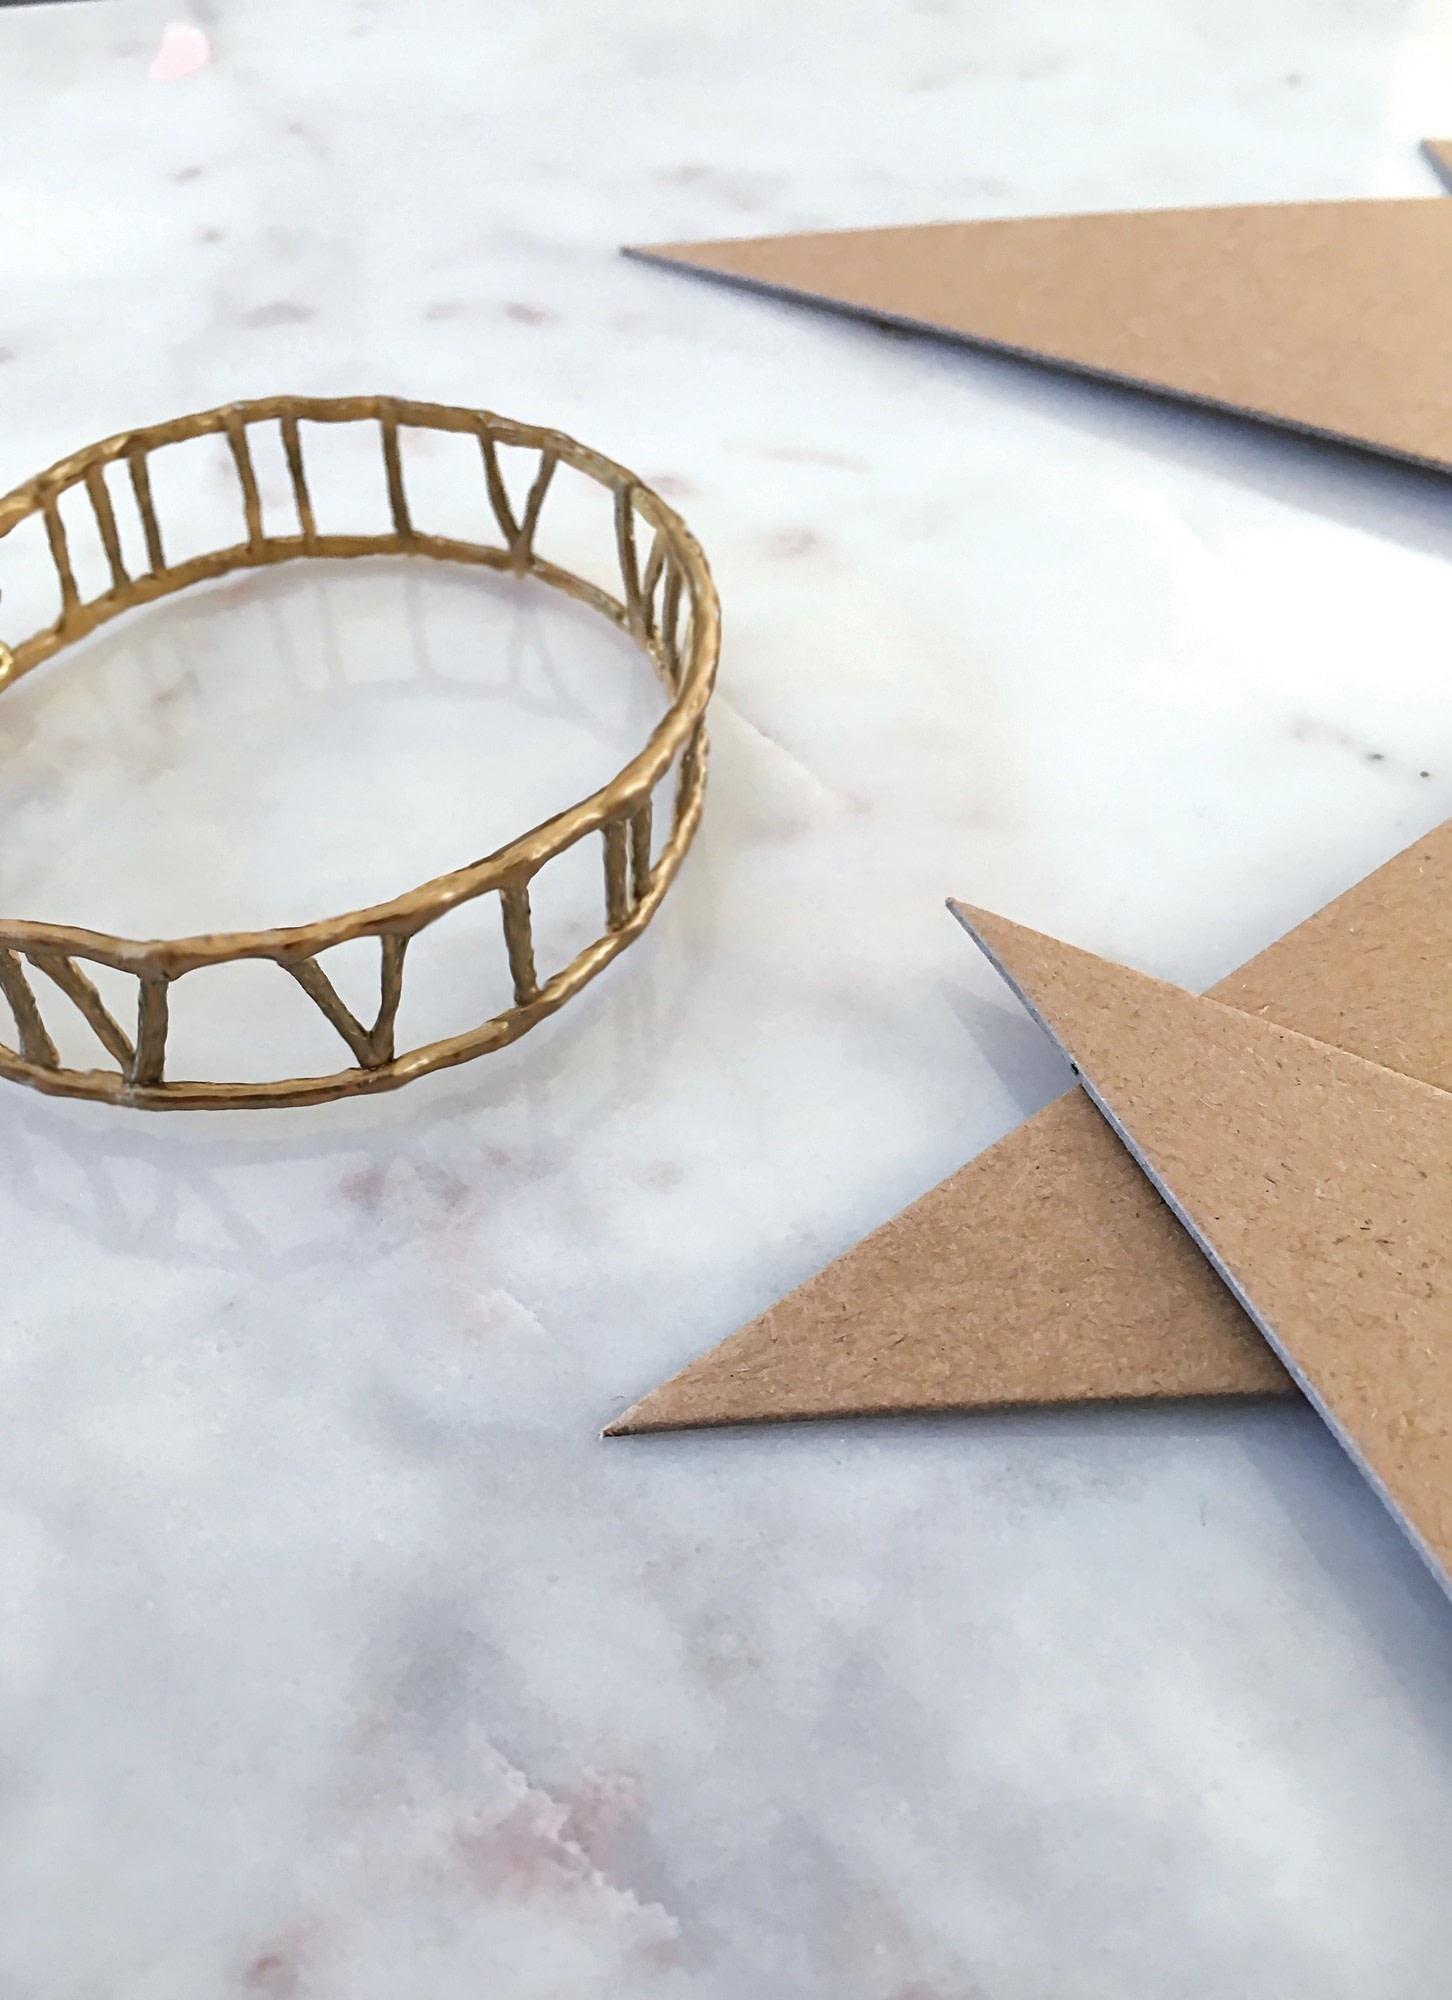
When in Rome, do as the Romans do. This modern design is minimal and sleek and requires fairly little hardware to complete. Trace the numerals in order, or customize with a number that has personal meaning to always keep it with you.
-
 RunsWithScissors favorited When In Rome Bangle
01 Dec 02:11
RunsWithScissors favorited When In Rome Bangle
01 Dec 02:11
-
 matthew t. favorited When In Rome Bangle
23 Jan 05:23
matthew t. favorited When In Rome Bangle
23 Jan 05:23
-
 Jade S. favorited When In Rome Bangle
29 Sep 01:51
Jade S. favorited When In Rome Bangle
29 Sep 01:51
-
 Kel M. added When In Rome Bangle to Accessories
09 Aug 12:42
Kel M. added When In Rome Bangle to Accessories
09 Aug 12:42
-
 Kinhime Dragon commented on When In Rome Bangle
28 May 13:11
Kinhime Dragon commented on When In Rome Bangle
28 May 13:11
-
 paola m. added When In Rome Bangle to craft
07 May 10:11
paola m. added When In Rome Bangle to craft
07 May 10:11
-
 agreigvile favorited When In Rome Bangle
07 May 07:42
agreigvile favorited When In Rome Bangle
07 May 07:42
-
 Crafterella featured When In Rome Bangle
02 May 23:00
Crafterella featured When In Rome Bangle
02 May 23:00
-
 RareJewel favorited When In Rome Bangle
28 Apr 08:13
RareJewel favorited When In Rome Bangle
28 Apr 08:13
-
 GMC Group published her project When In Rome Bangle
25 Apr 09:00
GMC Group published her project When In Rome Bangle
25 Apr 09:00
-
Step 1
To Make the Bracelet
Measure your wrist, and mark the template at that length; if you need to make the template longer, just repeat the design until you reach your desired length.
-
Step 2
Using the largest nozzle on your 3D pen, begin extruding the filament—this will give you a running start—and then press the tip of the 3D pen to your template. Trace the first Roman numeral of the bangle, continuing past the ends of the numeral by 1/4 in. (you will trim these later). Repeat for all of the numerals in the template. Inspect each numeral and reinforce as necessary. Without removing the numerals from the template, snip away any excess filament with the scissors, making sure each numeral is the same height.
-
Step 3
Trace the top band of the bracelet, moving slowly and making sure to overlap the edge of each numeral. Repeat for the bottom edge of the bracelet. Inspect your work and touch up any areas as necessary. Once the filament is completely cooled, gently peel the design from the template and trim away the excess filament with the scissors. If you wish to paint the bracelet in a metallic finish, you may do so now; I used a metallic bronze paint.
-
Step 4
To make the bracelet as shown, slide a fold-over cord end onto each end of the bracelet. Be sure the flat side of the fold-over cord end is facing upward. On one side of the bracelet, use pliers to attach a 4mm jump ring to each fold-over cord end. On the opposite side, attach a 6mm or 8mm jump ring to each cord end, and then attach a clasp to each of those. To wear, latch the clasps to the corresponding jump rings.
Variation
You can easily make a headband or choker-style necklace by increasing the template to a length that fits comfortably.
Comments

