


About
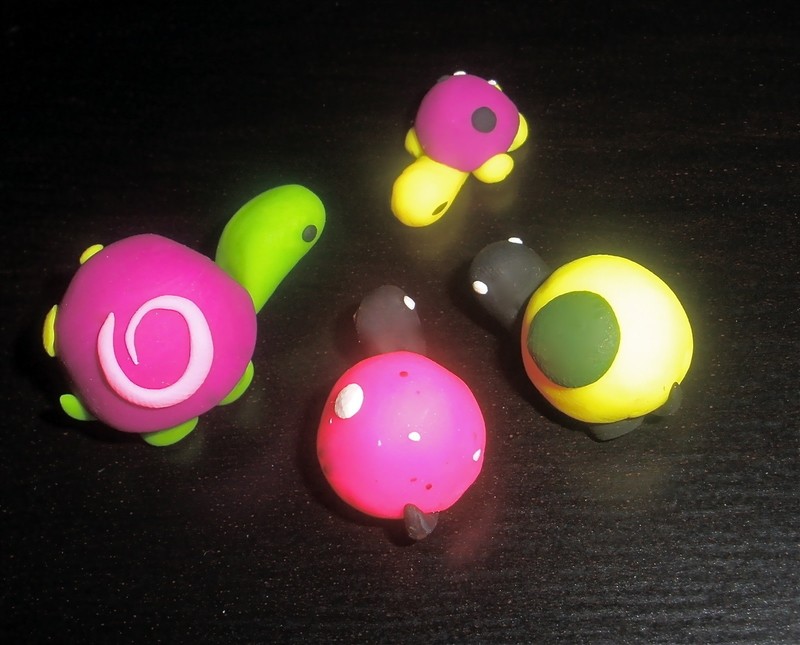
Cute and colorful clay turtles.
I was bored during the summer, and just started making turtles out of clay, I ended up making a ton of these :)
Tags
-
 DeadGirl favorited Turtles
21 Sep 06:41
DeadGirl favorited Turtles
21 Sep 06:41
-
 Dee D. added Turtles to mini
05 Feb 07:08
Dee D. added Turtles to mini
05 Feb 07:08
-
 char53lie added Turtles to Projects
04 Apr 19:19
char53lie added Turtles to Projects
04 Apr 19:19
-
Jessica D. added Turtles to Other
05 Jan 01:40
-
 jasmine.thompson.98499 favorited Turtles
30 Nov 20:35
jasmine.thompson.98499 favorited Turtles
30 Nov 20:35
-
 Emmi S. added Turtles to To-Do (Clay)
23 Aug 11:17
Emmi S. added Turtles to To-Do (Clay)
23 Aug 11:17
-
 Ninni favorited Turtles
17 Jun 12:27
Ninni favorited Turtles
17 Jun 12:27
-
 zoe.shaw.5680 favorited Turtles
25 Apr 10:53
zoe.shaw.5680 favorited Turtles
25 Apr 10:53
-
 abaigeal m. favorited Turtles
17 Mar 01:14
abaigeal m. favorited Turtles
17 Mar 01:14
-
 OH! Its the Domo :3 favorited Turtles
01 Dec 03:42
OH! Its the Domo :3 favorited Turtles
01 Dec 03:42
You Will Need
-
 Step 1
First choose the color you want for the shell, then roll it into a ball. Next you have to shape it into a half sphere. What I do is press the ball against my table to get a flat side. Then I just shape it with my fingers. Now it should look like a shell.
-
 Step 2
Next using the color of clay you want for the skin, roll four tiny ovals for the legs (they don't have to be perfect ovals, just make sure they're all about the same size). These are going to be a lot smaller then the shell, about 1/10 of the size is good, but you can go smaller if you want.
-
 Step 3
Take one of the ovals you just rolled out and press it against the bottom of the shell. Keep on pressing until you've flattened the bottom of the leg and it is firmly attached. Continue this with the other three legs. Make sure you space them evenly and leave enough room for the head and tail.
-
 Step 4
It should look like this...
-
 Step 5
Then this.
-
 Step 6
Now roll out a tiny sliver of clay, it should be about 1/5 the size of the legs. This is going to be the tail.
-
 Step 7
In between two of the turtle's legs, attach the tail like so.
-
 Step 8
Here's what the back of the turtle should look like.
-
 Step 9
Next roll out some clay for the head. This should be about 3x the size of a leg. Roll it out into a teardrop shape.
-
 Step 10
Now using black clay (or whatever color you want to use for the eyes) roll out two 2-mm balls of clay. Then carefully attach these to the head, make sure they are evenly spaced.
-
 Step 11
Now you can attach the head to the body! Be careful not to squish anything else while attaching it!
-
 Step 12
Now you're done making your turtle! All you need to do is bake it according to the instructions on your brand of clay :)
-
 Step 13
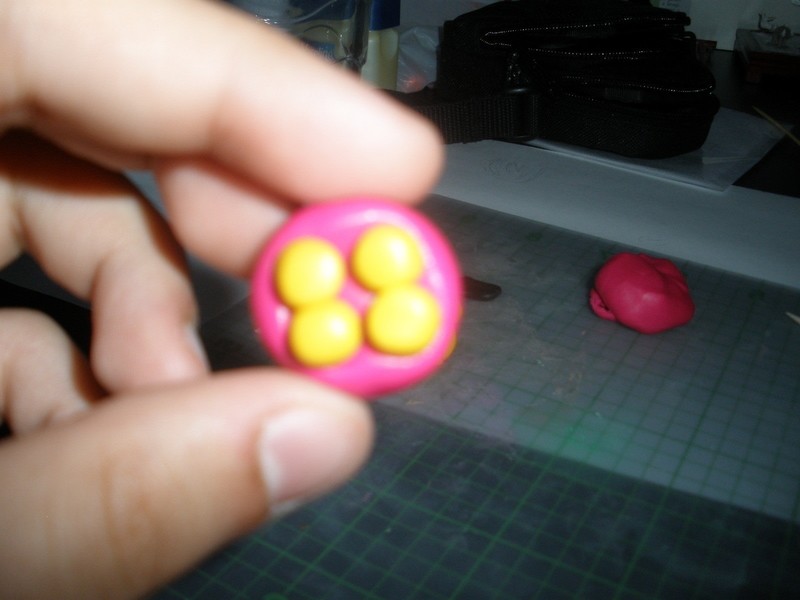
You can even give your turtles neat shell designs if you want. After you make the shell just add on a design like swirls, polka dots or whatever you want. You could even paint the shell after your turtle is baked.


Comments


