


About
adorable flowers
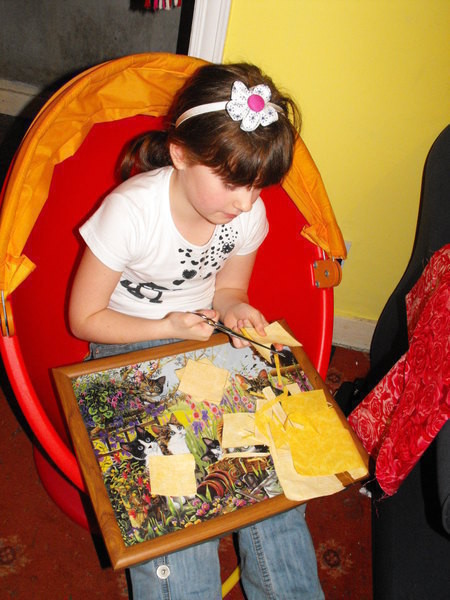
These are a bit fiddly to make but they are so cute. You can do almost anything with them from hair pins to rings to necklaces to jacket/hat pins.
And you can use up that bit of scrap fabric you can't bare to part with for that perfect project.
Well you just found it.
It looks like a long tutorial, but I've tried to get every step in there and as clear as possible.
You can see more pretty flowers on my blog :www.theaftercraft.blogspot.com/
-
 Ronald T. commented on Tsumami Kanzashi Flower
11 Jul 05:27
Ronald T. commented on Tsumami Kanzashi Flower
11 Jul 05:27
-
Ronald T. favorited Tsumami Kanzashi Flower
11 Jul 05:26
-
 Billy Jennings favorited Tsumami Kanzashi Flower
04 Apr 05:29
Billy Jennings favorited Tsumami Kanzashi Flower
04 Apr 05:29
-
 Kevin Huggins favorited Tsumami Kanzashi Flower
28 Jan 09:42
Kevin Huggins favorited Tsumami Kanzashi Flower
28 Jan 09:42
-
 Jasmin favorited Tsumami Kanzashi Flower
01 Oct 13:42
Jasmin favorited Tsumami Kanzashi Flower
01 Oct 13:42
-
 Sameer s. commented on Tsumami Kanzashi Flower
06 Sep 07:43
Sameer s. commented on Tsumami Kanzashi Flower
06 Sep 07:43
-
Sameer s. commented on Tsumami Kanzashi Flower
06 Sep 07:43
-
 Holwn G. favorited Tsumami Kanzashi Flower
01 Sep 05:23
Holwn G. favorited Tsumami Kanzashi Flower
01 Sep 05:23
-
Blondell K. favorited Tsumami Kanzashi Flower
11 Mar 19:33
-
 Melanie M. favorited Tsumami Kanzashi Flower
10 Jan 19:24
Melanie M. favorited Tsumami Kanzashi Flower
10 Jan 19:24
You Will Need
-
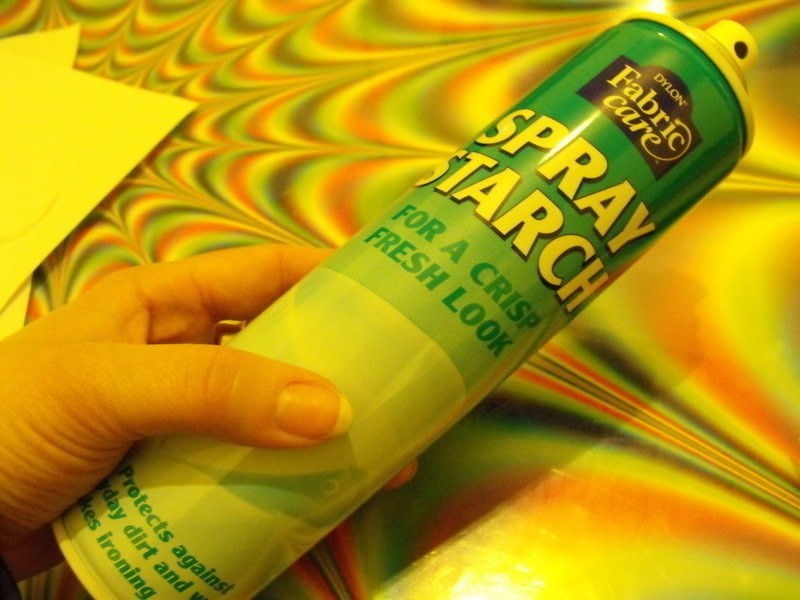
 Step 1
Before you begin you want to starch your fabric.
If you don't have access to this you can use fabric interfacing as well.
-
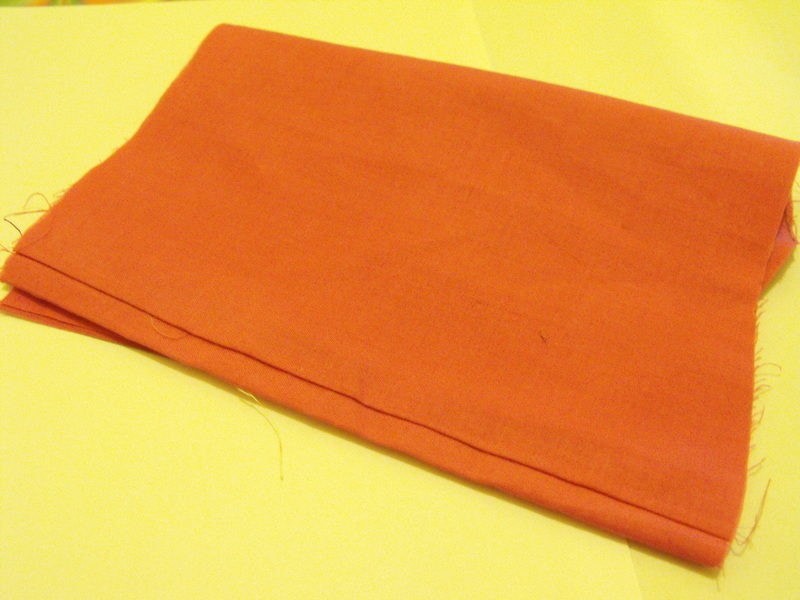
 Step 2
Pick out your scrap fabric.
-
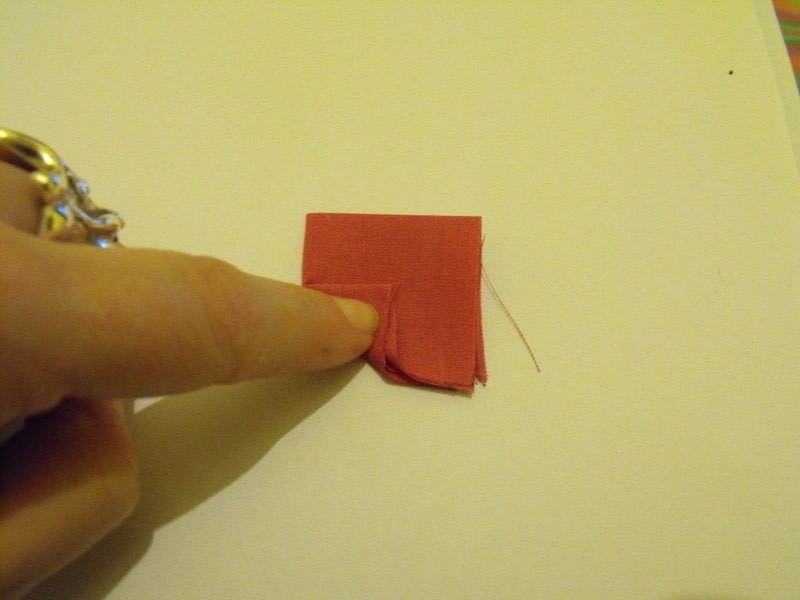
 Step 3
Cut out your squares. Any size really will do.
Mine were about 2 inch wide so I decided to use 6 petals, but you can use 5 or if you want use more just your petals won't be as open when you're finished.
-
 Step 4
fold in half
-
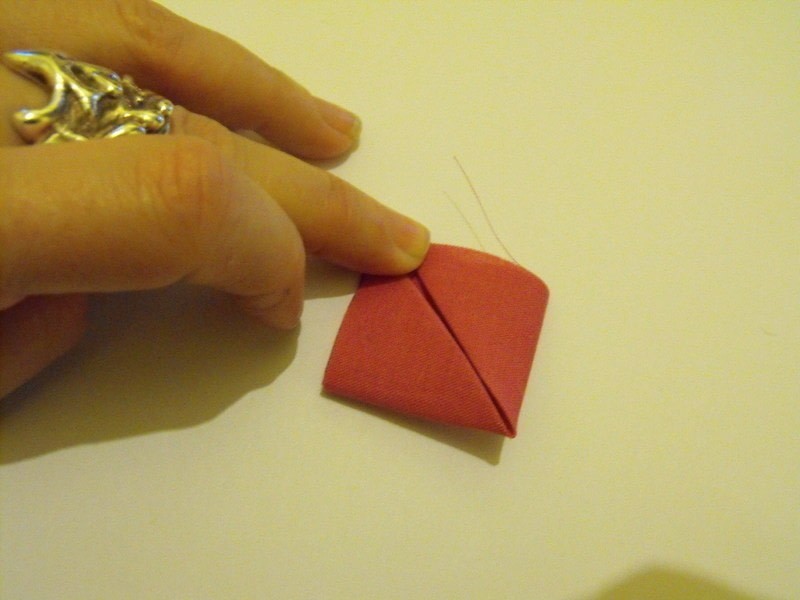
 Step 5
Fold corner to the center
-
 Step 6
Same thing to the other side
-
 Step 7
Flip over, the two ends that are together are at the bottom of the diamond as we're looking at it now.
-
 Step 8
Imagine a line going down the middle if the diamond.
Fold the side to the middle.
-
 Step 9
Same thing to the other side.
-
 Step 10
Now fold it half length wise.
-
 Step 11
It should looke like this from the top....
-
 Step 12
And this on the bottom.
-
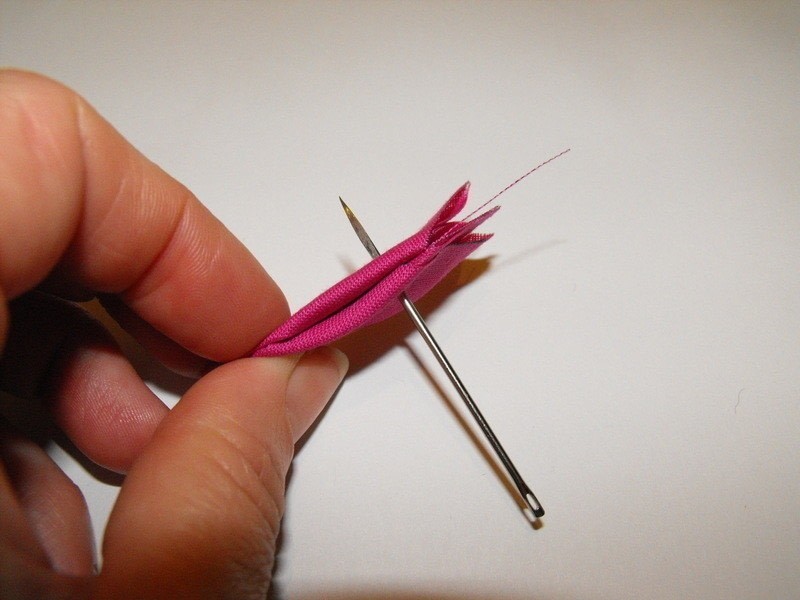
 Step 13
Taking your need and thread.( yes no thread in this photo)
Push the needle through the middle.See the next photo for a more exact placement.
-
 Step 14
See how the needle catches the little triangles in middle?? That's what we want.
-
 Step 15
Stack em all together and get them on the needle and on to the thread.
I quatruple up on my thread to make it strong.
-
 Step 16
Now you want to cutt off the ends.
Closer picture next step.
-
 Step 17
About this much.. and do it to them all.
-
 Step 18
Squish them all togther.
-
 Step 19
And make a knot.
-
 Step 20
Nice and tight. Give it a few knots so it won't come undone. Then snip your threads.
Should look like this.
-
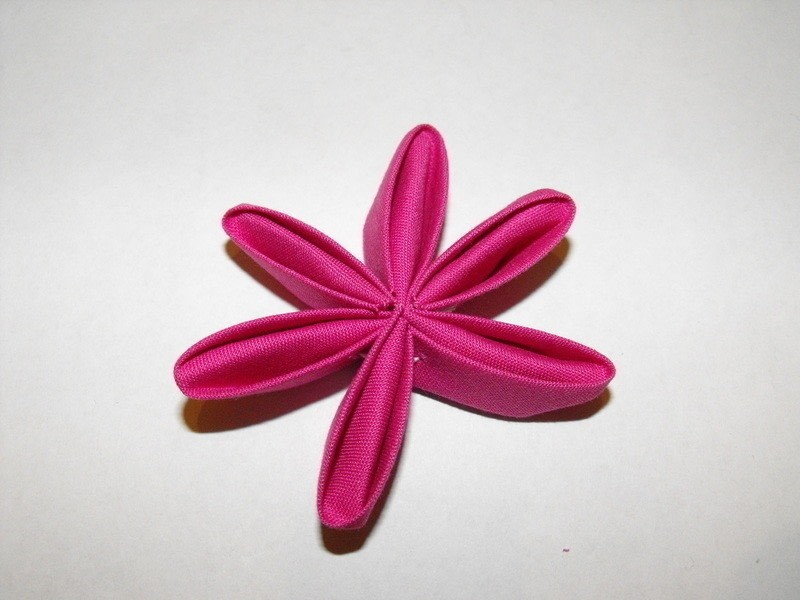
 Step 21
Push the centre piece out and flat to al the petals
-
 Step 22
should look like this now...
-
 Step 23
Sew on your center AND TA DA!!!! cute and sweet!!


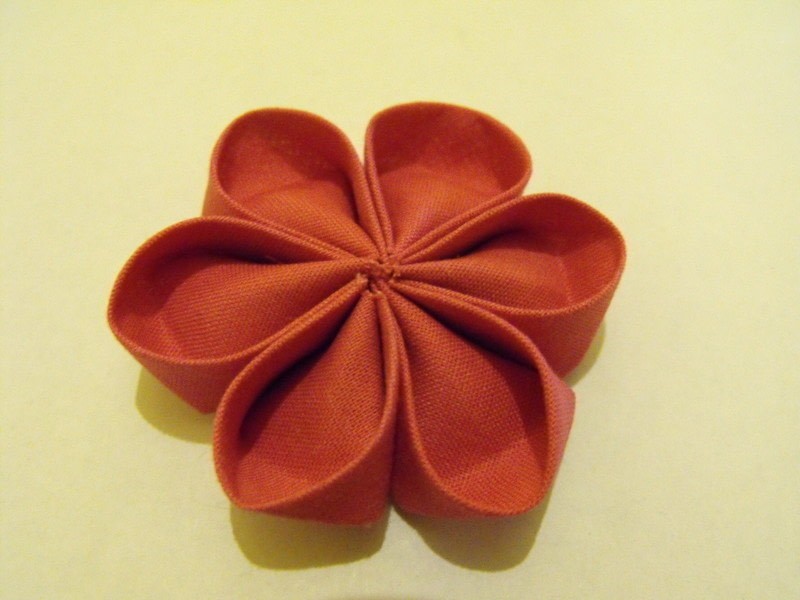


I can't wait to try this. It will be such a cute idea to embellish little girl outfits.
http://www.youtube.com/watch?v=LaerMKBS8S8