


About
This cute and easy bracelet can go with any outfit!!
I didn't know until recently that Shrinky-Dink plastic came in colors rather than just the clear stuff!These bracelets make great gifts, too.
-
 Sarah Sylvia S. favorited Trendy Shrink Plastic Bracelet
25 Jul 05:36
Sarah Sylvia S. favorited Trendy Shrink Plastic Bracelet
25 Jul 05:36
-
 jackie c. favorited Trendy Shrink Plastic Bracelet
02 Aug 23:22
jackie c. favorited Trendy Shrink Plastic Bracelet
02 Aug 23:22
-
 Anna V. added Trendy Shrink Plastic Bracelet to Plastic
07 Jun 01:21
Anna V. added Trendy Shrink Plastic Bracelet to Plastic
07 Jun 01:21
-
 craftgirl14 favorited Trendy Shrink Plastic Bracelet
05 Jul 06:20
craftgirl14 favorited Trendy Shrink Plastic Bracelet
05 Jul 06:20
-
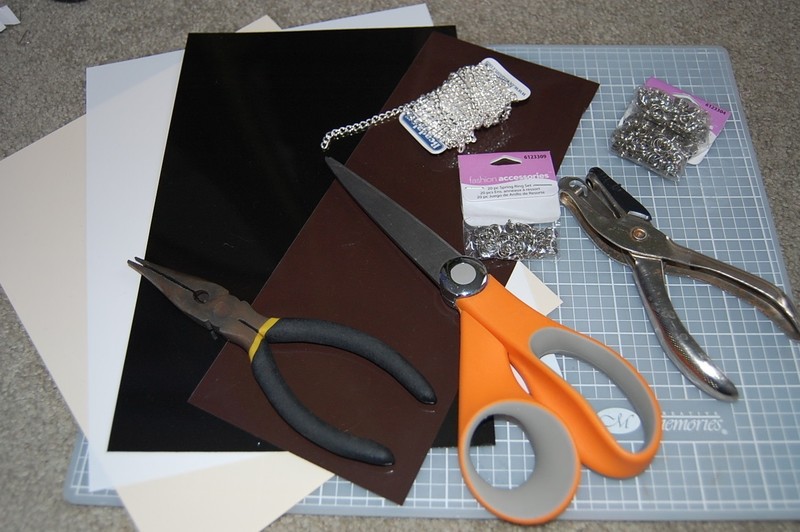
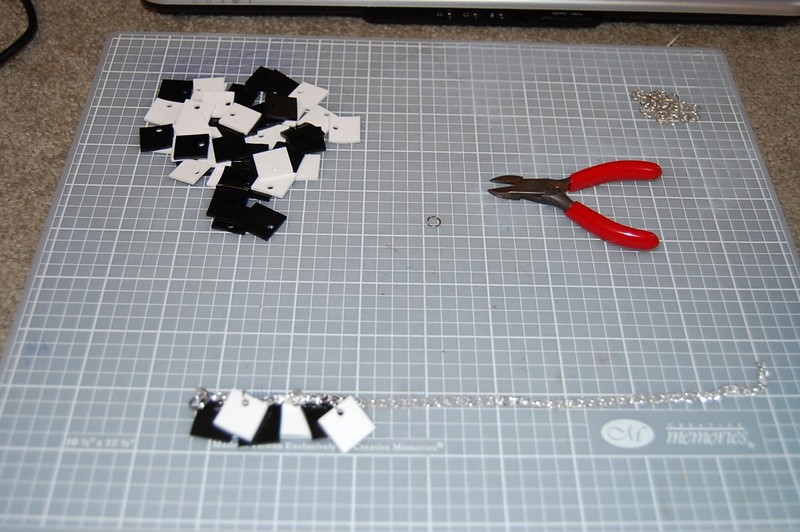
 Step 1
Gather together all of your materials. I like to use black, white, brown, and cream shrink plastic. If you have any special cutters that you want to use to make perfect shapes, then that's a good idea. If not, just use scissors to make funky shapes!
Preheat the oven to 350 degrees.
-
 Step 2
The first step is to cut out all of your shapes. Obviously, shrink plastic shrinks, so you want to make sure your shapes won't be too big or too small.
I sometimes use a special cutter to make my circles, but you can always trace something and cut it out too.
For this bracelet, I'm cutting out squares...
-
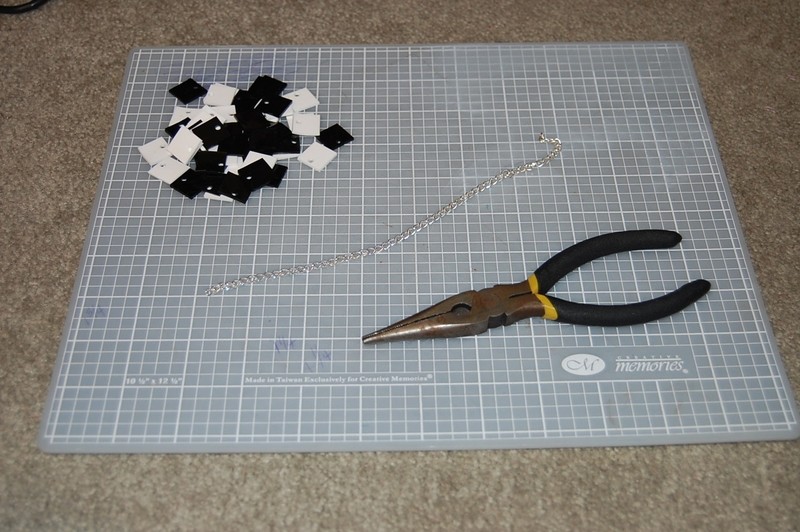
 Step 3
If you want your bracelet to have shapes on every loop of chain, then you'll have to cut out a lot of shapes. If you want to skip some loops then that works too.
You can always go back and make more shapes if you need to :)
I like to use different colors on each bracelet. But it's all up to you. Be creative!!
-
 Step 4
Now, punch holes in all of your shapes. Make sure they're not too far in the middle, because you want to be able to fit your jump rings through.
DON'T FORGET TO PUNCH THE HOLES BEFORE YOU SHRINK THE PLASTIC!!!!
-
 Step 5
It's time to shrink the shapes!!
The oven should be at 350 degrees. Put all of your shapes on a cookie sheet, and make sure that none of them are touching. You might have to do a couple batches...
Put them in the oven. It only takes a couple minutes for them to shrink, and it's kinda fun to watch!
-
 Step 6
When they are all completely shrunk, let them cool off for a couple minutes.
Then, scoop them off the cookie sheet and bring them back to your crafting area.
-
 Step 7
Measure your chain out so that the bracelet will fit around your wrist, but add about half an inch.
-
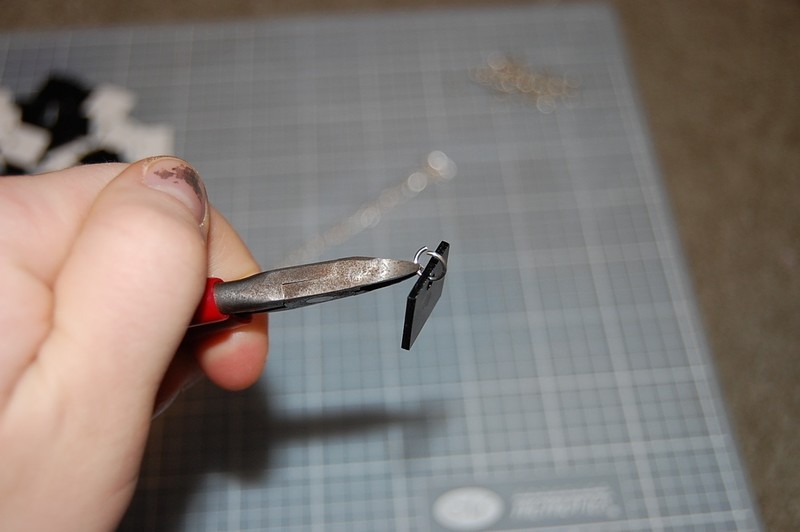
 Step 8
Take a jump ring and spread apart the ends with your pliers.
Then put it through the hole in your first shape.
-
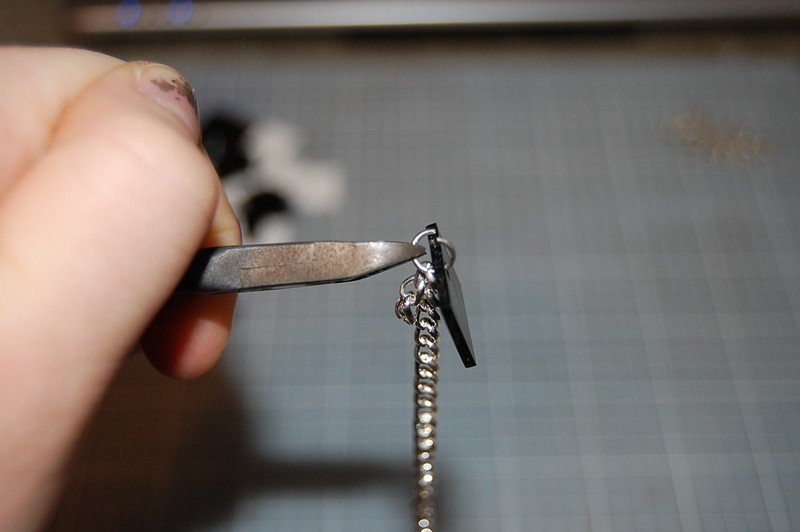
 Step 9
Stick one end of the jump ring through a loop in the chain.
Push the two ends of the jump ring together with the pliers.
-
 Step 10
Continue to attach the shapes and jump rings onto the chain until you have your bracelet filled!
-
 Step 11
Put a chain of a couple jump rings on the beginning and the end of your bracelet, and that will make it easier when you put the bracelet on and take it off.
-
 Step 12
Finally... put your clasp on the end,and you have your B-E-A-U-tiful bracelet!!!!


 1
Watercolor Art »
Watercolor Paints Made From Make Up
1
Watercolor Art »
Watercolor Paints Made From Make Up

CO + K User