About
A cute little box covered in buttons!
I had nothing else to do and noticed that I still hadn't thrown away the box that my replacemnt phone came in. So, I decided to pretty it up a bit with some buttons, magazines and a whole lot of glue! Now, I have a cute little box ready to be filled with junk. =)
Tags
-
 Step 1
For this first step, you'll need one of the foam brushes,paint, and your plain cardboard box.
-Simply dip your foam brush in the acrylic paint and start painting the outside of the box. Two coats should be enough. =) -
 Step 2
While the paint dries, pull out some old magazines and start cutting out some words/images that catch your eye. Make sure you have enough art to cover the INSIDE of your box.
After the paint is dry; you can now work on gluing your clip art to the inside of the box with a glue stick.
**TIP:: You can paint the inside of the box BEFORE applying the magazine art or you can just use a black marker to color in the open areas, like I did.** -
 Step 3
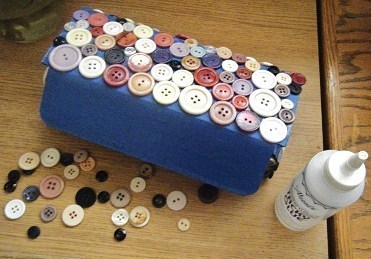
Now the fun part begins. Take your wide assortment of buttons and some tacky glue. Now start gluing those buttons on! I chose to do one layer , but you can always add more buttons. =)
**TIP::Do not apply buttons to the flap. It wil keep the box from being able to close!**
-
 Step 4
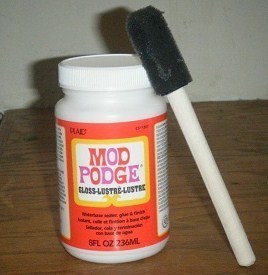
After you have coered your entire box with buttons; make sure the glue is dry.
Take another foam brush and the Mod Podge and apply two thin (wait for each coat to dry before applying another) coats to, both, the outside and inside of the box. -
 Step 5
When dry, your finished project should look something like this. =)