About
Most pattern instructions don't explain how to do the Burrito technique.
I learned this excellent technique by taking an Islander Sewing Systems course. They use it with their patterns. It gives you a more finished, professional look when sewing in a shirt yoke! I use it every chance I get!
-
 JadeSucksAtLife favorited The "Burrito" Technique
04 Mar 08:17
JadeSucksAtLife favorited The "Burrito" Technique
04 Mar 08:17
-
 Alissa B. favorited The "Burrito" Technique
23 Jul 19:22
Alissa B. favorited The "Burrito" Technique
23 Jul 19:22
-
 Linda of Nice dress! Thanks, I made it!! favorited her project The "Burrito" Technique
03 Jul 13:56
Linda of Nice dress! Thanks, I made it!! favorited her project The "Burrito" Technique
03 Jul 13:56
-
Linda of Nice dress! Thanks, I made it!! published her project The "Burrito" Technique
27 Jun 09:00
You Will Need
-
 Step 1
When sewing a yoke on a shirt or light-weight jacket, sew the fronts, yoke and back together as usual. Then sew on the yoke lining, but only at the bottom seam.
-
 Step 2
Lie your shirt down with the yoke lining facing up and roll the bottom pieces (fronts and back) up on to the yoke lining. That roll is your "stuffing".
-
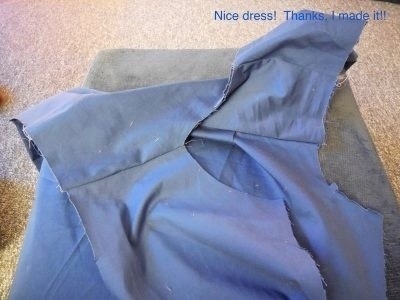
 Step 3
Then fold the yoke lining over your stuffing, matching the shoulder seams, RIGHT sides together, with the shoulder seams of the other yoke piece underneath. All your shirt is rolled up into your yokes like a Burrito. Pin together the shoulder seams to hold the stuffing inside.
-
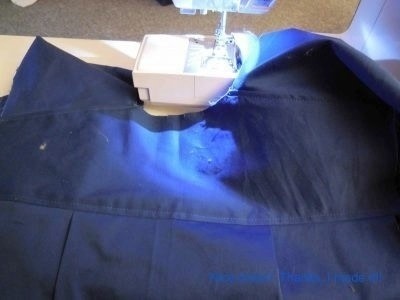
 Step 4
Then sew the shoulder seams together.
-
 Step 5
After your shoulder seams are sewn together, pull the stuffing out of the end of the Burrito and you will have a neat and tidy yoke - no hidden hand sewing required, no messy seams!
-
 Step 6
Just press with an iron and add topstitching - if you like!