


About
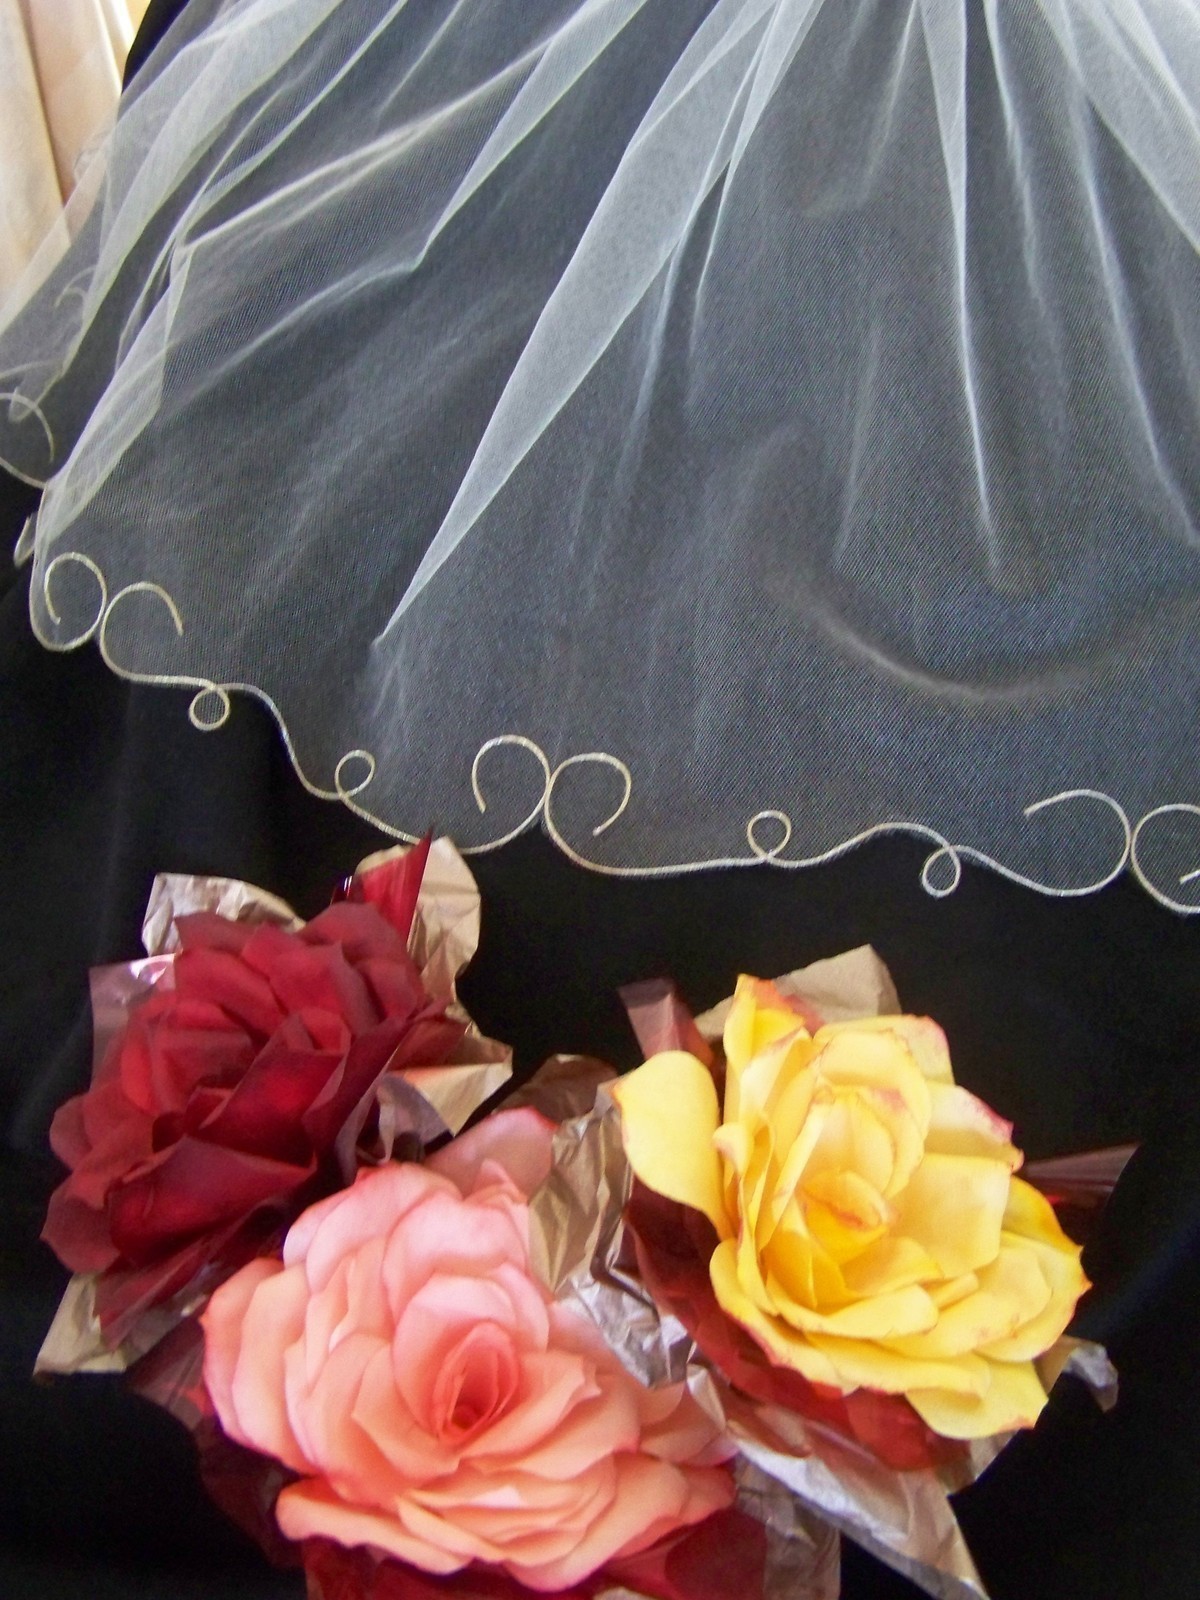
Gorgeous edging for any sheer fabric project!
I saw a video for this on youtube (I'm sorry I can't find the video anymore), and I fell in LOVE with it! Veil prices are shockingly high for something as simple as a little tulle, and there is no reason to ever pay full price for one, as they are among the easiest of wedding crafts to make! Originally I was going to make a larger veil--this one was simply for practice. If it turned out well, I was going to swap the larger veil for this one for the reception. But I loved it so much, I didn't bother with the larger one and just wore this one all day. I was also going to add pearls (and it might have been even better if I had), but I thought it was already pretty, and I didn't want to mess with it...
You can use this technique to make the edging on any style veil.
I highly recommend practicing on swatches of inexpensive tulle and cheaper string or floss FIRST before sitting down with your actual veil, just to iron out the kinks. You might actually end up with something beautiful, even for your practice piece!
--I will try to add photos later. I am sorry that I did not take them when I made the veil or any of my practice pieces. If you have any questions, feel free to send me a message. I want everyone to know that you don't have to spend a lot of money to have a beautiful wedding!
Tags
-
 Key West Witch favorited Swirl Edged Wedding Veil
26 Jun 08:10
Key West Witch favorited Swirl Edged Wedding Veil
26 Jun 08:10
-
 Callie favorited Swirl Edged Wedding Veil
26 Feb 08:16
Callie favorited Swirl Edged Wedding Veil
26 Feb 08:16
-
 Rachel O. favorited Swirl Edged Wedding Veil
22 Sep 10:21
Rachel O. favorited Swirl Edged Wedding Veil
22 Sep 10:21
-
 Amanda P. favorited Swirl Edged Wedding Veil
19 Feb 05:55
Amanda P. favorited Swirl Edged Wedding Veil
19 Feb 05:55
-
 Mariah K. favorited Swirl Edged Wedding Veil
02 Oct 03:46
Mariah K. favorited Swirl Edged Wedding Veil
02 Oct 03:46
-
 Nena added Swirl Edged Wedding Veil to Sugar skull
12 Aug 06:37
Nena added Swirl Edged Wedding Veil to Sugar skull
12 Aug 06:37
-
 breeze b. favorited Swirl Edged Wedding Veil
29 Jun 03:41
breeze b. favorited Swirl Edged Wedding Veil
29 Jun 03:41
-
 sweetstuffbymisty favorited Swirl Edged Wedding Veil
10 Jul 16:52
sweetstuffbymisty favorited Swirl Edged Wedding Veil
10 Jul 16:52
-
 Renn W. favorited Swirl Edged Wedding Veil
28 Jun 20:18
Renn W. favorited Swirl Edged Wedding Veil
28 Jun 20:18
-
 Rebecca P. favorited Swirl Edged Wedding Veil
24 Jun 12:53
Rebecca P. favorited Swirl Edged Wedding Veil
24 Jun 12:53
You Will Need
-
Step 1
Gather your tulle or netting (or pre-made veil, if you are using one), embroidery floss, scissors, glue (be sure to use a good, tacky glue that is permanent and washable, like that for affixing jewels), and a piece of cardboard, plastic, or any other surface that you don't mind getting glue on.
-
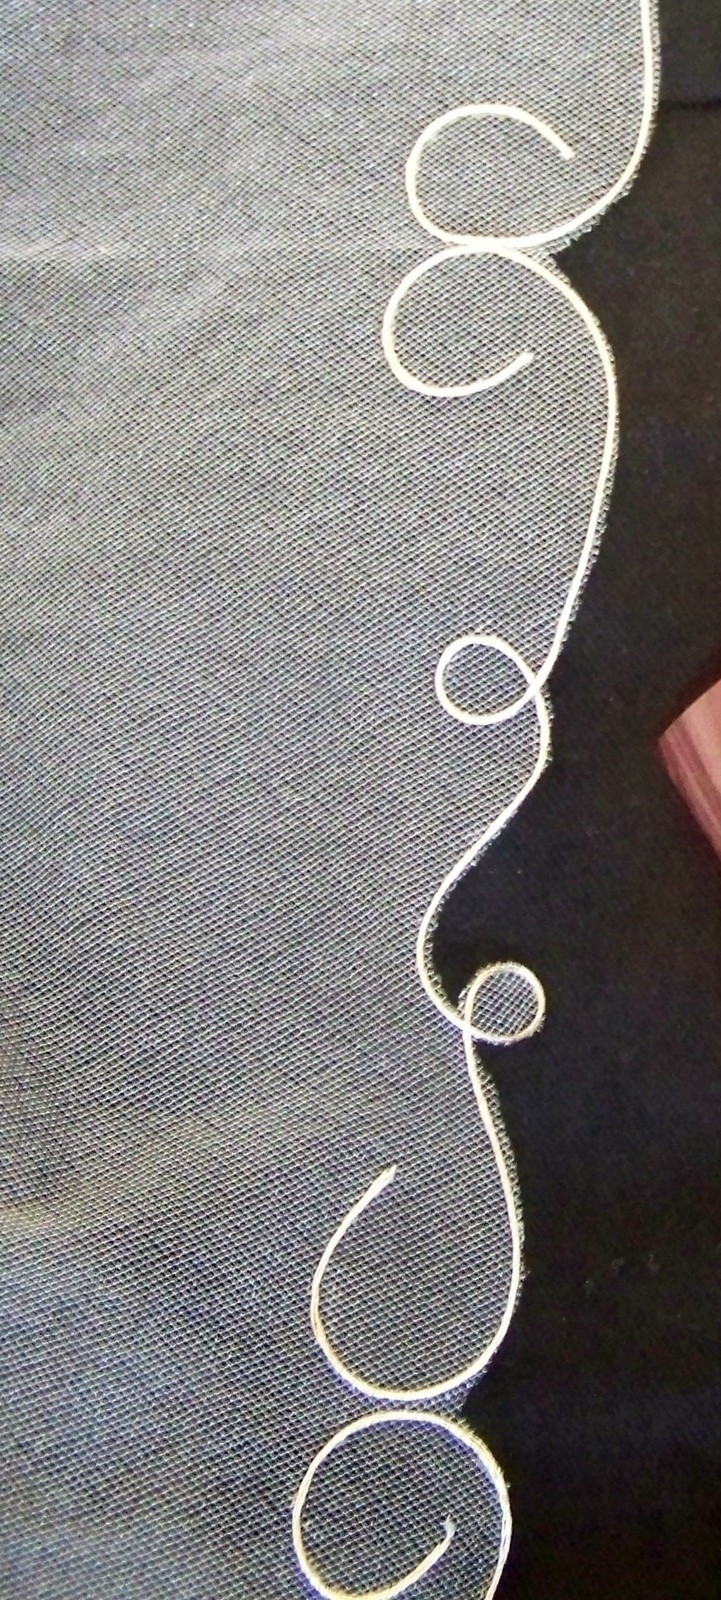
Step 2
Spread out veil material a foot or so at a time. I found that pinning it to the surface of the cardboard base helped keep it in place. Using your glue, make a swirly design. Do only a few inches at a time, to keep it neat. I used a freehand design that I simply duplicated from one half of the veil to the next. You can do it completely freehand, if you would like. Plan it out ahead of time, if you are more comfortable with that.
-
Step 3
Carefully lay your embroidery floss over the glue. Quickly wipe up any mistakes. Using pins will help keep the swirls in place while they dry. This is important, particularly for the tighter swirls. Do NOT pin directly on the floss, as this might kink it or split the floss, but pin on either side of it and in the middle of any swirls--the pins will "nudge" the floss gently so they stay on the glue. This is particularly important for metallic thread, like I used, as it wants to straighten out.
Allow to dry flat a section at a time. -
Step 4
Using fine, sharp scissors, cut off the excess tulle below the design. Try to cut as close to the floss as you can, but you don't have to be perfect--it will still look great!
-
Step 5
If desired, add pearls, seed beads, rosettes, etc. I felt that mine didn't need it, but I think it would be really beautiful.
-
Step 6
If you don't have a pre-made veil, attach your veil to a comb, headband, etc. I sewed mine to a comb. If the comb will show, be sure to cover the stitches with beads, pearls, ribbon, etc. Mine went under my bun, so I completely blew this off.
-
 Step 7
You now have a beautiful, one-of-a-kind wedding veil! This could also make a gorgeous fascinator, curtain edging, belly dance veil or skirt edging, black widow or gothy halloween veil (if done in black)edging, etc--the possibilities are endless! Good luck!


think it's great to use for glass curtains as well;-D
Thank you for sharing this and .... for the tute;-D