About
Bracelets that looks nice on its own or stacked.
After looking at so many bracelet tutorials and collecting ideas, I have decided to pick my favourite feature of each tutorial I saw and create my very own! I actually made these for school. I hope you like it as much as I do:)
Tags
-
 Larry N. favorited Stacky Bracelets For School
28 Mar 00:57
Larry N. favorited Stacky Bracelets For School
28 Mar 00:57
-
 Jennstar329 favorited Stacky Bracelets For School
23 Mar 00:01
Jennstar329 favorited Stacky Bracelets For School
23 Mar 00:01
-
 Summer added Stacky Bracelets For School to Accessories
08 Mar 19:48
Summer added Stacky Bracelets For School to Accessories
08 Mar 19:48
-
 Kirsty J. added Stacky Bracelets For School to Bracelets
08 Mar 12:18
Kirsty J. added Stacky Bracelets For School to Bracelets
08 Mar 12:18
-
 Brandi M. favorited Stacky Bracelets For School
22 Sep 02:32
Brandi M. favorited Stacky Bracelets For School
22 Sep 02:32
-
 lisa.fitzgerald.7583 added Stacky Bracelets For School to Bracelets
18 Aug 01:56
lisa.fitzgerald.7583 added Stacky Bracelets For School to Bracelets
18 Aug 01:56
-
Julie A. added Stacky Bracelets For School to jewelry
20 May 07:49
-
shruti r. added Stacky Bracelets For School to favourate
13 Mar 15:20
-
shruti r. favorited Stacky Bracelets For School
13 Mar 15:20
-
Barjaa B. added Stacky Bracelets For School to Projects To Do
27 Nov 11:24
-
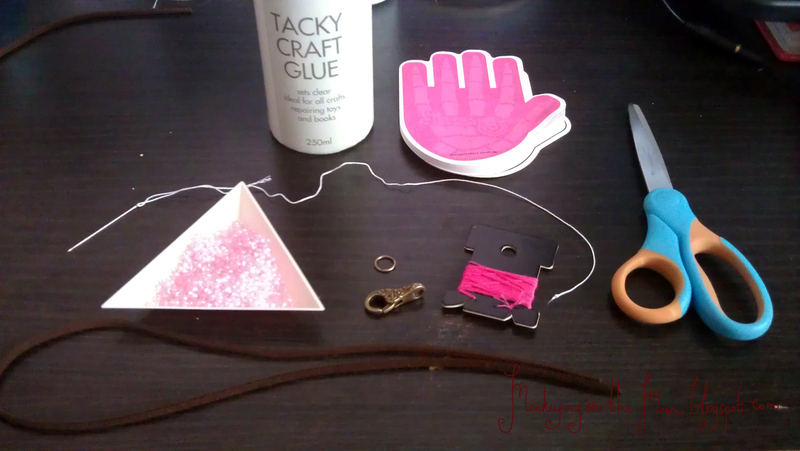
 Step 1
Lay out your materials for easy access. Cut the faux leather to a suitable length for your wrist, giving a little allowance for the loops to be made.
-
 Step 2
Dab one end of the strand into the glue.
-
 Step 3
Sliding the clasp onto the strand, create a loop and glue the strand end to the strand itself as shown. Leave it to dry.
-
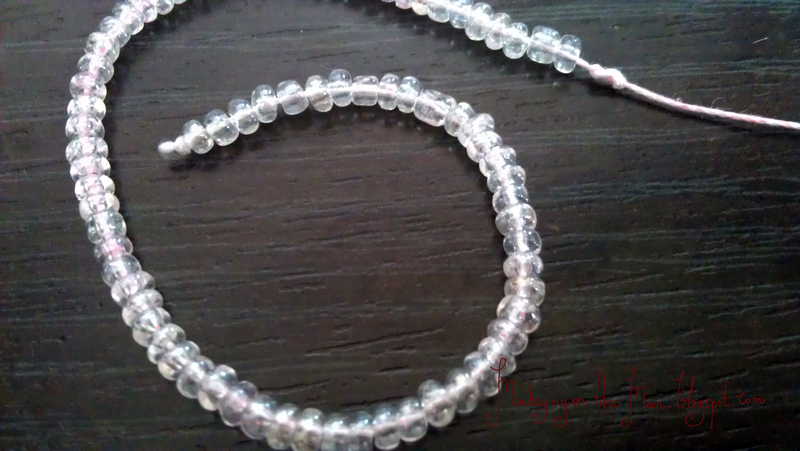
 Step 4
Thread the bead onto a thread. I am using crochet thread here as I feel it is stronger and thicker so the beads will not slip off. Tie a knot a both ends leaving some allowance (more than shown in the picture) to prevent the beads from slipping off
-
 Step 5
Dab some glue onto the embroidery thread and wind it onto the faux leather with the strand of beads. wind it around a few more times to make it ultra secure.
-
 Step 6
Push up a bead then wind the thread around it. Repeat till the bracelets is slightly shorter than desired length.
-
 Step 7
Dab the end of the faux leather strand into the glue and then create a loop just like the beginning and wind the thread around it. Tie a knot with the help of a needle if needed, cut the thread and dab some glue to the ends to seal it.
-
 Step 8
Ta-ta! Done! Admire your handiwork. If you want to add some charms, do so while winding the bracelet or use jump rings now.


Comments