


About
Silk Painting Resist Method Tutorial
On these pages I will demonstrate one way in which I use the Serti or Resist technique. This is how I have been doing it and is just my own approach. There are other approaches and it all depends on the artist and what works for them. This approach is what works for me and I offer it here so that others may learn from it.
-
 jeanette e. added Silk Painting Resist Method to to try
13 May 16:25
jeanette e. added Silk Painting Resist Method to to try
13 May 16:25
-
 Step 1
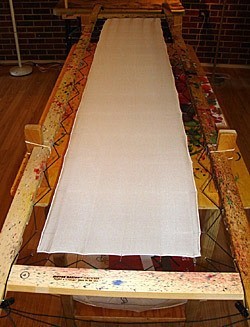
I usually use blank white silk scarves. Usually a plain weave is best to start with. Silk Habotai or China Silk is what I am using here. These blanks can be purchased at most Silk Painting supply stores and come with hand rolled hems which are really nice.
I stretch my silk on a frame of some sort. I am using Susan Moyer's patented frame which is excellent and is adjustable for many different sizes. I find it best to stretch the silk using some kind of elastic material so that when the silk gets wet it won't sag in the middle. In the past I have also used elastic bands and clips.
-
 Step 2
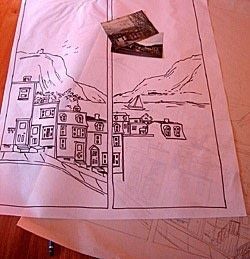
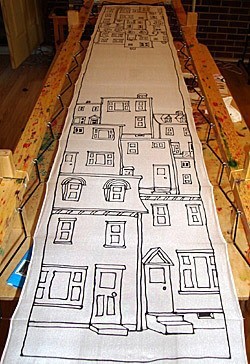
I sketched out a design on newsprint first and then traced it with heavy duty tracing paper and a black marker. This paper won't stick to the resist as much and the dark outlines make it easy to see and trace onto the silk. I pin the tracing paper onto the underside of the silk which is very transparent.
-
 Step 3
Then I apply the resist with an applicator bottle and tip which, again are available at most silk painting stores. Finding a good resist is not easy and I had to experiment a lot to find the one that suited my needs. I bought a small bottle of each one that's on the market and tried them all. I settled with a water based resist from G&S Dye in Toronto. It is their own formula and it seems to work the best. It is also great for coloring. It has a white pastey texture and I can mix it with any color dye for a colored resist or mix it with water for a clear resist. I have used a black colored resist here which is great for beginners who might have a hard time envisioning a design with white lines.
-
 Step 4
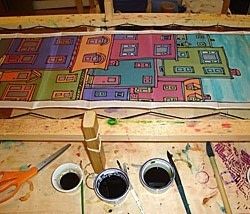
Once the resist is on and i have checked to make sure that it has seeped through the fabric completely, I apply the dye.
-
 Step 5
The other thing to watch out for when using this technique is to make sure that all of the lines are closed. That is, they are not gaps where the dye can seep through and contaminate other areas.
-
 Step 6
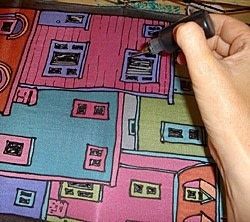
Once that dye is dry I apply more resist to define the lines of the houses and any other details. The resist is being used for a decorative purpose here instead of a functional purpose to contain the dye.
-
 Step 7
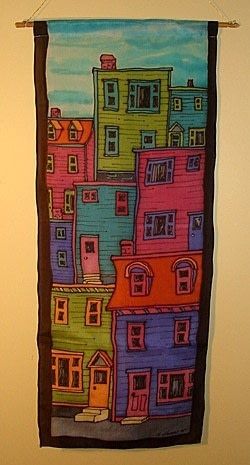
Once the design is completed, I steam the scarf in one piece. After it is steamed I cut the scarf in half and I end up with two wall hangings! I get a tailor to sew a pocket in the top end for a decorative rod. I use a bamboo rod here and have the ends carved for me with little grooves so the cord won't slip. Here is the finished product:


Comments


