
About
Complete Dressmaking
Cuffs are rather like a full-stop at the end of a sentence – they give your garment a final punctuation point. They can be a specific design feature that completely changes the look of a shirt or they can avoid attention and simply finish the garment in a subtle way.
A normal shirt cuff (or, as it is sometimes known, a barrel cuff) wraps around the wrist and overlaps with a button fastening, although the fastening you choose is entirely up to you; press studs, for example, would work just as well.
The shirt cuff has two pieces to it – an outer cuff and an inside cuff. The outer cuff should be interfaced before the cuff is made up or attached to the sleeve. The inside cuff is not interfaced.
-
 JadeSucksAtLife favorited Shirt Cuff
26 Feb 21:16
JadeSucksAtLife favorited Shirt Cuff
26 Feb 21:16
-
 Ellen M. favorited Shirt Cuff
16 Oct 16:48
Ellen M. favorited Shirt Cuff
16 Oct 16:48
-
 Crafterella featured Shirt Cuff
16 Sep 23:00
Crafterella featured Shirt Cuff
16 Sep 23:00
-
 jesta b. favorited Shirt Cuff
15 Sep 03:07
jesta b. favorited Shirt Cuff
15 Sep 03:07
-
 Creative Publishing international published her project Shirt Cuff
13 Sep 09:00
Creative Publishing international published her project Shirt Cuff
13 Sep 09:00
You Will Need
-
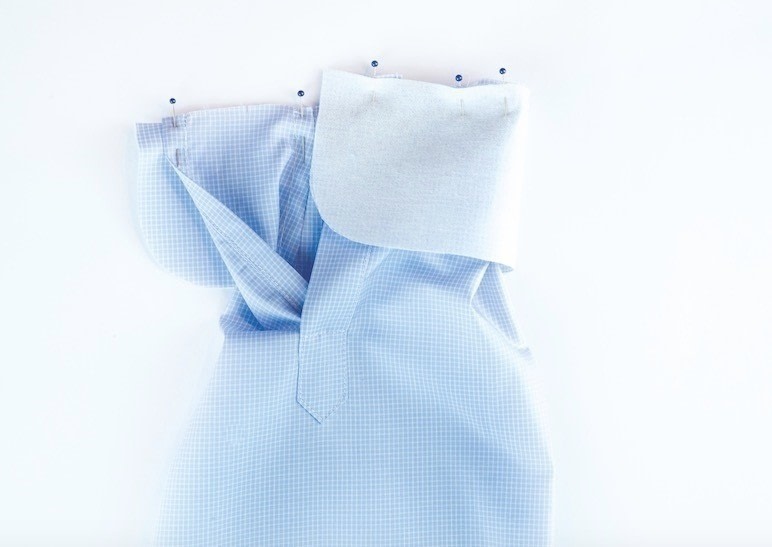
 Step 1
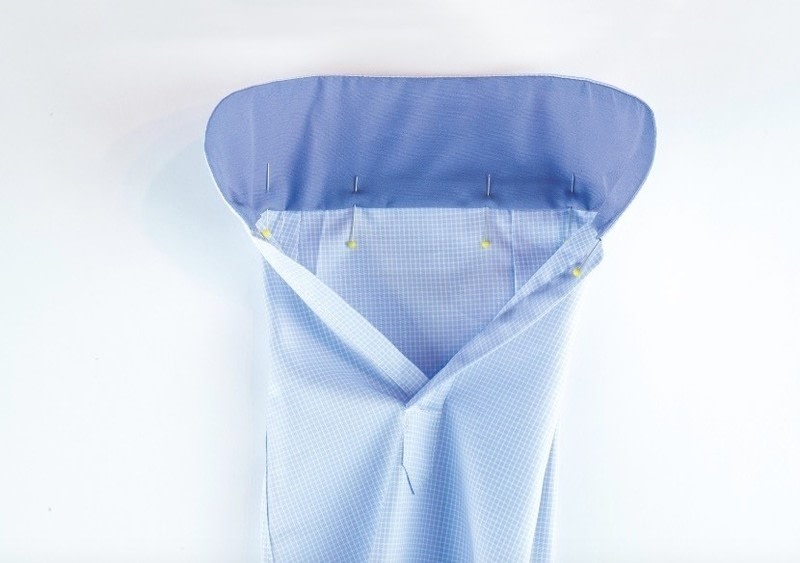
With right sides together, pin the outer cuff to the sleeve, making sure that the placket opening on the sleeve sits along the cuff seam line to ensure that there is a smooth line from the sleeve into the cuff.
-
 Step 2
Sew along the seam, securing your stitching at the start and finish of the seam.
-
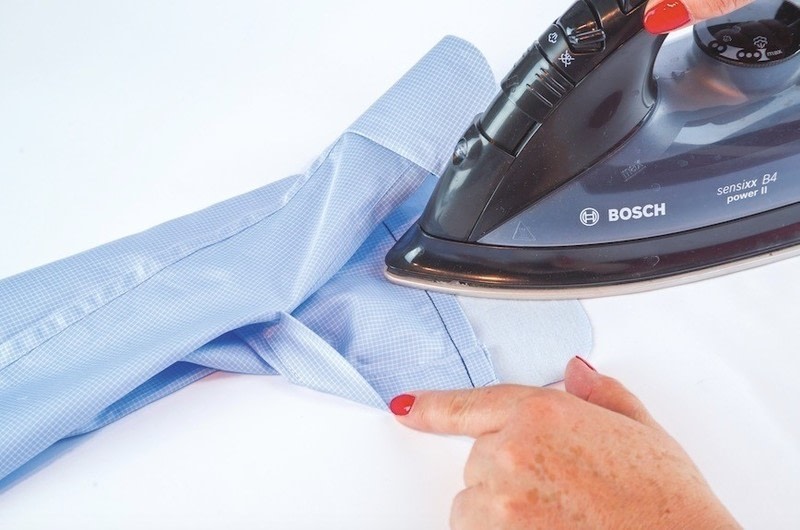
 Step 3
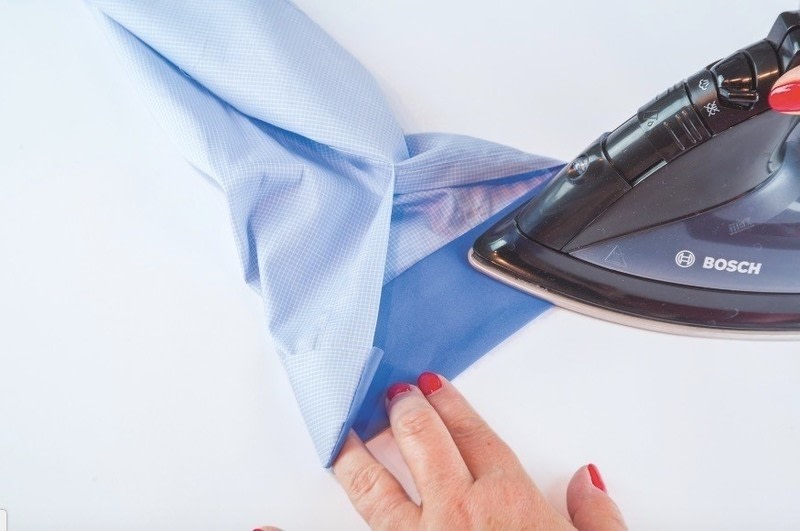
Press the seam towards the cuff.
-
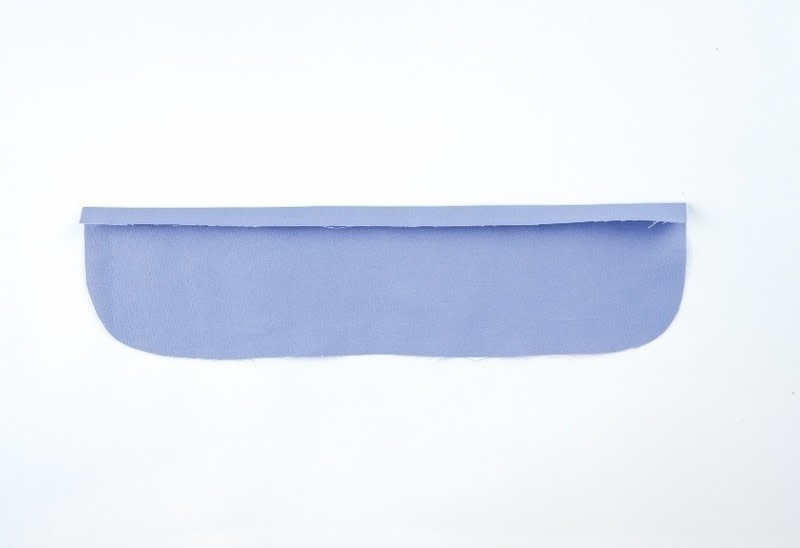
 Step 4
Along the straight edge of the inside cuff, turn over just slightly less than the seam allowance to the wrong side and press.
-
 Step 5
With right sides together, pin the inside cuff to the outer cuff around the curved outside edge, making sure that the pressed-under edge of the inside cuff sits just beyond the previous row of stitching to ensure that, when the cuff is turned right side out, it will just cover the stitching line.
-
 Step 6
Sew around the outer edge of the cuff, making sure that the stitching starts and finishes in line with the sleeve placket.
-
 Step 7
Clip the corners and turn the cuff right side out.
-
 Step 8
Roll the seam so that it sits on the edge of the cuff and press it in place.
-
 Step 9
Pin the inside cuff down along the open edge, pinning at right angles to the sewing line. Make sure the pin heads are away from the sewing area so that you can topstitch from the right side.
-
 Step 10
From the right side topstitch around the cuff, carefully sewing over the pins underneath and overlapping the stitching when you get back to the beginning. Fasten off your sewing.
-
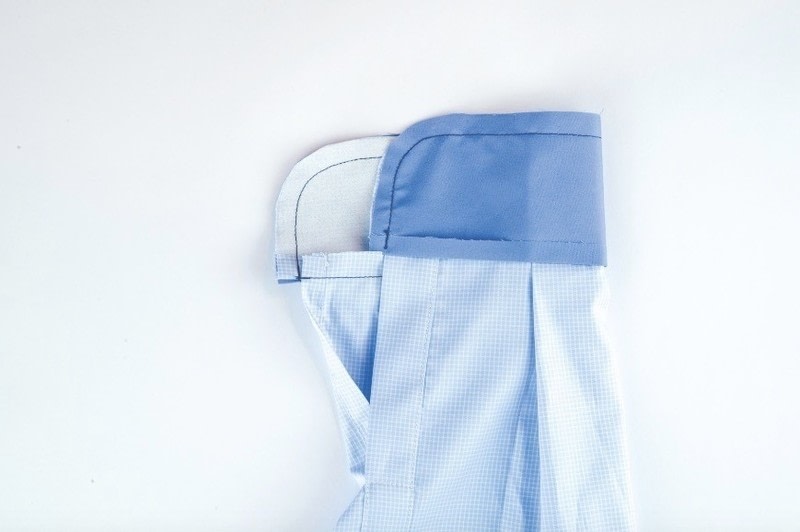
 Step 11
Press the cuff, using plenty of steam. Mark in and sew the buttonholes.
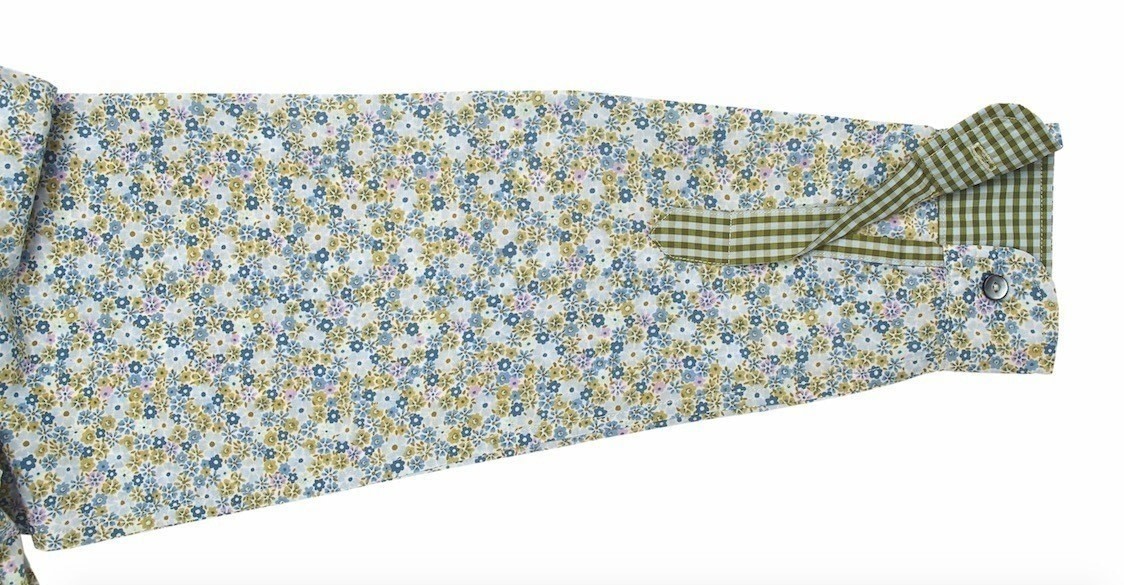
A contrast fabric used for the placket shows off the design detail on the sleeve.