About
Sew a cute scrap bunting pillow.
Tags
-
 :) favorited Scrap Bunting Pillow
03 May 13:44
:) favorited Scrap Bunting Pillow
03 May 13:44
-
 rachel d. favorited Scrap Bunting Pillow
03 Apr 22:08
rachel d. favorited Scrap Bunting Pillow
03 Apr 22:08
-
 lolly p. favorited Scrap Bunting Pillow
03 Dec 19:03
lolly p. favorited Scrap Bunting Pillow
03 Dec 19:03
-
 Bella Trix favorited Scrap Bunting Pillow
19 Aug 10:39
Bella Trix favorited Scrap Bunting Pillow
19 Aug 10:39
-
 Kaija T. favorited Scrap Bunting Pillow
06 Aug 01:53
Kaija T. favorited Scrap Bunting Pillow
06 Aug 01:53
You Will Need
-
 Step 1
Acquire your first piece of fabric (#1) and use the size of this piece to measure out your second piece of fabric. This piece should be about 18” by 12”. Cut second piece of fabric (#2). Once you have your second piece of fabric, fold it into three like a letter; this will be your pattern to cut the third piece (#3). Cut your third piece of fabric from a different fabric. You should have three pieces all together. If you’re fancy please iron your fabric to get rid of wrinkles. I don’t have an iron, so I have wrinkles.
-
Step 2
Cut 5 or 6 bunting pieces out of felt, using the first one you cut as your template for the other pieces. They should be at least one inch across the short side. These can be out of one colour or different colours, your choice!
-
Step 3
Lay out fabric (#2) and fabric (#3) on top of it, matching up to the right edge. Draw a line with chalk on the left edge of the top fabric (#3)
-
 Step 4
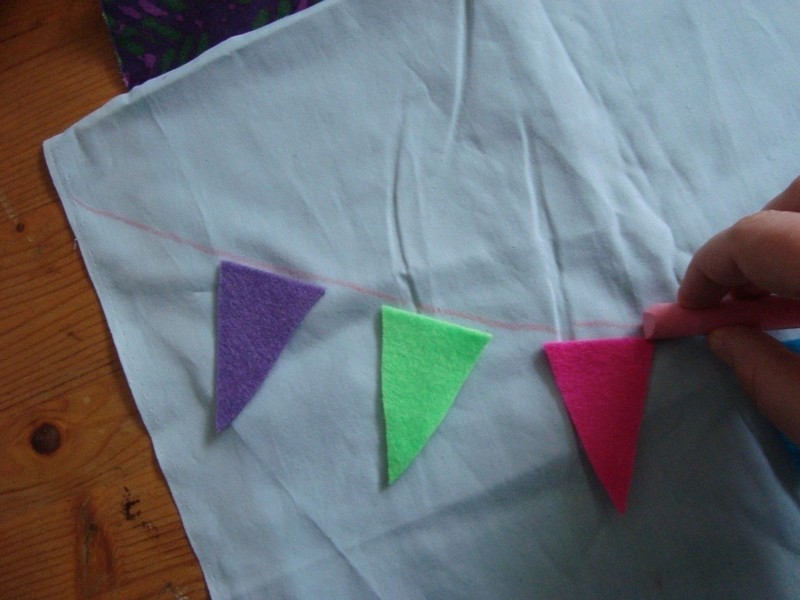
Place bunting pieces in a naturally sloped line from the upper left part of the fabric (#2) to the bottom-middle of the line you just drew.
-
 Step 5
Draw a gently sloped line with chalk joining the bunting pieces together.
-
 Step 6
Pin bunting pieces to pillow.
-
 Step 7
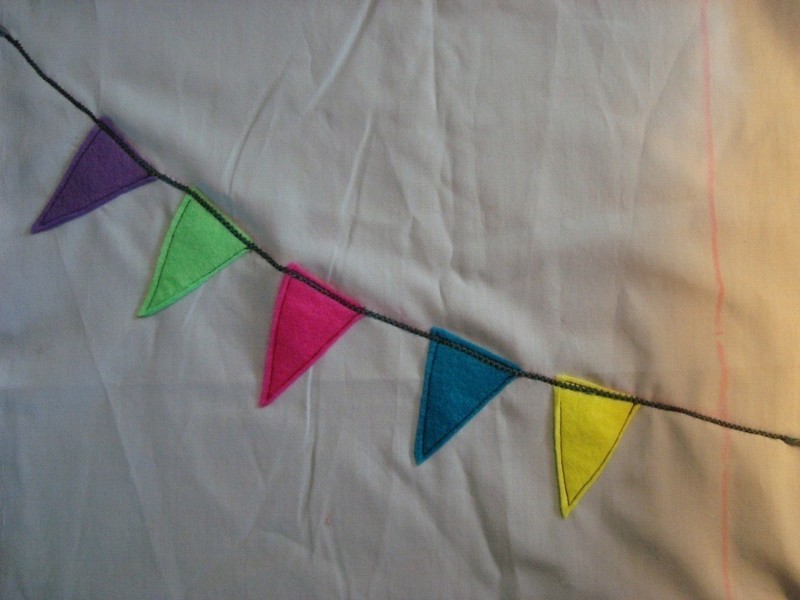
Using your machine, sew all sides of each bunting triangle to the fabric (#2) using a top-stitch and stitching about 3mm from the right edge.
-
 Step 8
Now you will sew your piece of yarn to the fabric (#2) to represent the “ribbon” holding the bunting together. Pin your yarn along your sloping chalk line, leaving a few inches “off” the fabric edges (for ease when starting and finishing). Carefully sew over the yarn with a narrow zig-zag stitch.
-
 Step 9
Try to ensure your “ribbon” is aligned with the tops of the bunting and move slowly and surely.
-
 Step 10
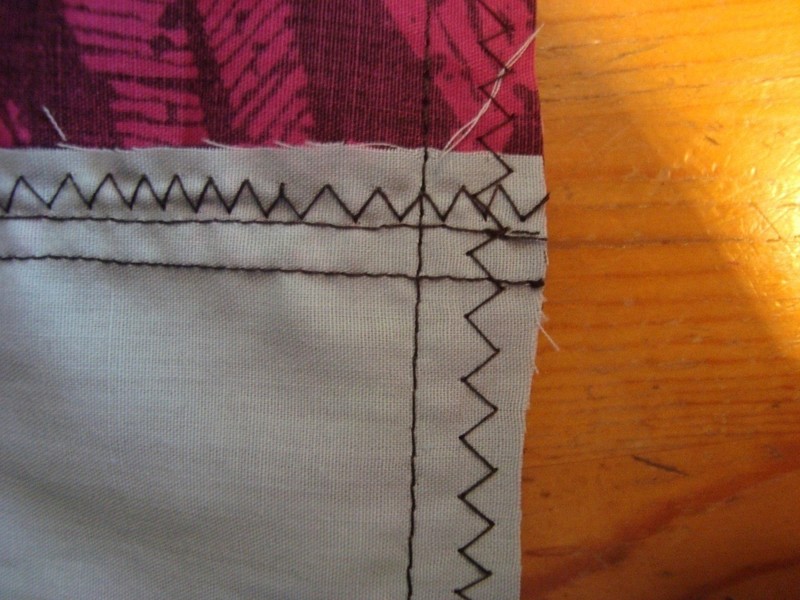
Cut fabric (#2) along chalk line from Step 3 (not the sloping line). Match up fabric (#3) and with right sides together sew the two pieces together along right edge using straight stitch. Next finish this seam using zig-zag stitch and trim excess. Open and press flat, then top stitch on the fabric (#3) about 2-4 mm from left edge (the seam).
-
 Step 11
Now you will sew your two pieces of fabric together! You’re almost done! Make sure your fabric pieces are the same size. You may have to trim fabric (#1). Pin the two pieces together, right sides facing. Using straight stitch, sew around the entire pillow leaving a 3 inch gap (for stuffing).
-
 Step 12
Next, finish this seam using zig-zag stitch and trim excess.
-
 Step 13
Turn fabric inside out and using your finger or a renegade chopstick, push out corners.
-
 Step 14
...
-
 Step 15
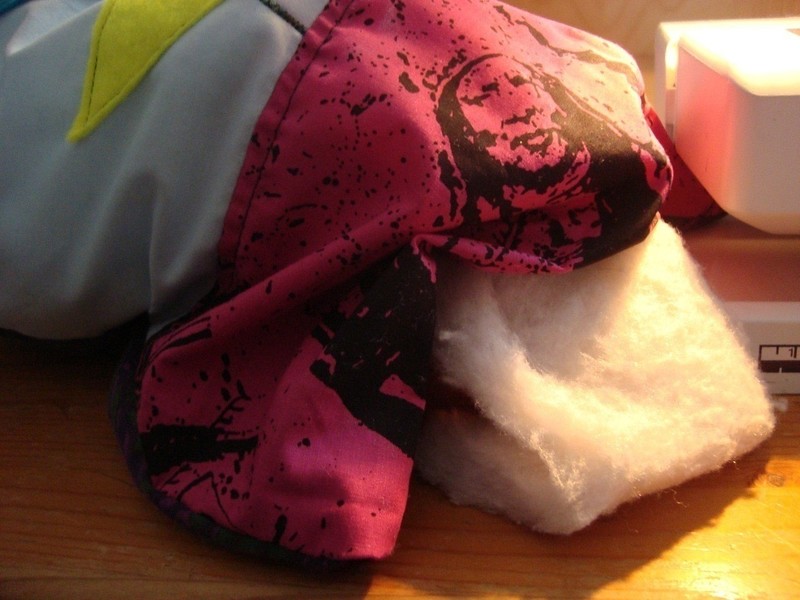
Using stuffing stuff your pillow to the firmness you prefer. FYI: I used more filling than I expected.
-
 Step 16
Once filled, using a whip stitch, hand sew the opening closed securing your thread tightly.
-
 Step 17
Fluff the pillow up! Or sit on it for a few hours to even out any lumps in your filling. Pass on with love!