


About
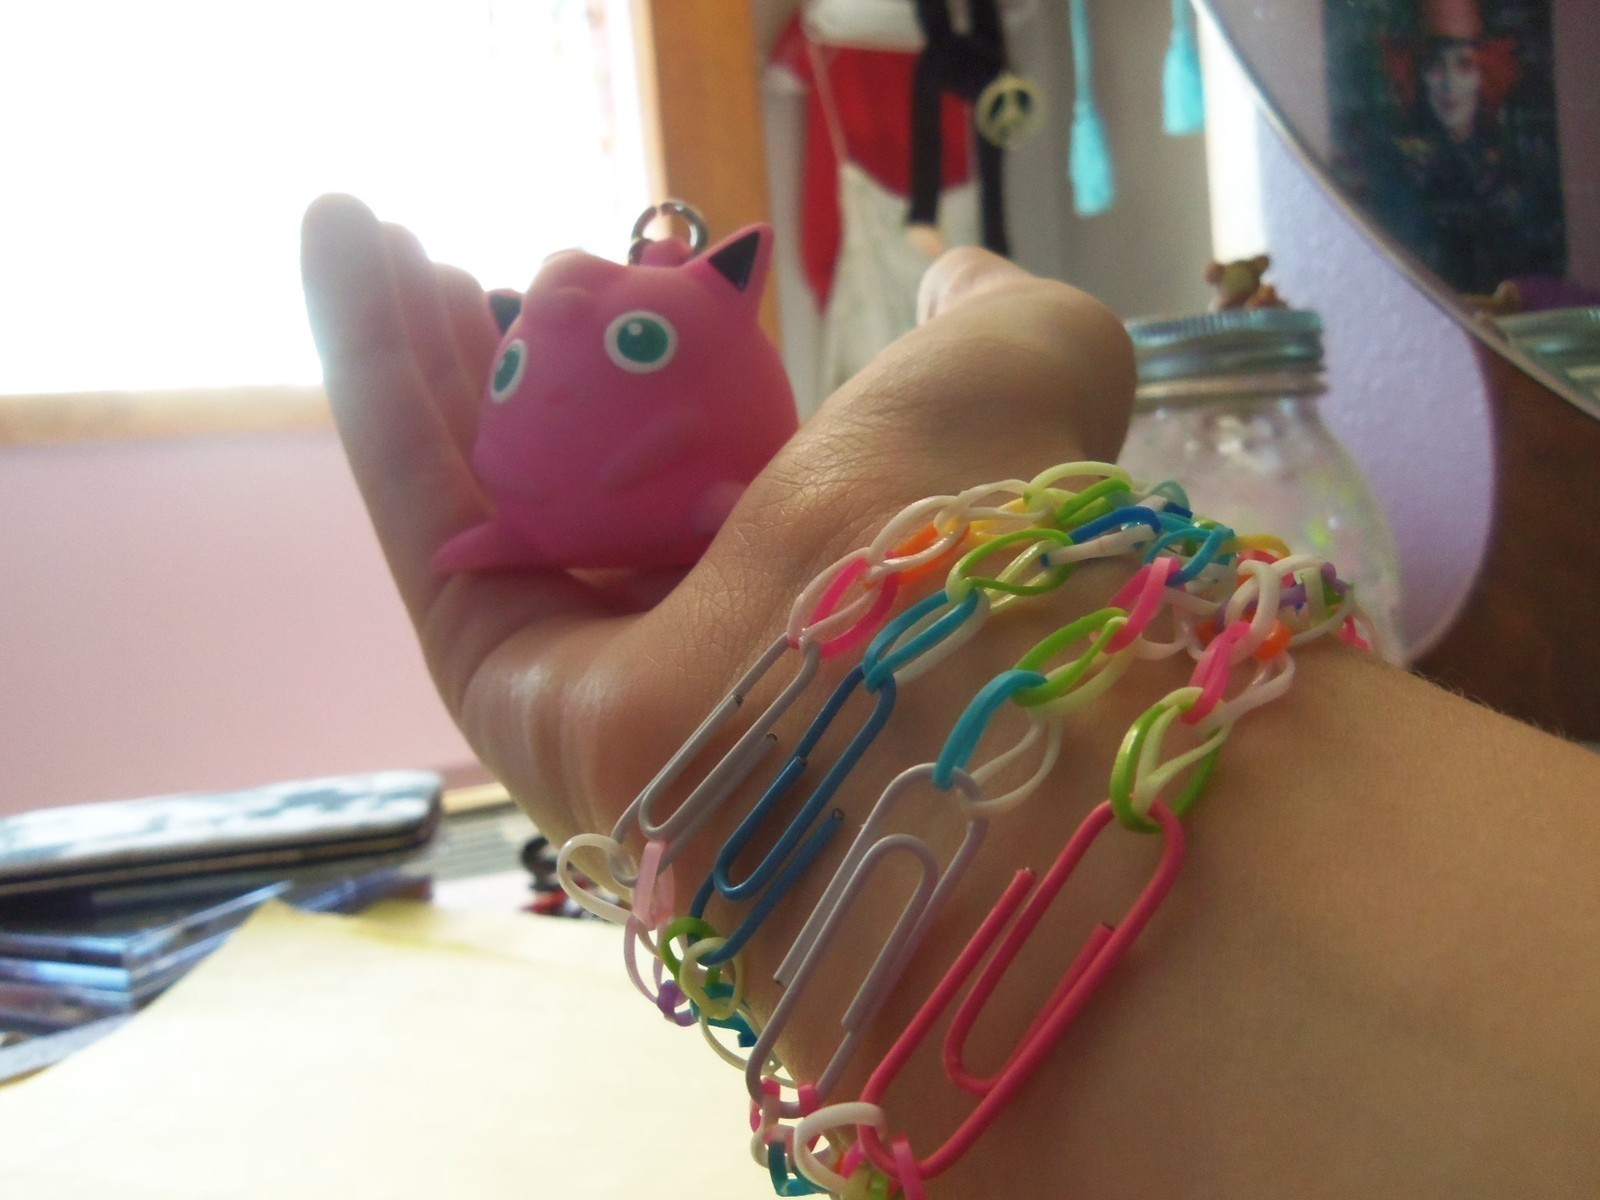
A cute, simple, cheap, and colorful bracelet.(:
A bracelet made of small rubberbands. I love these, they are so fast and easy, and colorful too. :) Sorry about the pictures halfway through the steps, my camera never saved those pictures, so I had to use my webcam. :/ But I hope you like it(:
So you don't get confused, my rubber bands were two different colors, I wasn't using two different bands for this.
Tags
-
 Carina F. favorited Rubber Band Bracelet
09 Mar 21:15
Carina F. favorited Rubber Band Bracelet
09 Mar 21:15
-
 Rikki L. favorited Rubber Band Bracelet
10 Mar 17:39
Rikki L. favorited Rubber Band Bracelet
10 Mar 17:39
-
 alexandra g. added Rubber Band Bracelet to jewelry
17 Jan 18:49
alexandra g. added Rubber Band Bracelet to jewelry
17 Jan 18:49
-
 Cat Morley commented on Rubber Band Bracelet
22 Dec 15:19
Cat Morley commented on Rubber Band Bracelet
22 Dec 15:19
-
 Moon favorited Rubber Band Bracelet
27 Nov 03:56
Moon favorited Rubber Band Bracelet
27 Nov 03:56
-
AnnaMong favorited Rubber Band Bracelet
03 Jul 10:21
-
Chocolate C. favorited Rubber Band Bracelet
26 Jun 20:20
-
 asna.shakir added Rubber Band Bracelet to Accesories
29 May 16:46
asna.shakir added Rubber Band Bracelet to Accesories
29 May 16:46
-
 Marylou P. added Rubber Band Bracelet to Jewelry
09 Apr 07:40
Marylou P. added Rubber Band Bracelet to Jewelry
09 Apr 07:40
-
 kristy c. favorited Rubber Band Bracelet
20 Feb 04:11
kristy c. favorited Rubber Band Bracelet
20 Feb 04:11
-
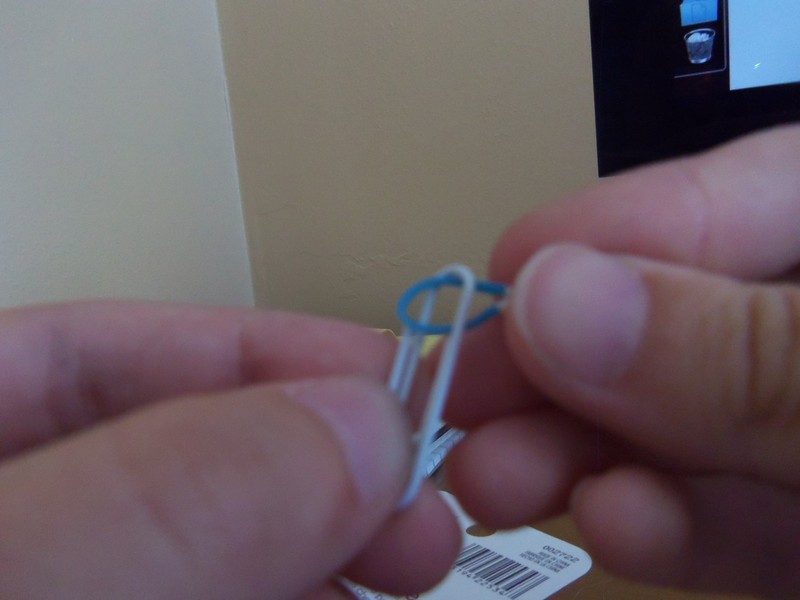
 Step 1
Take your first rubber band and flatten it. Put the rubber band through the top of the paperclip. Don't use the side of the paper clip where it is doubled.
You do the same thing if you are using a jump ring, but it might be a little more difficult.
-
 Step 2
Fold the rubber band upwards.
-
 Step 3
Put the next band through both loops. Fold upward.
-
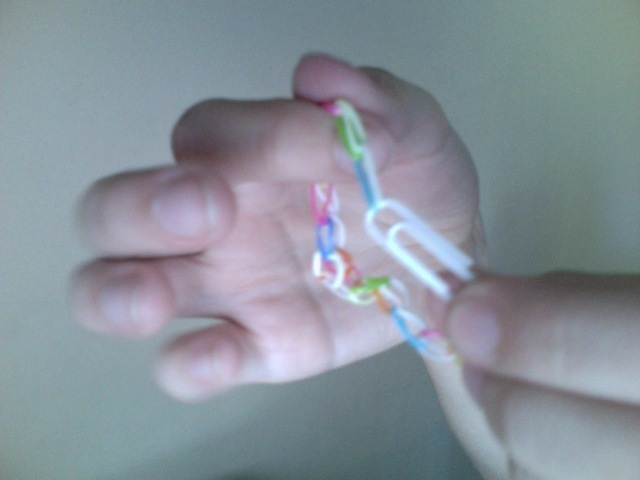
 Step 4
Keep repeating until you get a chain that reaches around your wrist. Stretch it once in a while so it doesn't end up huge if it stretches out later.
-
 Step 5
To end it, put the last two loops from the rubber band onto the double side of the paperclip. Its okay if the bracelet fits your wrist exactly, it'll stretch when you put it on, and you can always add more.
If you are using a jump ring, open it up, put the two loops in, and close it.
-
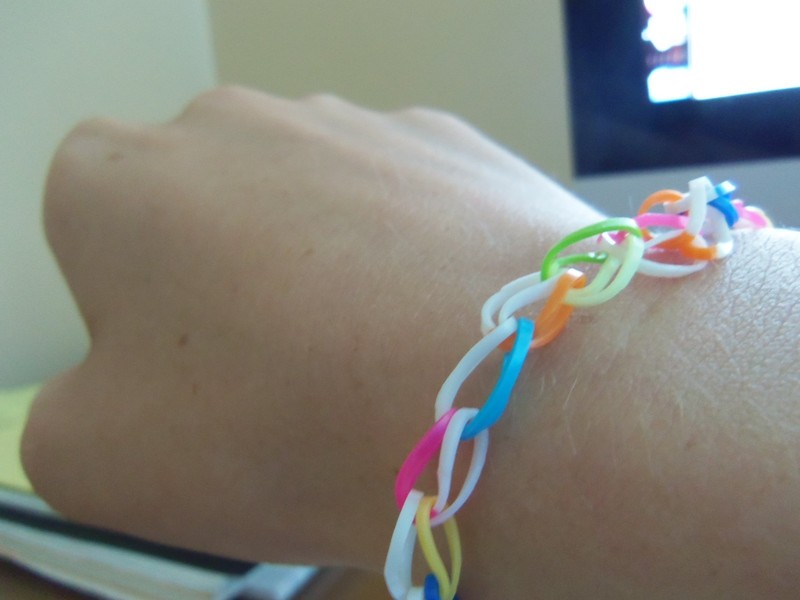
 Step 6
And there you go(:


Comments


