


About
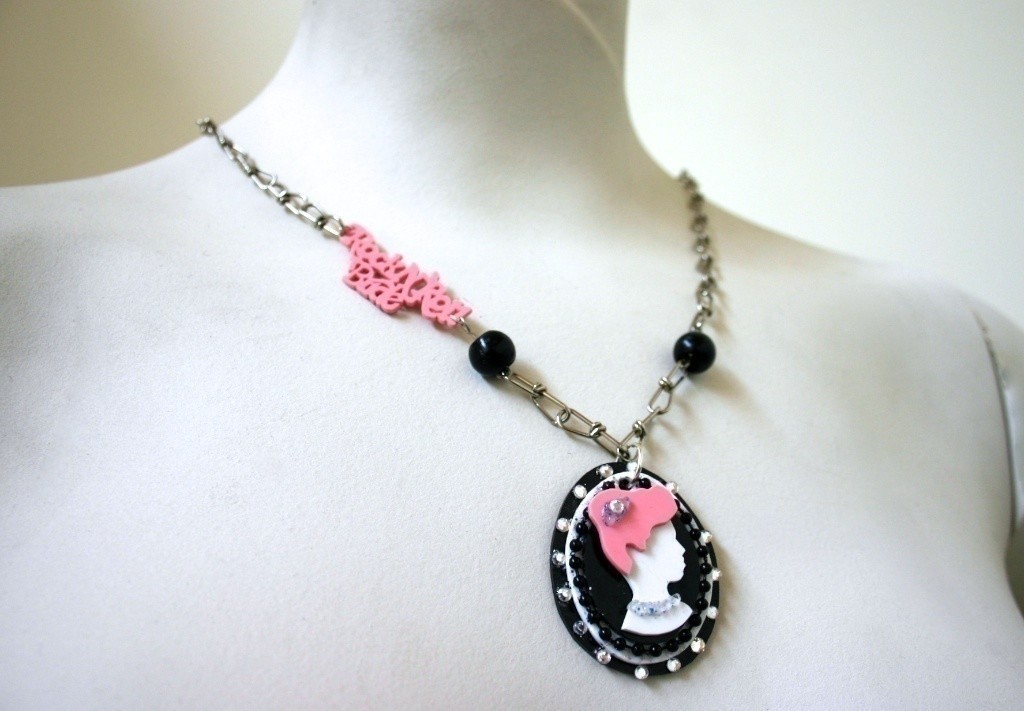
Crafter To The Stars #1: Cameo necklace for Kat from Rock 'N Roll Bride!
Welcome to a new feature I'm going to be running on my blog called Crafter To The Stars where I'll be crafting for some of my favourite celebrities and sharing the tutorials with you!
This week, I'm making a cameo necklace for Kat from Rock 'N Roll Bride but you can use the same technique to turn any portrait in to a cameo necklace. Read what Kat thought about the necklace along with an interview with her on my blog.

To celebrate the launch of Crafter To The Stars, I'm giving away another necklace. For your chance to win one personalised for you, follow the link below to leave a comment on my blog letting us know what you'd make for Kat from Rock 'N Roll Bride if you had the chance?
-
 Renee N. favorited Rock 'N Roll Bride Cameo Necklace
23 Nov 00:58
Renee N. favorited Rock 'N Roll Bride Cameo Necklace
23 Nov 00:58
-
 Monica Handlucci favorited Rock 'N Roll Bride Cameo Necklace
16 Jul 20:04
Monica Handlucci favorited Rock 'N Roll Bride Cameo Necklace
16 Jul 20:04
-
 mmotse03 favorited Rock 'N Roll Bride Cameo Necklace
07 May 02:50
mmotse03 favorited Rock 'N Roll Bride Cameo Necklace
07 May 02:50
-
 Barbara M. favorited Rock 'N Roll Bride Cameo Necklace
06 May 05:07
Barbara M. favorited Rock 'N Roll Bride Cameo Necklace
06 May 05:07
-
 Niki W. favorited Rock 'N Roll Bride Cameo Necklace
23 Mar 17:33
Niki W. favorited Rock 'N Roll Bride Cameo Necklace
23 Mar 17:33
-
 kieeeera_ favorited Rock 'N Roll Bride Cameo Necklace
13 Feb 12:04
kieeeera_ favorited Rock 'N Roll Bride Cameo Necklace
13 Feb 12:04
-
 Funkinfurdro favorited Rock 'N Roll Bride Cameo Necklace
13 Dec 05:39
Funkinfurdro favorited Rock 'N Roll Bride Cameo Necklace
13 Dec 05:39
-
 FrankieStein favorited Rock 'N Roll Bride Cameo Necklace
04 Nov 19:39
FrankieStein favorited Rock 'N Roll Bride Cameo Necklace
04 Nov 19:39
-
 zoegirl221 favorited Rock 'N Roll Bride Cameo Necklace
21 Sep 17:43
zoegirl221 favorited Rock 'N Roll Bride Cameo Necklace
21 Sep 17:43
-
Karina B. favorited Rock 'N Roll Bride Cameo Necklace
12 Sep 05:45
You Will Need
-
 Step 1
Start with a portrait photo. For this we're using the beautiful Kat from Rock N' Roll bride.
-
 Step 2
Trace around the silhouette on to paper. Make separate templates for the head, hair and the jewellery. Remember you’re template should be 7x bigger than you want your finished template to be.
p.s. the iPad makes a great light-box.
-
 Step 3
Cut out your templates and layer on top of each other. Create an oval template for your silhouette to sit on and then make a second slightly larger and third even larger oval template. Line up the two largest ovals and punch a hole through the top of both.
-
 Step 4
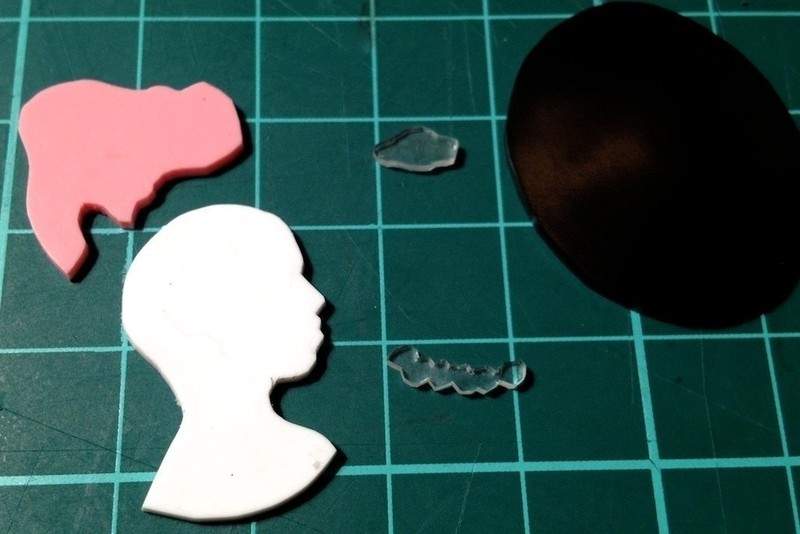
Draw around the templates on to various colours of shrink plastic.
-
 Step 5
Cut these out. When working with clear shrink plastic, use blue-tack to stick the template to the plastic and cut around it.
-
 Step 6
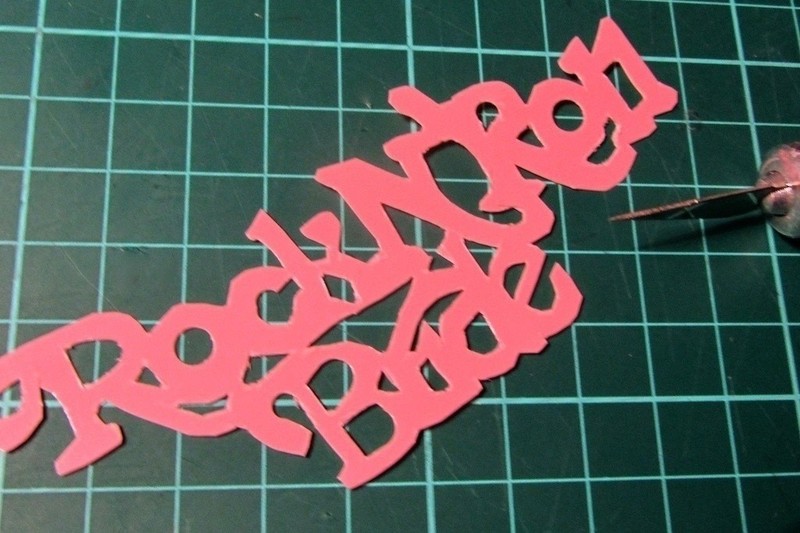
To make a little charm for the chain, trace around the Rock n Roll Bride logo on to paper.
-
 Step 7
Trace on to shrink plastic and carefully cut out.
-
 Step 8
Shrink down all the pieces of plastic in an oven, following the directions on the packet, until they lay flat and leave to cool.
-
 Step 9
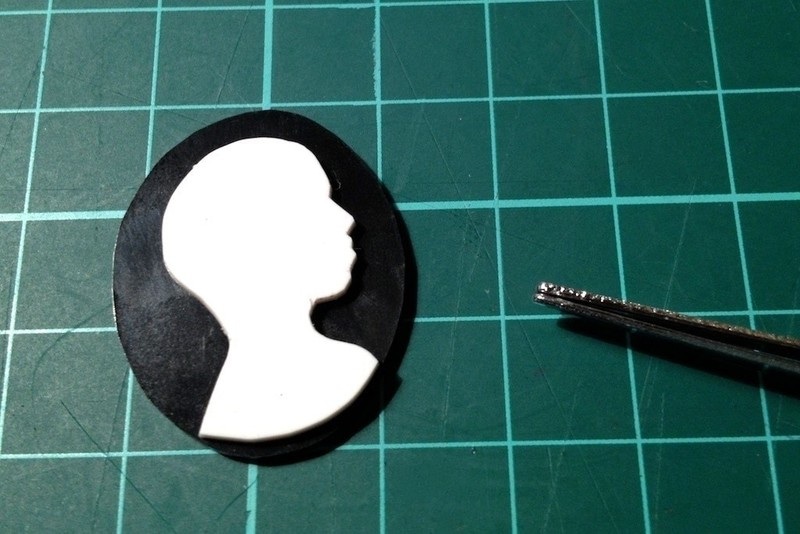
Use a strong adhesive to carefully attach the head to the smallest oval and leave to dry.
-
 Step 10
Glue the hair in to position.
-
 Step 11
To give the jewellery a bit of sparkle, paint one side with glitter glue and position on the cameo.
-
 Step 12
Layer and glue the ovals on top of each other, making sure the holes are aligned on the larger two.
-
 Step 13
Glue some beaded trim around the middle oval.
-
 Step 14
Glue small crystals around the edges of the largest oval.
-
 Step 15
Slip a jump ring through the hole on the cameo and attach to the desired length of jewellery chain.
-
 Step 16
Snip the chain a short way up on either side with wire cutters.
-
 Step 17
Attach eye pins to the chain and slip on beads at either side. Attach the Rock n Roll Bride charm to one side and use a jump ring to attach it to the chain.
-
 Step 18
Attach a clasp at the back.
-
 Step 19
You're all done!


Comments


