


About
A 2-part basic wire/bead ring
My second main ring design
-
 Key West Witch added Ring Type 2: to Rings
30 Jun 07:41
Key West Witch added Ring Type 2: to Rings
30 Jun 07:41
-
 scabs favorited Ring Type 2:
02 Dec 10:23
scabs favorited Ring Type 2:
02 Dec 10:23
-
 Step 1
Make the base:
Loop each end of a length of wire (depending on your finger size) with round pliers. Wrap it around a ring mandrel (or what ever you use to size your ring) -
 Step 2
Base cont:
With the pliers, grab each loop and flip it up so it's at a 90 degree angle to the mandrel -
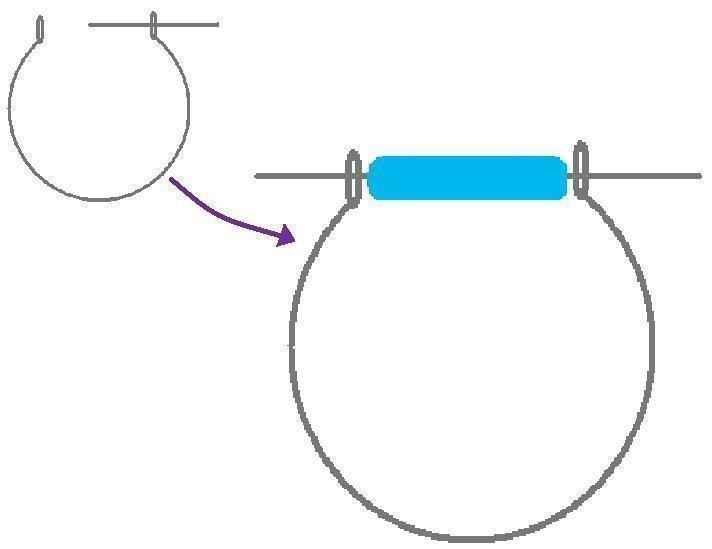
 Step 3
Take the other piece of wire. Put it through one of the loops, string on your bead(s), then pull it through the other loop.
-
Step 4
If your middle bead(s) is a bit to small for the gap you made for it, you can just squeeze the 2 sides of the ring band together until the loops are flush against the bead(s). Or you can experiment with different wire lengths, loop sizes, ect.
-
 Step 5
Put another bead(s) onto 1 end of the wire and seal the end by folding it over itself, hammering, making a spiral, ect. Then pull the un-altered end of the wire so that the beads are all tight together. Slip another bead on and seal that end as well.
*I find it helpful to put the last bead on, then hold it and the end of the wire and pull the apart to make the ring tight, then bend the wore 90 degrees, then seal it. Just makes positive your right won't have any wire gaps, unless that's what you want. Feel free to try stuff out! -
Step 6
I like to lightly hammer my band to make it look more finished, but you dont have to. I wouldn't recomend it if you don't have a metal ring mandrel. If you do try this, remember that it will make your ring slightly bigger also.
Congrats! You've made a unique ring you can be proud of! Please post it as a variation so I can take a look :)


Comments


