


About
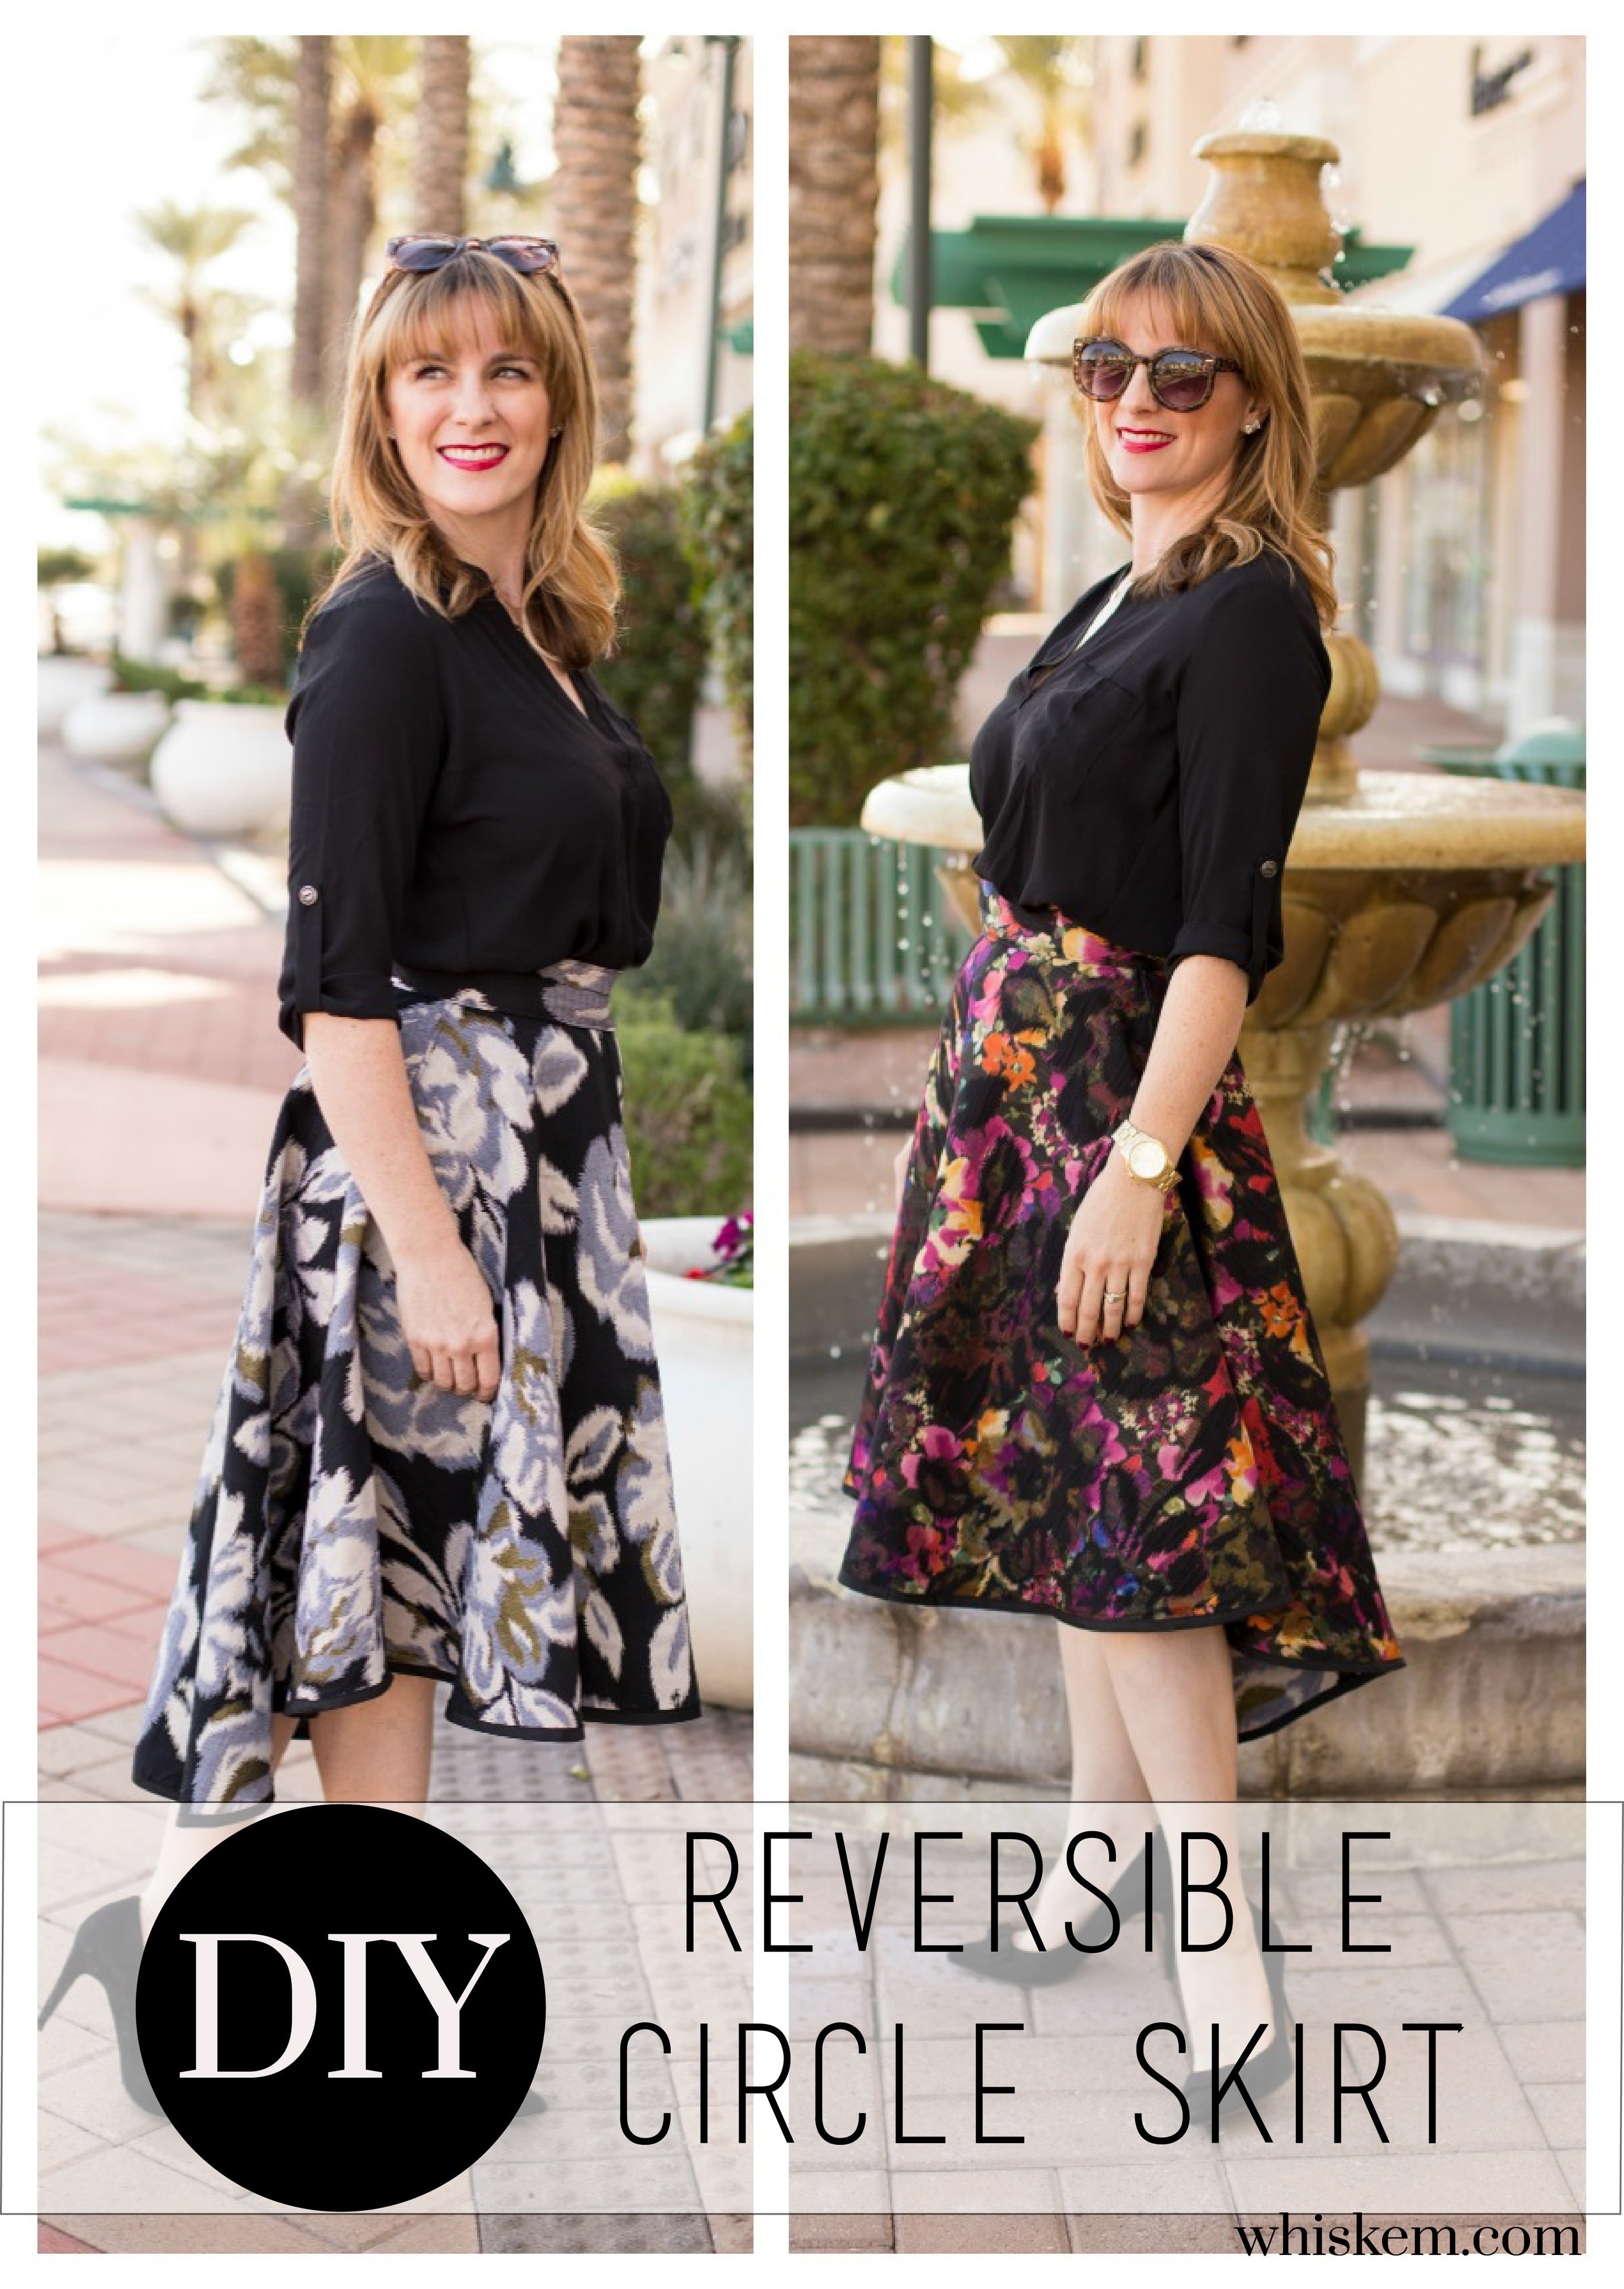
Create a twirly circle skirt with 2 separate looks!
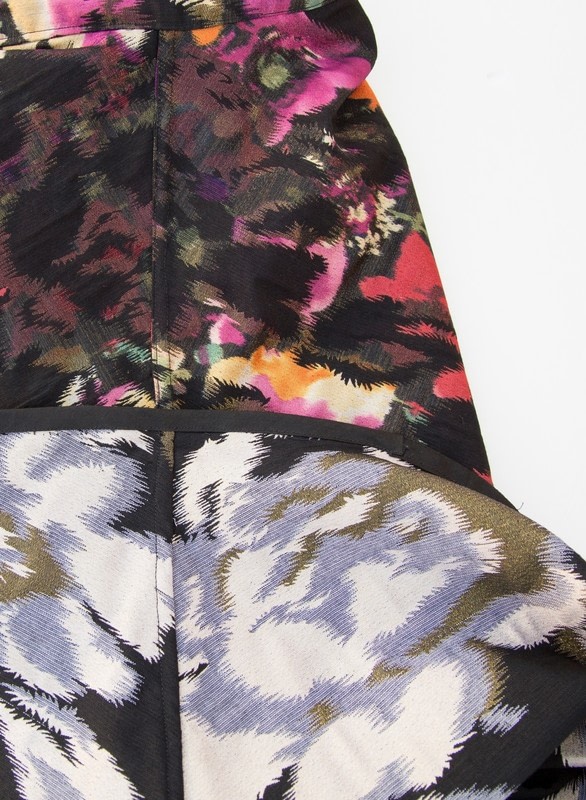
Using a double sided fabric makes this project twice as useful!
-
 Carla B. favorited Reversible Circle Skirt
22 Jun 04:48
Carla B. favorited Reversible Circle Skirt
22 Jun 04:48
-
 Key West Witch favorited Reversible Circle Skirt
23 Aug 00:11
Key West Witch favorited Reversible Circle Skirt
23 Aug 00:11
-
 Kellyton K. favorited Reversible Circle Skirt
18 Mar 16:40
Kellyton K. favorited Reversible Circle Skirt
18 Mar 16:40
-
 Leonor R. favorited Reversible Circle Skirt
08 Oct 15:58
Leonor R. favorited Reversible Circle Skirt
08 Oct 15:58
-
 craftgirl14 favorited Reversible Circle Skirt
29 May 08:24
craftgirl14 favorited Reversible Circle Skirt
29 May 08:24
-
 Gemza favorited Reversible Circle Skirt
19 Dec 00:43
Gemza favorited Reversible Circle Skirt
19 Dec 00:43
-
 Lola P. favorited Reversible Circle Skirt
18 Nov 01:14
Lola P. favorited Reversible Circle Skirt
18 Nov 01:14
-
Alice P. favorited Reversible Circle Skirt
14 Nov 02:40
-
 PineconePrincess favorited Reversible Circle Skirt
10 Nov 22:24
PineconePrincess favorited Reversible Circle Skirt
10 Nov 22:24
-
 Crafterella featured Reversible Circle Skirt
08 Nov 23:00
Crafterella featured Reversible Circle Skirt
08 Nov 23:00
You Will Need
-
 Step 1
Begin by creating a circle skirt pattern for yourself. There are lots of tutorials online for this. Just make note of these few things:
*Don’t add any ease at the waist because you’ll be using a zipper and not elastic. That means you’ll use your exact waist measurement without adding any extra inches.
*Make two separate pattern pieces for your skirt: one for the front and one for the back. My front piece measured 24″ long, the back piece is 31″.
*Lastly, take your back piece (the longer one) and lay your front piece on top of it. Taper the back piece hem up by cutting it in a curve until it meets the front piece at the sides. See diagram.
-
 Step 2
Sew your skirt pieces together at the side seams using a 3/8″ seam allowance (leave a 10″ opening at the top on one of your sides for a zipper); trim allowance down to 1/8″. Press seam allowances together to one side.
Create french seams by turning your skirt right side out (according to the seam – you won’t really have a right side since your fabric is reversible!). Fold the fabric along the seamline, encasing your raw seam allowance within the fabric; press this fold well. Using the fold as if it were a raw edge, stitch again, this time using a 1/4″ seam allowance.
Once your french seams are created, press the seam allowance to one side again and topstitch along the loose fold of the seam. This will create the look of a flat-felled seam like the kind you see on jeans. (I decided to not do an actual flat-felled seam here because my special occasion fabric did not press too well. This wannabe solution worked great!)
-
 Step 3
To attach your zipper: begin by folding the raw edges (of the opening you left in the side seam) under 1/8″. It doesn’t matter what side you fold under. Then pin one side of zipper tape along this fold, keeping the zipper teeth about 1/8″ away from the folded edge. Zipper teeth should end 3/8″ below the raw edge of the skirt top.
Topstitch the zipper to the skirt very close to the fold, then again close to the edge of the zipper tape. Repeat with the other side of skirt opening and zipper tape.This step makes it so you are enclosing the raw edge of your skirt opening within the two lines of stitching, hidden by the zipper tape! See pictures for more detail (but please ignore my topstitching screw ups. I ended up removing some stitching at the top because after a fit test, I had to take the skirt out a bit!)
You can see that I didn’t have a zipper with a two-way pull on hand when inspiration struck for this skirt at midnight. When I wear the monochrome side out, I just pull the zip up from the inside. It works!
-
 Step 4
You can see that I didn’t have a zipper with a two-way pull on hand when inspiration struck for this skirt at midnight. When I wear the monochrome side out, I just pull the zip up from the inside. It works!
One side of your skirt, the zipper tape will be exposed (see colorful side of my skirt) and the other side you will see a folded edge and two lines of topstitching along the side of the zipper teeth. This is much easier to do than explain!
-
 Step 5
For your waistband, you will need two strips of fabric with the following measurements: (your waist measurement) + 3.5″ x 3″
For example, if your waist is 30″, your waistband strips will both measure 33.5″ long x 3″ wide.Take your waistband pieces and sandwich the top of the skirt between them, right sides together, raw edges even, and pin along the entire waist of skirt, beginning and ending with the 10″ opening you left in your side seam. Ensure that the waistband extends past the opening evenly on both sides (1 3/4″ on each side).
Stitch in place with a 3/8″ seam allowance; press waistband pieces and seam allowance UP. (Be sure you’re stitching your zipper in place right next to the top teeth!)
-
Step 6
Fold the top long raw edges of waistband, as well as short raw edges, to the inside so that raw edges are hidden. I folded them in about 1/4″ but this is up to you. Press well and pin in place.
Topstitch along the entire waistband: begin by topstitching the bottom waistband/top skirt seam, along one short edge, across the top of waistband and then around the other short end (essentially a very long rectangle!). Go slowly around your corners so that you get a nice crisp edge.
-
Step 7
Add buttons and buttonholes where desired. There are a few ways to do this so that they look nice from both sides. I chose to attach 4 buttons on one flap of the waistband (2 buttons on each side, right above the zipper tape) and two buttonholes on the other flap (right at the edge). Then I always button it so that the buttonholes are on top of the buttons, regardless of what side of the skirt faces out.
-
 Step 8
Lastly, add bias tape to your hem by pinning the tape so that it sandwiches the raw edge. Topstitch along folded edge of tape (since one side of bias tape is always longer than the other, make sure you’re stitching with the shorter side facing you in order to catch the longer side underneath). Before you reach the end of the tape, fold the short raw edge of bias tape under and use it to overlap the beginning of the tape where you started.
That’s IT! Whew -I know it seems like a lot of steps but it really was easy. And now you get double the wear out of a single skirt! Yippee!