About
The easiest floral manicure out there!
This free-hand nail art technique is one of the simplest floral patterns you can do on your nails. With just a dotting tool and small striping brush, you will have detailed, beautiful floral nails!
Tags
-
 Key West Witch favorited Retro Roses Nail Art
21 Aug 04:18
Key West Witch favorited Retro Roses Nail Art
21 Aug 04:18
-
 Rhonda G. favorited Retro Roses Nail Art
21 Feb 08:39
Rhonda G. favorited Retro Roses Nail Art
21 Feb 08:39
-
Calah L. added Retro Roses Nail Art to NAILS
09 Jan 16:40
-
 xeva favorited Retro Roses Nail Art
27 Jun 17:03
xeva favorited Retro Roses Nail Art
27 Jun 17:03
-
 zheyZhaza added Retro Roses Nail Art to Nailss
08 May 11:53
zheyZhaza added Retro Roses Nail Art to Nailss
08 May 11:53
-
Elizabeth T. added Retro Roses Nail Art to Nails
08 Jan 00:40
-
 Sarah Kim added Retro Roses Nail Art to Beauty
18 Dec 18:49
Sarah Kim added Retro Roses Nail Art to Beauty
18 Dec 18:49
-
Sarah Kim favorited Retro Roses Nail Art
18 Dec 18:49
-
 Alice N. added Retro Roses Nail Art to Nails
31 Oct 19:22
Alice N. added Retro Roses Nail Art to Nails
31 Oct 19:22
-
 oliviainwood favorited Retro Roses Nail Art
30 Oct 19:40
oliviainwood favorited Retro Roses Nail Art
30 Oct 19:40
-
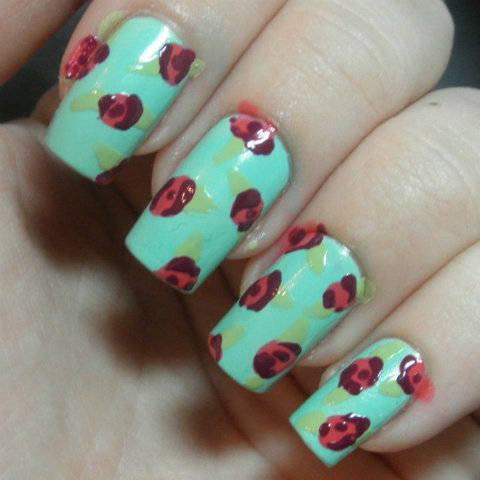
 Step 1
Apply base coat to your nails. Apply your base color. I am using Nicole by OPI Alex by the Books with a light sponging of Essie Where's My Chauffeur? over top. Make large round shapes using a large dotting tool. These will be the bases of your roses. I am using Priti NYC Pincushion Protea.
-
 Step 2
Make roughly triangular shaped leaves on each rose. I like to use my small dotting tool to do this, but you could also probably use a striping brush or detail brush. I am using Priti NYC Bells of Ireland. Alternate the direction of the leaves so that the roses fill most of the nail plate.
-
 Step 3
Add detail to your roses with a darker shade using your small dotting tool. I add some color to the outside, covering up where the leaves and rose meet, and then a dot or "smudge" to the center of the rose. I'm using OPI Anti-Bleak for my rose detail.
-
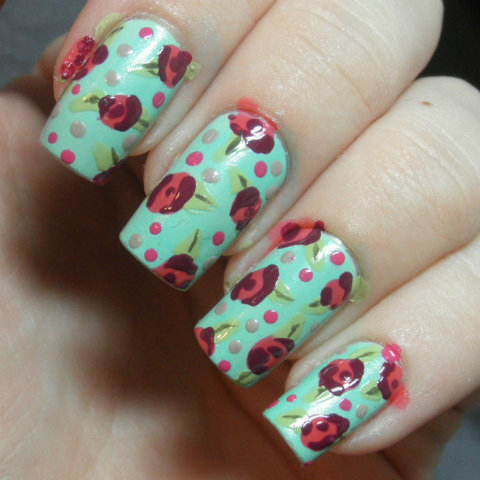
 Step 4
Using a small striping brush, add detail to the leaves using a darker green shade. I am using Priti NYC Pearlwort here.
-
 Step 5
Add some dots to fill the space! I'm using two shades: Priti NYC Nice Gal Peony and Priti NYC Silver Torch!
-
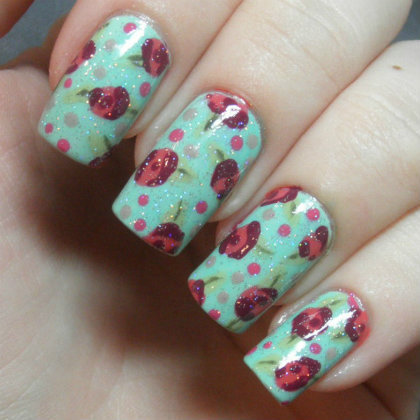
 Step 6
Clean-up with acetone and a clean-up brush. Nice art can be messy, and that's okay! After ample dry time, apply top coat (I'm using Out the Door). Add sparkle if needed! I added a coat of INM Northern Lights!