Queen Of Sheeba Necklace
Extract from Jewelry School • By Carolyn Schulz • Published by Search Press


About
Jewelry School: Bead Stringing
Sparkling black crystals wind their way between subtle tones of gold and bronze seed beads to create this classic necklace, fit for the Queen of Sheba. It can be worn as a multi-stranded necklace or twisted into a rope for a more tailored look. Either way, it is elegant and eye-catching!
Design inspiration
The richness of creamy freshwater pearls beside sparkling faceted crystals with an Aurora Borealis finish is twisted with satin rocailles and matt black seed beads to create an elegant rope of gorgeous beads.
-
 hajama favorited Queen Of Sheeba Necklace
17 Jul 23:49
hajama favorited Queen Of Sheeba Necklace
17 Jul 23:49
-
 JadeSucksAtLife favorited Queen Of Sheeba Necklace
20 Feb 08:23
JadeSucksAtLife favorited Queen Of Sheeba Necklace
20 Feb 08:23
-
 Kimya J. favorited Queen Of Sheeba Necklace
08 Feb 22:42
Kimya J. favorited Queen Of Sheeba Necklace
08 Feb 22:42
-
 Search Press published her project Queen Of Sheeba Necklace
24 Jan 09:00
Search Press published her project Queen Of Sheeba Necklace
24 Jan 09:00
You Will Need
-
 Step 1
Cut the Wildfire into five equal lengths, each about 60cm (23½in) long. Tie the five lengths together in an overhand knot about 2.5cm (1in) from one end. Pull the knot tight, and seal it with clear nail varnish. Allow to dry.
-
 Step 2
Pass the short ends of all five strands of Wildfire through a crimp bead and slip the crimp bead over the knot. With chain-nose pliers, flatten the crimp bead. Then trim away any excess Wildfire from above the flattened crimp bead using flush cutters.
-
 Step 3
Pass the five strands of Wildfire through a bead tip/calotte, going from the inside to the outside of the cup. Gently close the cup of the bead tip/calotte over the flattened crimp with chain-nose pliers.
The clasp, opposite left the antiqued, gold-plated toggle clasp blends nicely with the twisted strands of gold and bronze elements in this elegant necklace. -
 Step 4
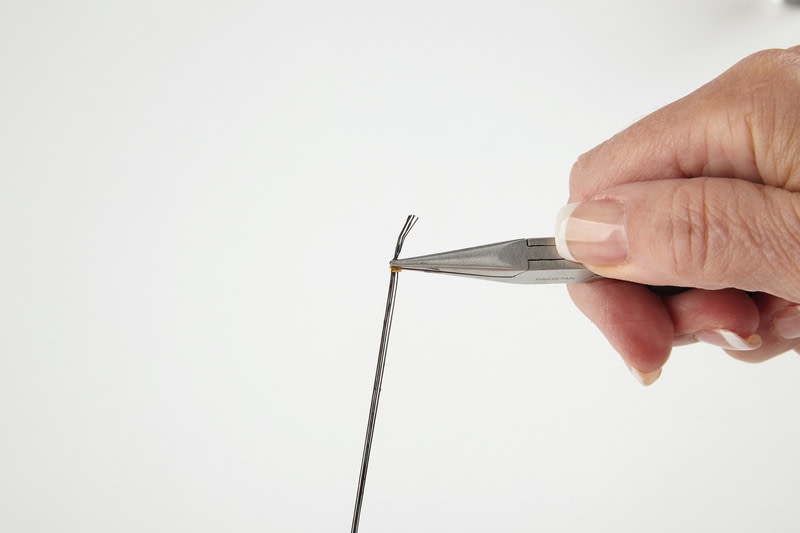
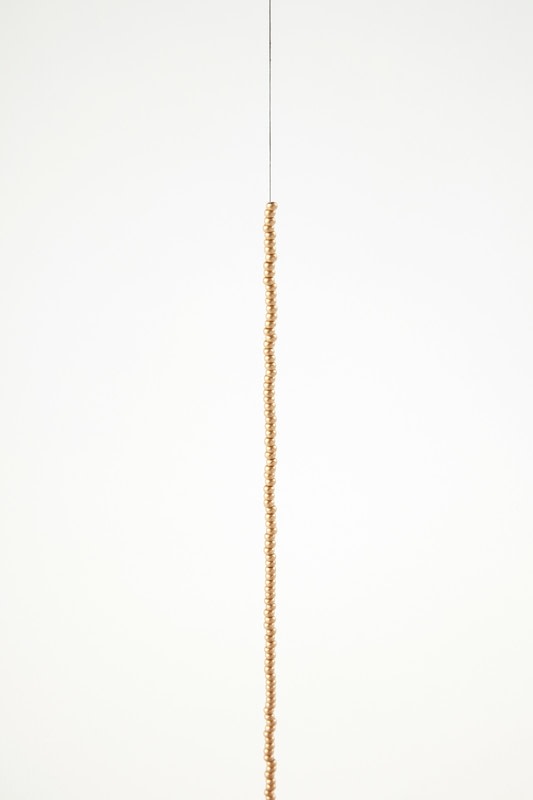
Thread a split eye needle with approximately 3cm (1¼in) of one strand of the threads. String on enough bronze seed beads for your chosen length of necklace.
-
 Step 5
Remove the needle and keep the beads in place with a bead stopper.
-
 Step 6
Repeat step 4 with the black seed beads, the gold metallic seed beads, the copper metallic seed beads, black seed beads, satin gold seed beads and then the jet crystal rondelles, each on their own strand of Wildfire.
-
 Step 7
Ensure all strands of beads are the same length.
-
 Step 8
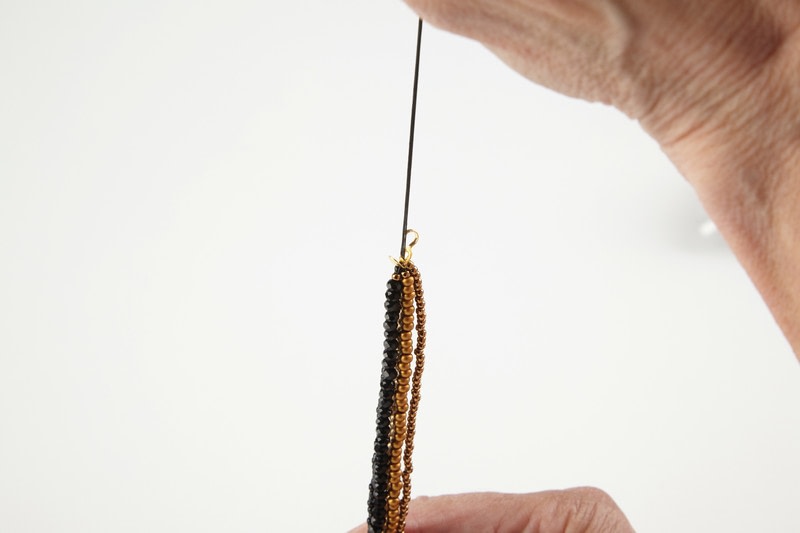
Pass all five threads through a second bead tip/calotte, this time from the outside to the inside of the cup.
-
 Step 9
With two strands in one hand and three in the other hand, tie a reef (square) knot, as shown. Make sure the beads are tight against the bead tip/calotte, without any gaps of thread showing below, but not so tight that the strands are stiff. Pull the knot tight to make it as small as possible and seal it with clear nail varnish. Allow to dry.
-
 Step 10
Pass the five strands of thread through a crimp bead and slip the crimp bead over the knot. With chain-nose pliers, flatten the crimp bead. Trim away excess thread from above the flattened crimp bead.
-
 Step 11
With chain-nose pliers, gently close the cup of the bead tip/calotte over the flattened crimp.
-
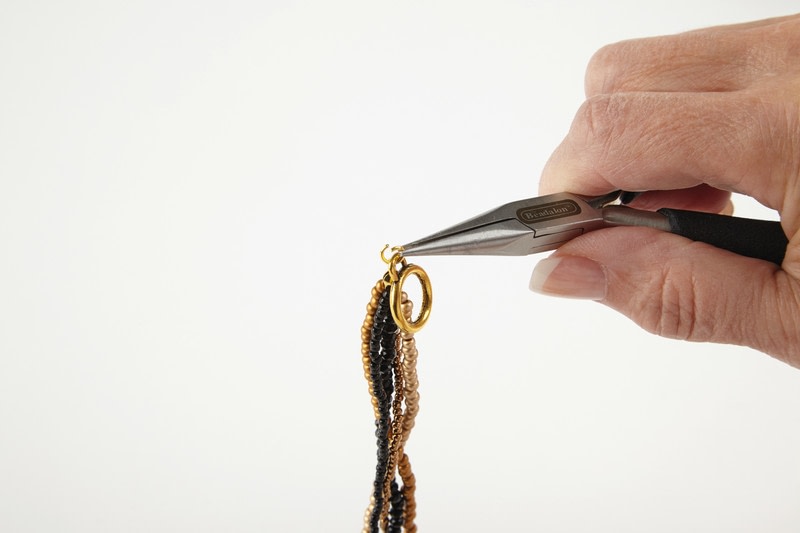
 Step 12
With round-nose pliers, close the hook above the bead tip/calotte to form a loop. Use chain-nose pliers to open a small jump ring. Slip one side of the clasp onto the jump ring and attach to one end of the necklace and close. Repeat with the other side of the clasp on the other end of the necklace.