

About
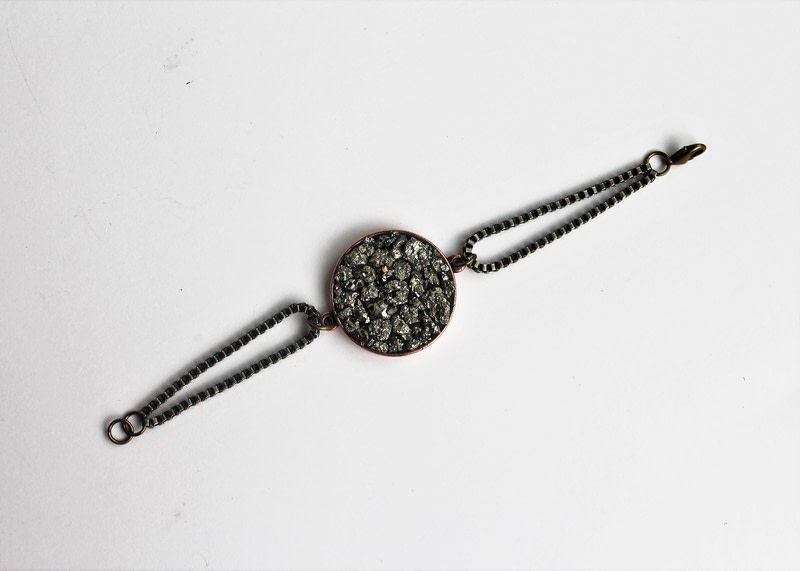
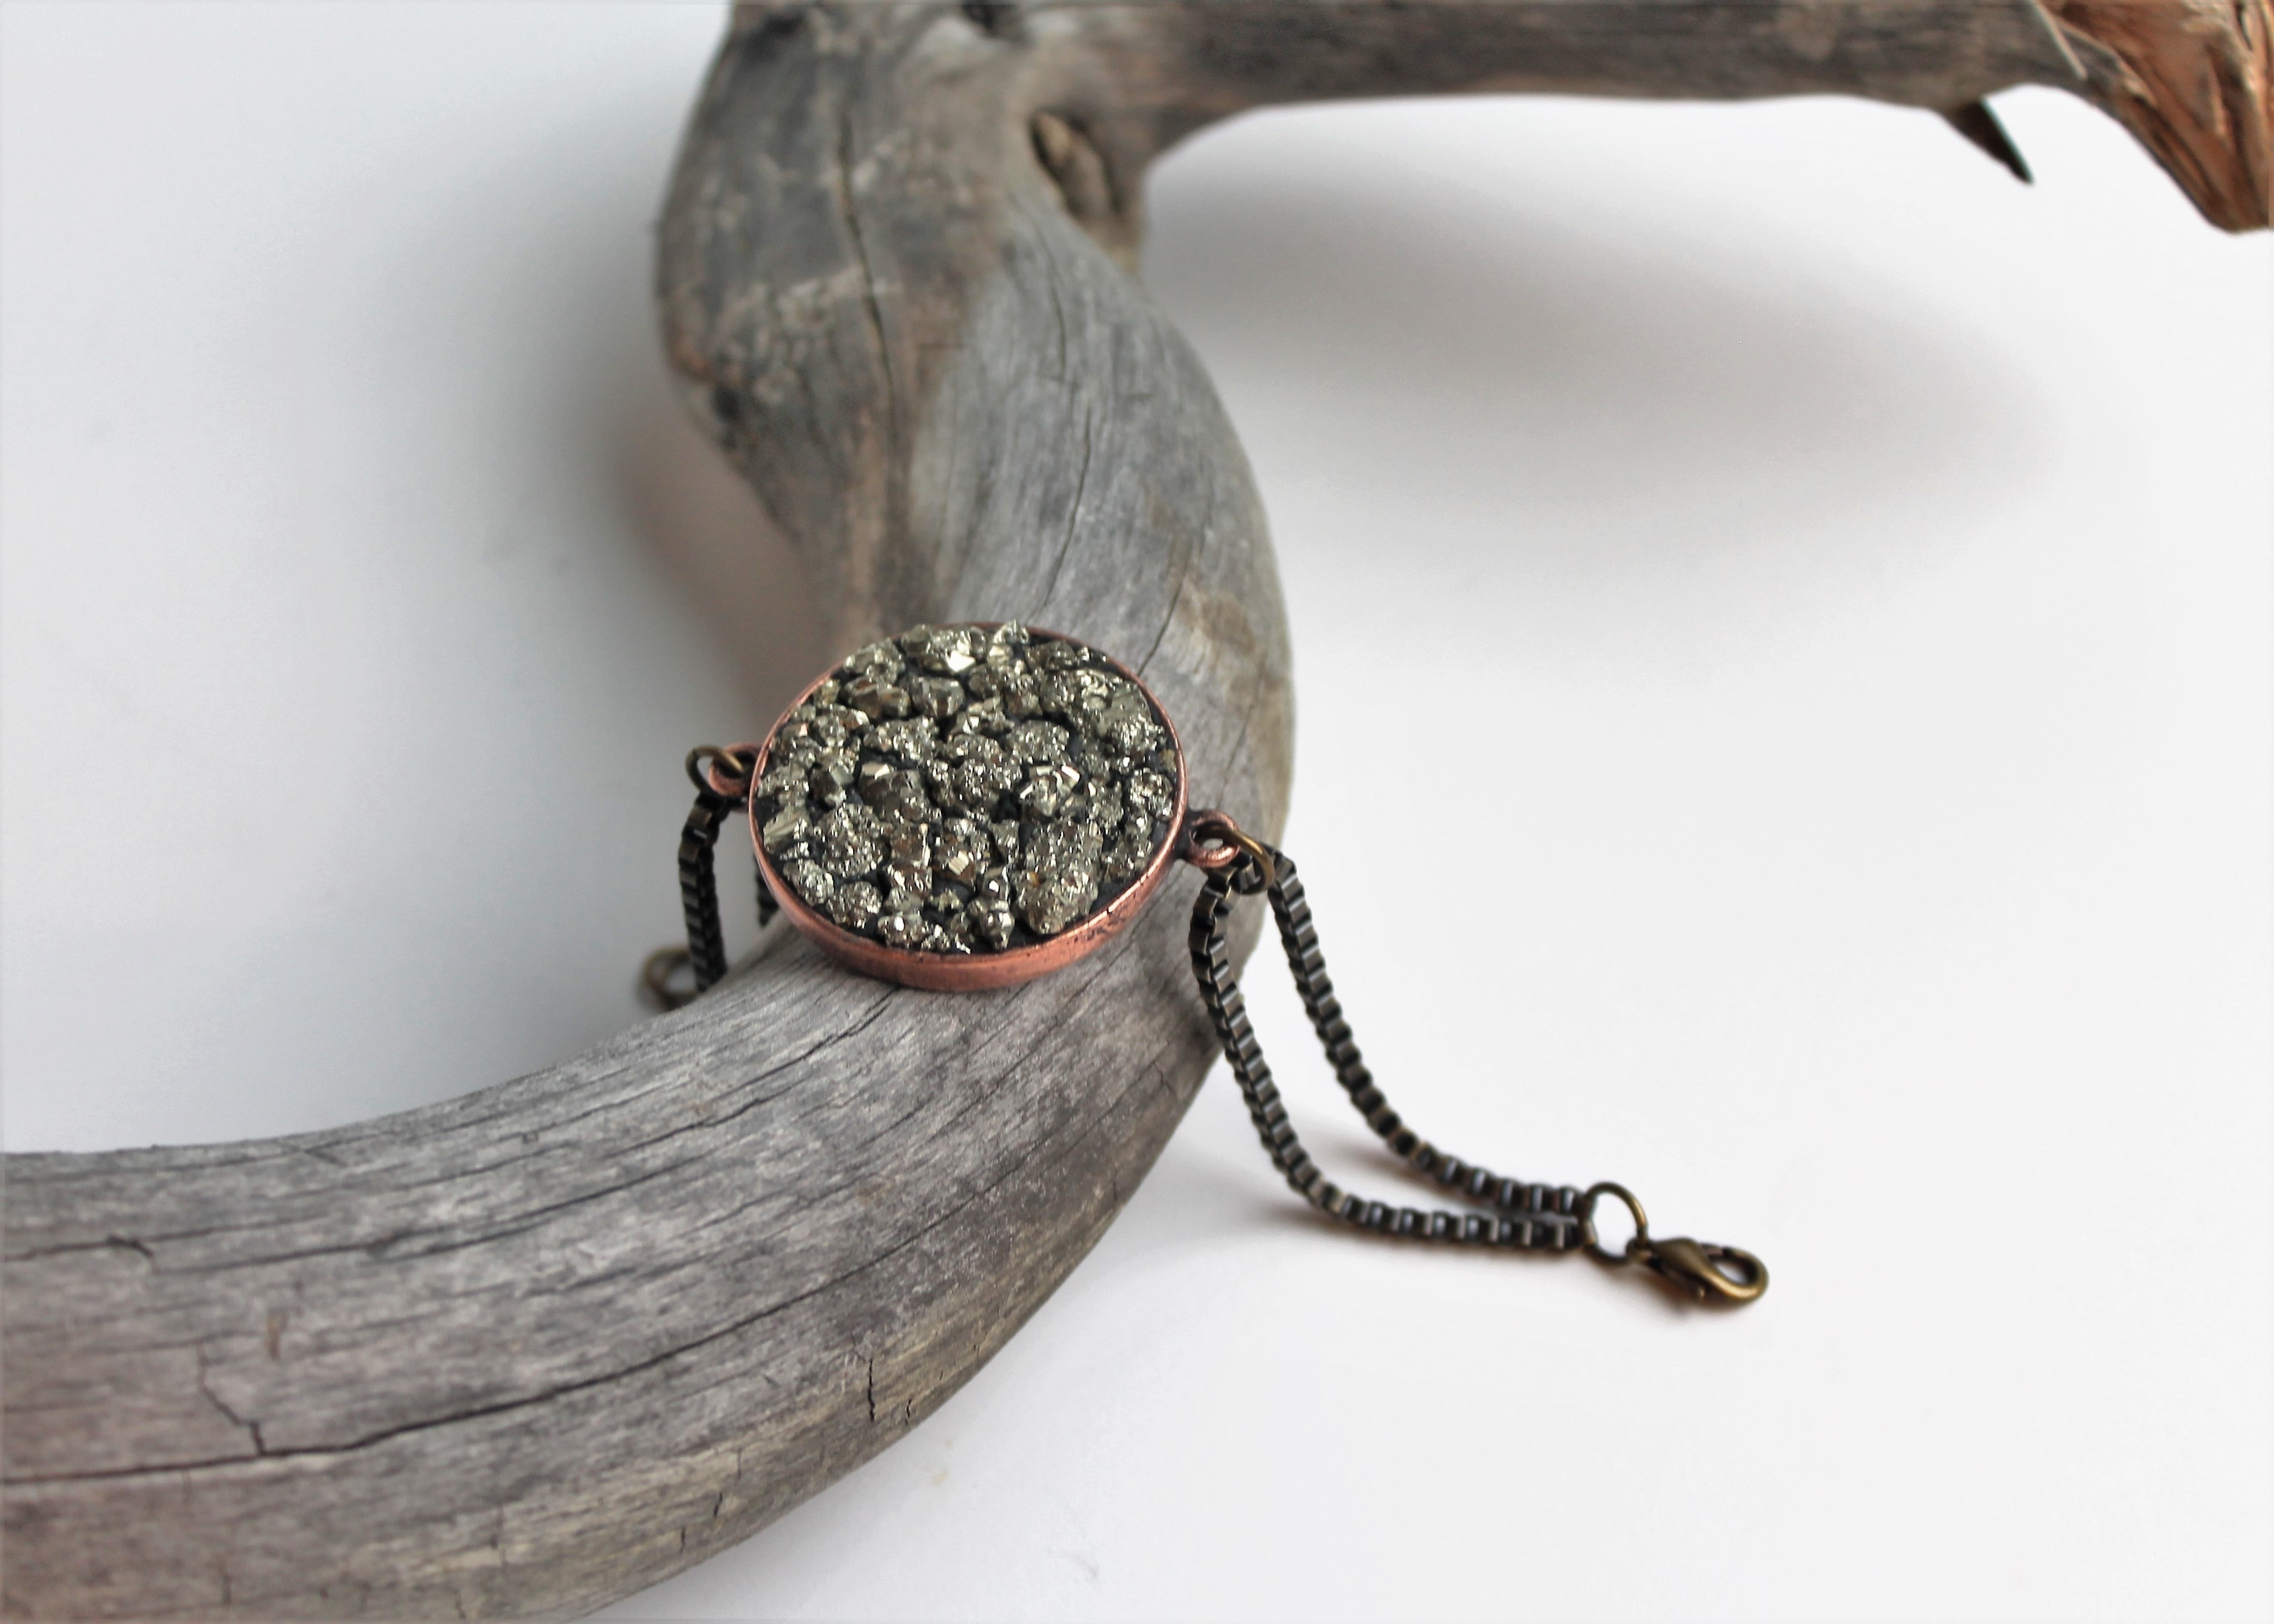
This bracelet is equal parts sparkle and edge.
Cat, here at Cut Out & Keep, contacted me to create a project with Nunn Designs' Crystal Clay. Working with clay can be a bit intimidating for someone who never has, especially a self-hardening clay (can you say 'time limit'!). This clay is different, though. It can be used to sculpt, but can also be used as a sort of alternative to glue. While this project could have been created with a traditional glue, using the crystal clay made it easier and a lot less messy in the long run. Plus, you can also reposition your crystals (or pyrite) without getting glue everywhere!
*All views and instructions are my own.
-
 Alex Z. added Pyrite Bracelet With Nunn Designs' Crystal Clay to Интересное
12 May 17:38
Alex Z. added Pyrite Bracelet With Nunn Designs' Crystal Clay to Интересное
12 May 17:38
-
 Kathy C. favorited Pyrite Bracelet With Nunn Designs' Crystal Clay
10 Apr 11:43
Kathy C. favorited Pyrite Bracelet With Nunn Designs' Crystal Clay
10 Apr 11:43
-
Jane Z. favorited Pyrite Bracelet With Nunn Designs' Crystal Clay
16 Jun 16:45
-
 shakedk added Pyrite Bracelet With Nunn Designs' Crystal Clay to Bracelets
01 Jun 21:25
shakedk added Pyrite Bracelet With Nunn Designs' Crystal Clay to Bracelets
01 Jun 21:25
-
Alissa B. favorited Pyrite Bracelet With Nunn Designs' Crystal Clay
28 Apr 20:22
-
 Caroline published her project Pyrite Bracelet With Nunn Designs' Crystal Clay
27 Apr 09:00
Caroline published her project Pyrite Bracelet With Nunn Designs' Crystal Clay
27 Apr 09:00
-
 Step 1
The kit from Nunn Designs.
-
 Step 2
This is what comes in a package of Crystal Clay: two part clay, rubber gloves, waxed toothpick (to pick up jewels), and instructions.
-
 Step 3
Supplies for making your bracelet.
-
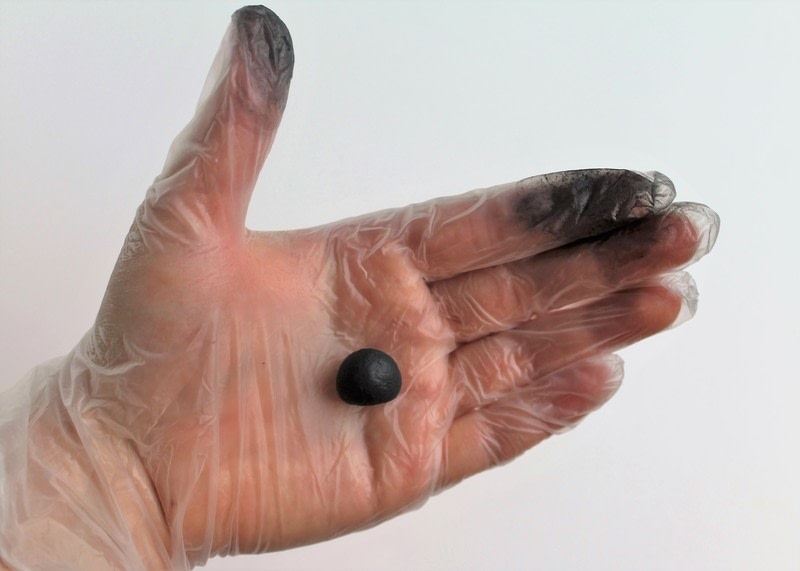
 Step 4
Pull on your rubber gloves and mix the two-part clay as per the instructions. This piece is about the size of my thumb tip and, as I found out, way more than enough for this project.
As you can see the clay is pretty sticky and can get a bit messy!
-
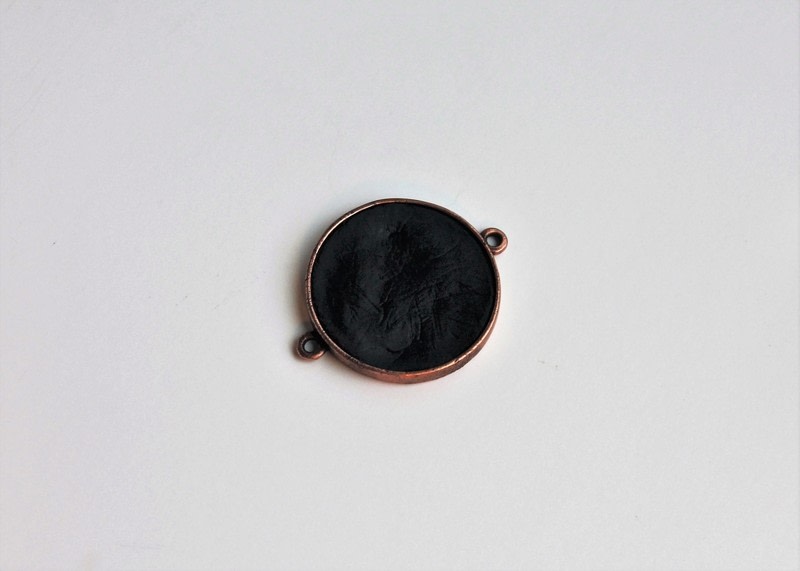
 Step 5
Press the clay into the bezel. Try to make it as level as possible, not indented in the middle. The bezel should be not quite full because whatever you press in will displace some of the clay.
-
 Step 6
Press crushed pyrite into the clay, beginning in the center. Fit the pieces together (like a puzzle!) as best as possible.
-
 Step 7
Fill the bezel with Pyrite. The clay may begin to overflow but just scrape it away with the tip of your pliers or a toothpick. Make sure to press all the pyrite well into the clay. Let the clay dry for at least the minimum amount of time as stated in the instructions.
-
 Step 8
Attach one jumpring to each loop on the bezel.
-
 Step 9
Thread the chain through the jumpring and measure to the underside of your wrist. Keep in mind that the clasp will also add length to the final bracelet.
-
 Step 10
Cut two lengths of the measured chain.
Connect the ends of the chain with a jumpring. Repeat on the other side.
-
 Step 11
Attach the lobster clasp to one chain end and a second jump ring to the other.
-
 Step 12
Wear!