


About
Making jewelry out of those squashed pennies you can get at any attraction.
So I have tons of these 'squashed' pennies over the years from amusement parks, zoos, all over the place. I tried to think of way to actually use them instead of hording them in a little sack. I decided to try and make some earrings using them. I made two different versions of them, just to try some things and show that the possibilites for them are endless. Even though you probably can't see the designs that well, i used a penny with bugs bunny on it, and a zebra on another one. Hope you enjoy!
You Will Need
-
 Step 1
It was so difficult to try to take pics of all the steps. They just didn't want to show up on my camera. :/ but i think it's easy enough that you won't really need pics to understand it.
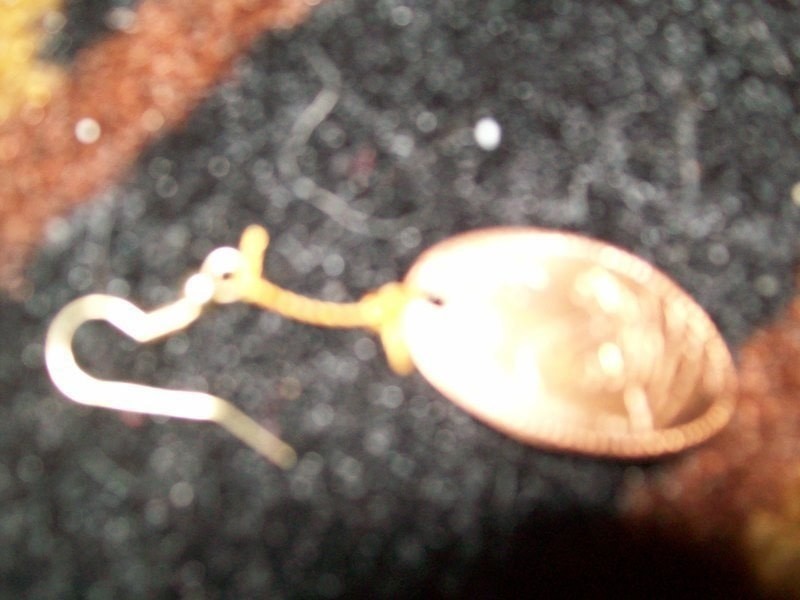
First off, I had to drill a tiny hole in the squashed penny. I used a drill and a little drill bit to make the hole.
i used string to tie my pieces together, but you could use other, more durable stuff. I'm not all savvy in the jewelry making hobby yet, so i improvize. You take the actual earring piece (you can get them at any craft store) and you tie a knot with the string. make the sure the string is long enough that you can tie the penny and any beads (optional) to the earring. you tie multiple knots in it to better secure the stuff together. -
 Step 2
This is another version of the earring i did (it's longer than the other earring I did). I added a bigger bead to it as well. but after you find the desired length of the earring you want, you simply tie knots, securing the pieces to the earring. Then you cut off any extra bits of string.
-
 Step 3
After that, you're done! it's really easy, you spend more time looking for the little bits of equipment you want to use. They don't have to be anything fancy, they're just a neat way of showing off the squashed penny designs and actually using them. haha.


Comments


