


About
A more elegant Kanzashi flower
Please forgive me I'm not the best at explaining things but I will try my best. Keep in mind that the ironing steps are completely optional. I prefer this method because it helps the petals keep their shape.
There should also be how to videos on youtube. Just type in pointy kanzashi flower.
-
 Sarah Sylvia S. favorited Pointy Kanzashi Flowers
24 Jul 22:18
Sarah Sylvia S. favorited Pointy Kanzashi Flowers
24 Jul 22:18
-
 Hello Sweet Taco added Pointy Kanzashi Flowers to Bjork
31 Aug 11:40
Hello Sweet Taco added Pointy Kanzashi Flowers to Bjork
31 Aug 11:40
-
 Mandy D. favorited Pointy Kanzashi Flowers
19 Jul 15:11
Mandy D. favorited Pointy Kanzashi Flowers
19 Jul 15:11
-
 greenstyle added Pointy Kanzashi Flowers to Sewing
13 Jul 05:05
greenstyle added Pointy Kanzashi Flowers to Sewing
13 Jul 05:05
-
greenstyle favorited Pointy Kanzashi Flowers
13 Jul 05:05
-
 Leigh C. favorited Pointy Kanzashi Flowers
30 Jun 20:08
Leigh C. favorited Pointy Kanzashi Flowers
30 Jun 20:08
-
 Doris T. favorited Pointy Kanzashi Flowers
30 Dec 18:39
Doris T. favorited Pointy Kanzashi Flowers
30 Dec 18:39
-
 judi.reiman favorited Pointy Kanzashi Flowers
08 Jul 22:25
judi.reiman favorited Pointy Kanzashi Flowers
08 Jul 22:25
You Will Need
-
 Step 1
Cut 3" x 3" pieces of cloth squares. Each square will be one petal. You can have anywhere between 8-14 petals.
Anything more or anything less doesn't look right to me.They can all be the same fabric pieces or you can have different ones.
-
 Step 2
Turn your cloth around so that the back is facing you. Bring point B to point A.
-
 Step 3
OPTIONAL: you can iron the fold down for a better shape.
-
 Step 4
Bring point A to point B.
-
 Step 5
This is what it should look like now.
-
 Step 6
OPTIONAL: you can iron this new fold as well for a better shape.
-
 Step 7
Now turn your triangle so that the long bottom open end is facing you and the smaller opening is facing your right.
Pinch B and C together and fold over to A along the red line.
-
 Step 8
It should now look like an even smaller triangle.
Fold line A to line B so that they match up. Don't fold both flaps just the one at the top.
-
 Step 9
It should look like this.
-
 Step 10
Now turn the piece around so that the flap you just folded is facing down.
Fold line B to line A so that they match up.
-
 Step 11
It should look like this. Now holding the piece together cut off the bottom piece from where the red dashed line is.
-
 Step 12
The front should look like this.
-
 Step 13
The back should look like this.
-
 Step 14
Double thread your needle because if you don't the thread will rip when you tie it together.
-
 Step 15
Insert needle through petal like so. Repeat steps 1-15 (except 14)for the rest of your petals.
Note: Make sure all the petals are facing the same way when you insert them onto the thread.
-
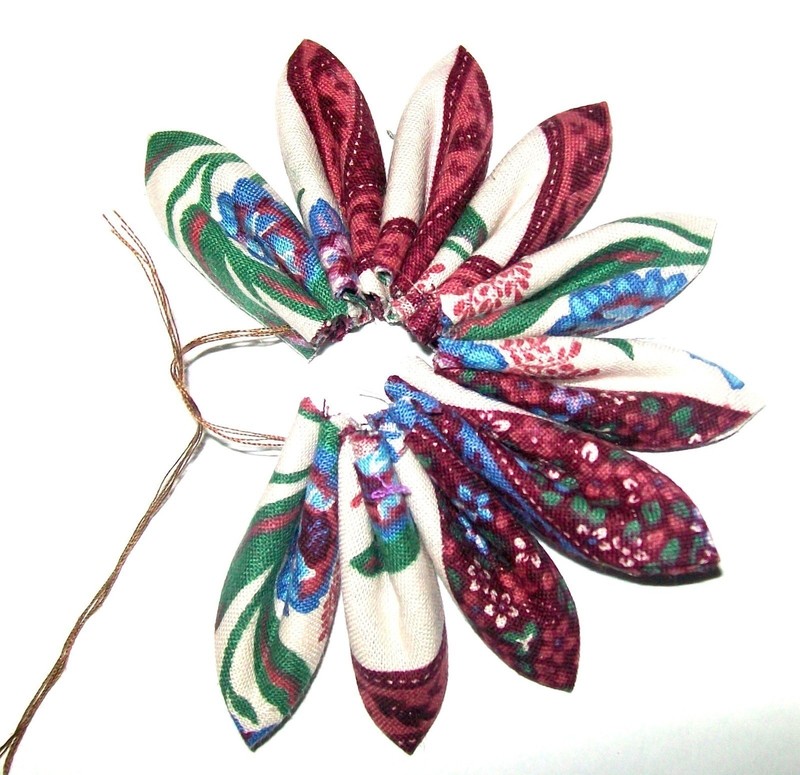
 Step 16
This is what it should look like with all your petals inserted.
-
 Step 17
Turn the flower around and tie both ends of the thread. 3 knots should do the trick.
-
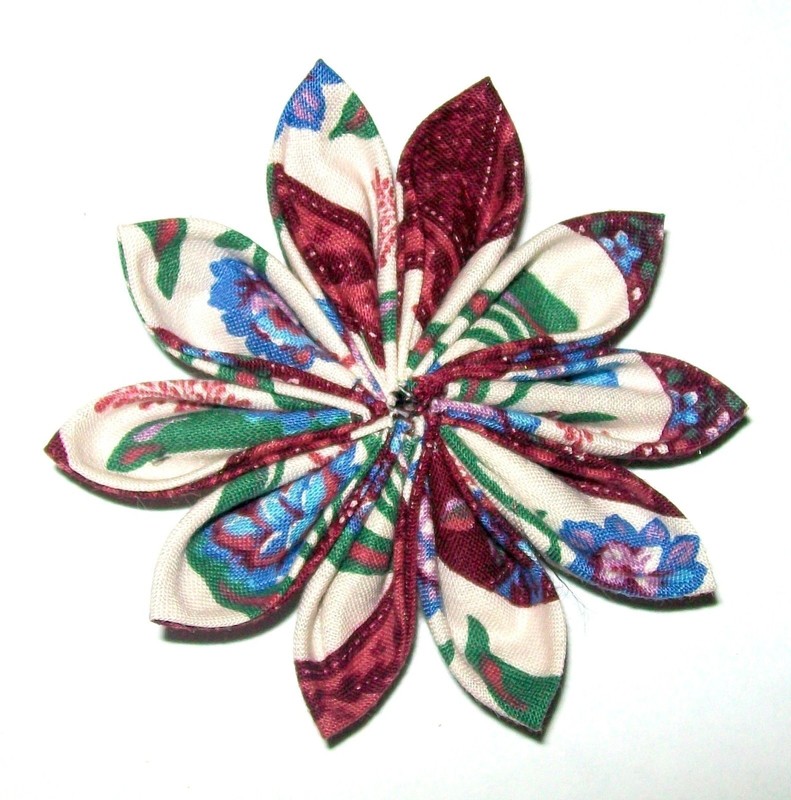
 Step 18
Turn it around.
-
 Step 19
With a marker or your thumb flatten out the petals.
-
 Step 20
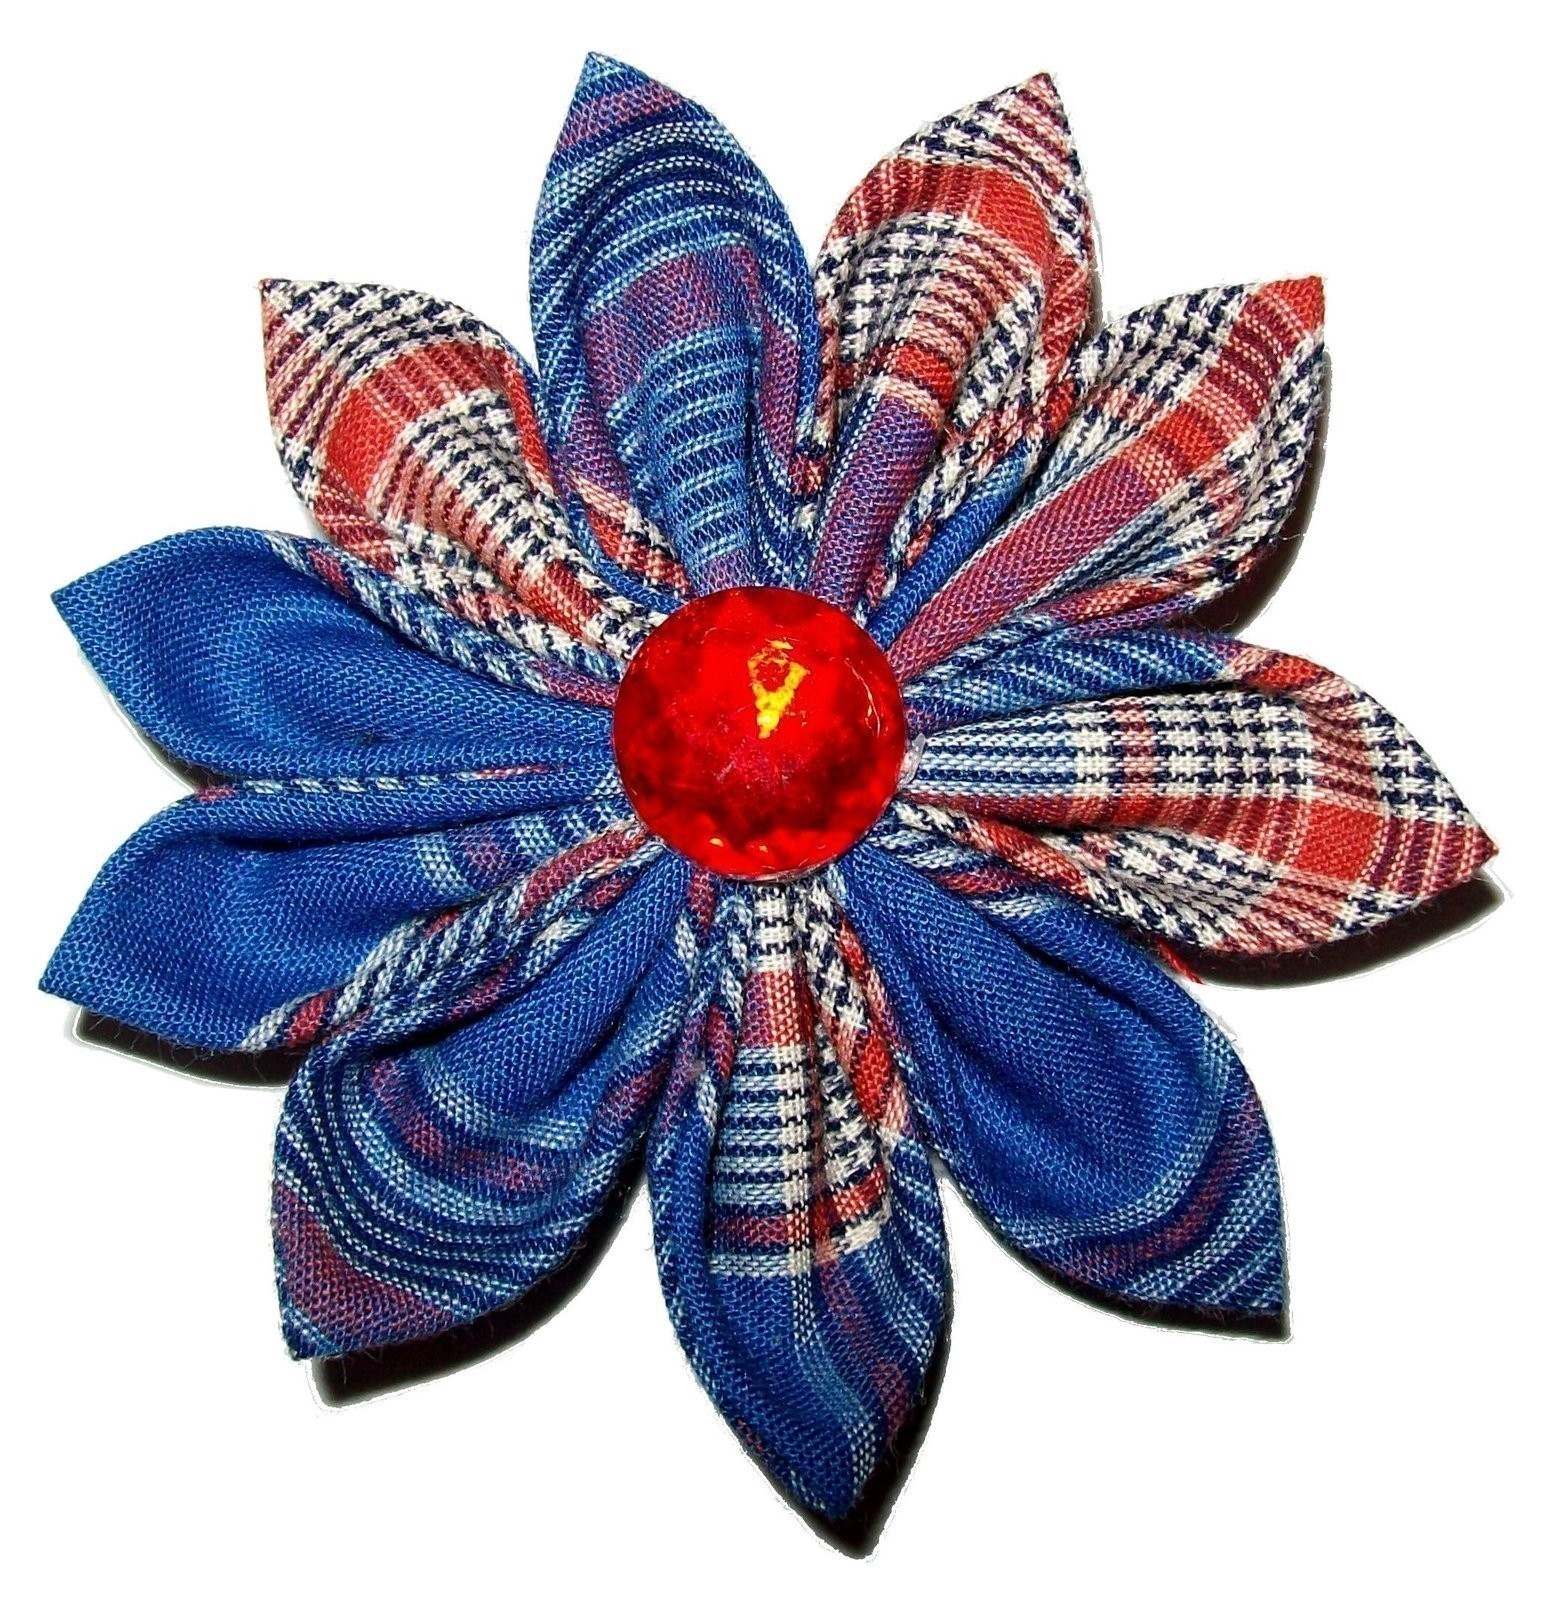
Finished flower.
-
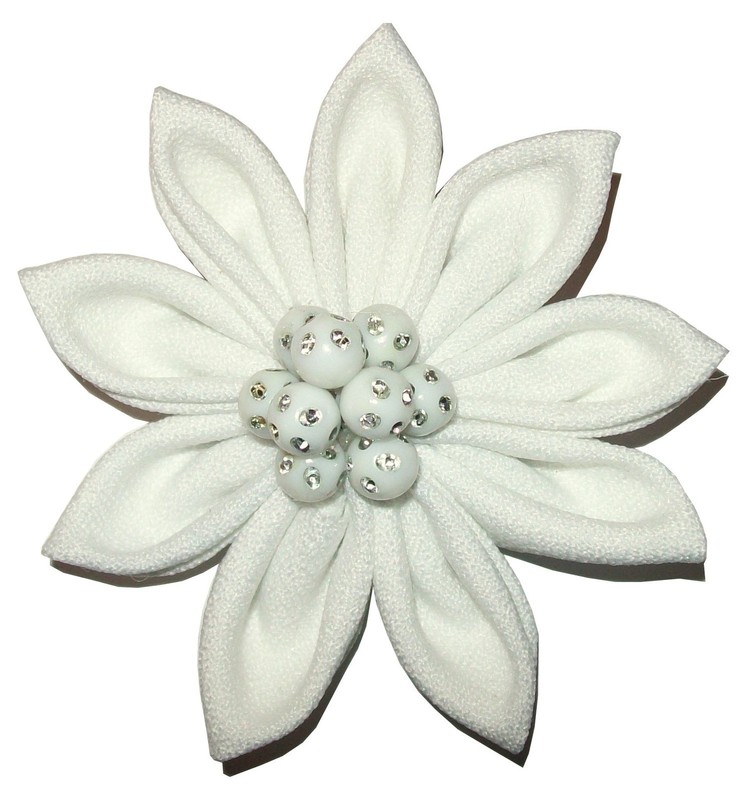
 Step 21
You can get creative with the centers. I usually glue on rhinestones or a cluster of beads.
You can attach an alligator clip to the back or a brooch. You can also add them to plain headbands. The possibilities are endless


I love it!!! <3