


About
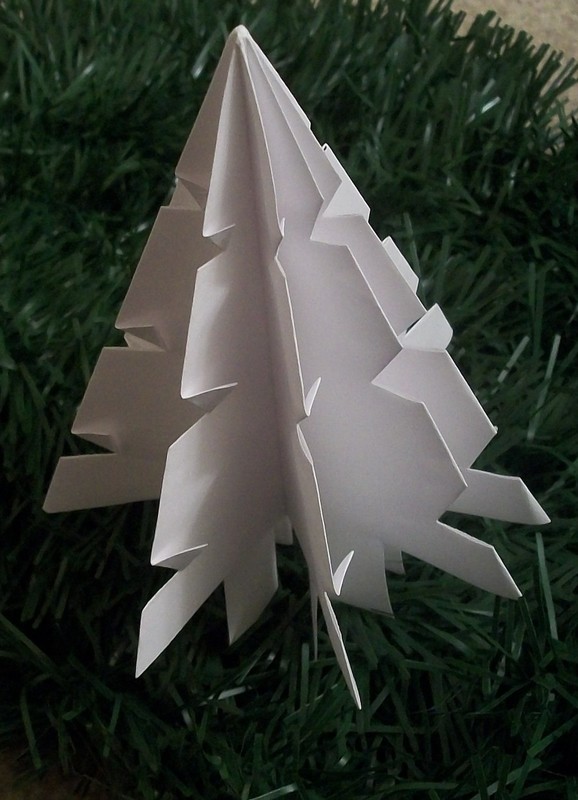
A mini folded tree.
I learned how to make these folded paper trees from a TV craft show several years ago, and I've made tons of them since. They're fast, impressive, and make great ornaments. Teensy mini trees are cute, too - all you need is a smaller square of paper. Double-sided origami paper makes fantastic trees, but any paper that will hold a crease will work well.
Tags
-
 Kerry A. favorited Paper Christmas Tree
04 Sep 22:25
Kerry A. favorited Paper Christmas Tree
04 Sep 22:25
-
 Kaitlin A. favorited Paper Christmas Tree
09 Dec 00:06
Kaitlin A. favorited Paper Christmas Tree
09 Dec 00:06
-
 izzybelle12 favorited Paper Christmas Tree
29 Nov 02:35
izzybelle12 favorited Paper Christmas Tree
29 Nov 02:35
-
 Jessica A. favorited Paper Christmas Tree
27 Aug 22:17
Jessica A. favorited Paper Christmas Tree
27 Aug 22:17
You Will Need
-
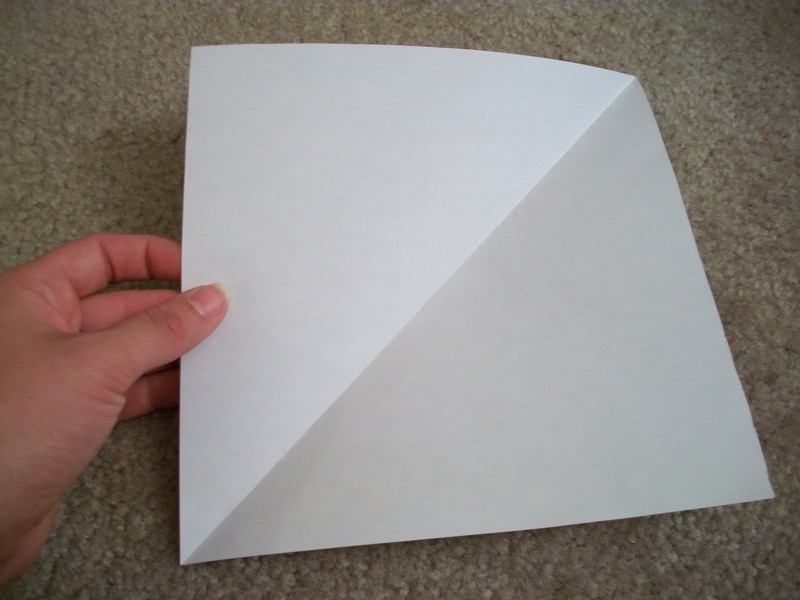
 Step 1
Start with your sheet of letter-sized paper and fold one corner to the edge to make a triangle. Make sure you crease the fold well.
-
 Step 2
While paper is still folded, cut the excess paper away from the triangle to make a perfect square. Unfold.
-
 Step 3
Now fold your square in half the opposite way and crease.
-
 Step 4
Your folds now ake an X. Unfold, then fold in half lengthwise and crease as shown.
-
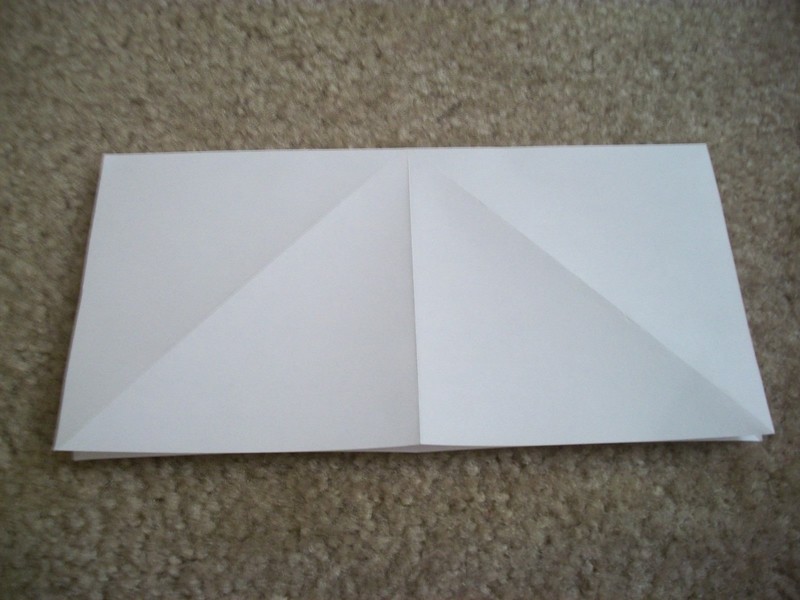
 Step 5
Unfold again and fold in half one more time. Your square should look like this.
-
 Step 6
Unfold one last time and re-fold square in half from corner to corner.
-
 Step 7
Press the upper left corner of your triangle in along the folds.
-
 Step 8
Repeat with the other side.
-
 Step 9
This is what your square should look like.
-
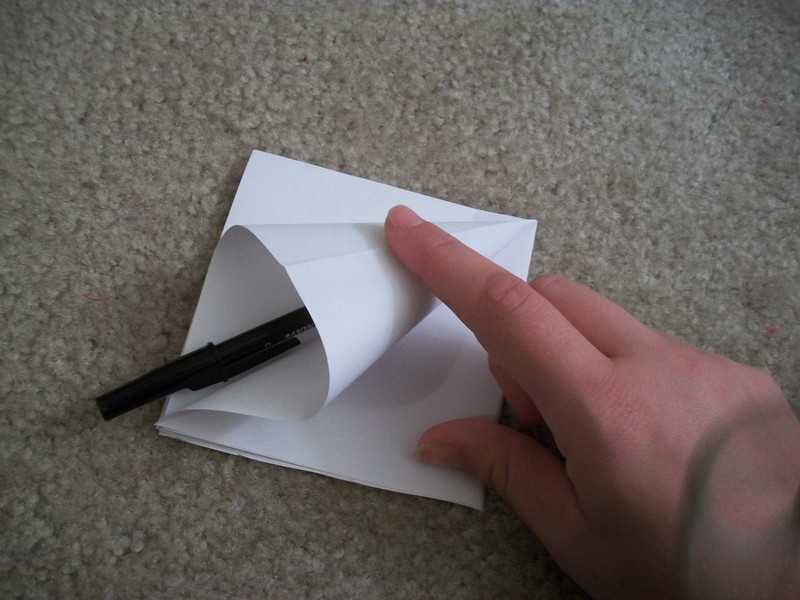
 Step 10
Using a pen or pencil, to get a sharp point, flatten out each "leaf" of your square.
-
 Step 11
Your tree should now look like this, once you've flattened each side of the square all the way around. Now, mark your tree at the trunk like I have, and cut along the dotted lines.
-
 Step 12
Cut straight across the bottom.
-
 Step 13
Now, cut about 1/4" through all layers straight towards the middle of the tree as shown. Then separate the pages of the tree and fold each notch upward, one at a time. Repeat all the way around.
-
 Step 14
Spread the pages out evenly and, Voila! You've got a paper Christmas tree.


 1
Watercolor Art »
Watercolor Paints Made From Make Up
1
Watercolor Art »
Watercolor Paints Made From Make Up

Cath