


About
Recycle junk mail, graded work, to do lists, and just about anything else.
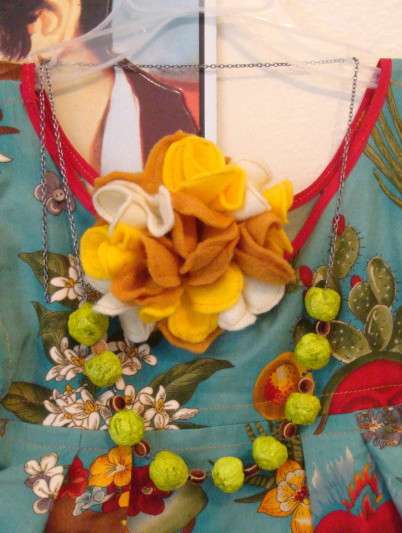
Beads made from scrap paper, junk mail, and anything else laying around. The part that takes the most time is waiting for the beads to dry.
-
 Key West Witch favorited Paper Beads
05 May 06:58
Key West Witch favorited Paper Beads
05 May 06:58
-
 bigrthanlasagna favorited Paper Beads
10 Jan 12:13
bigrthanlasagna favorited Paper Beads
10 Jan 12:13
-
 Kathy S. favorited Paper Beads
08 Jul 05:15
Kathy S. favorited Paper Beads
08 Jul 05:15
You Will Need
-
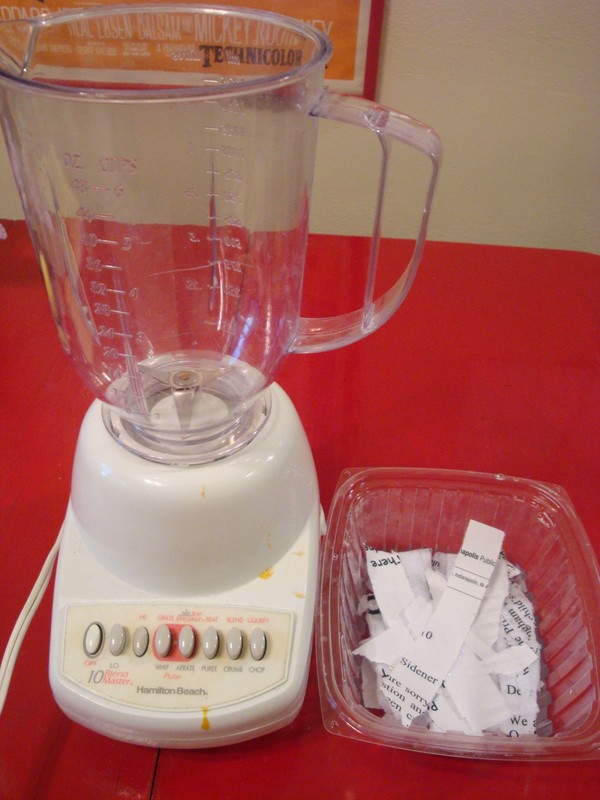
 Step 1
Take a pile of paper that you have on hand. Maybe it's junk mail, maybe it's something else. Tear the paper into strips. It doesn't have to be any exact size, just strips.
-
 Step 2
Once you have the strips, place them in a container of hot water. Allow the strips to soak for a bit. It can be 10 minutes or over night. It's up to you.
-
 Step 3
After the strips have soaked, find your blender. *Use a blender that you don't plan to use for food. Place some strips in the blender and use the strongest setting (on mine this is "liquify"). The paper usually blends better if you add water.
-
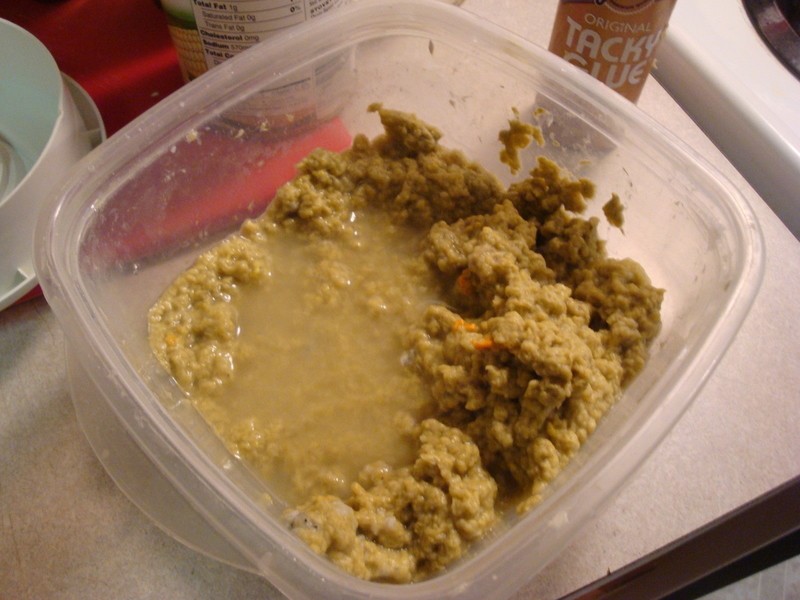
 Step 4
Once your strips are blended you have pulp. The pulp can be shaped into beads (I prefer round, but do what you like) by hand by squeezing out the excess water. Sometimes it helps to use a pallon (sheet of fabric)to squeeze out the water. Also, it sometimes helps to add a little glue to the pulp at this point to help shape the bead.
-
 Step 5
Now the beads have to dry. You can air dry them or put them on a tray and place in the oven on a low temperature to speed up drying. You should check them often, not go over 300 degrees, and allow them to cool before the next step.
-
 Step 6
Dry beads! Get your awl and pierce the holes for stringing. Be careful. I found that it was helpful to pierce the hole from both sides. After you've done this feel free to paint, seal, decorate, string or what ever you like.


Comments

 1
Watercolor Art »
Watercolor Paints Made From Make Up
1
Watercolor Art »
Watercolor Paints Made From Make Up
