


About
Panty Tutorial: How to make your own drawers
Well folks I think I have been talkin' about this tutorial for about a year, so I finally pulled it out. There are millions( ok maybe not millions, but a whole heck of a lot) of variations and add ons but I was trying to do the simplest one first.
Tags
-
 Key West Witch favorited Panty Tutorial
12 May 16:09
Key West Witch favorited Panty Tutorial
12 May 16:09
-
 Luv2Crossdress added Panty Tutorial to Panties, Any Lingerie
27 May 14:36
Luv2Crossdress added Panty Tutorial to Panties, Any Lingerie
27 May 14:36
-
Luv2Crossdress favorited Panty Tutorial
27 May 14:35
-
 Alma added Panty Tutorial to Lingerie
03 Jul 09:17
Alma added Panty Tutorial to Lingerie
03 Jul 09:17
-
Blondell K. favorited Panty Tutorial
11 Mar 20:30
-
 Kimya J. favorited Panty Tutorial
06 Mar 02:00
Kimya J. favorited Panty Tutorial
06 Mar 02:00
-
 amanda the wizard favorited Panty Tutorial
12 Jun 05:47
amanda the wizard favorited Panty Tutorial
12 Jun 05:47
-
 Melissa Beth favorited Panty Tutorial
12 Dec 03:07
Melissa Beth favorited Panty Tutorial
12 Dec 03:07
-
 Solcito R. favorited Panty Tutorial
09 Sep 01:49
Solcito R. favorited Panty Tutorial
09 Sep 01:49
-
 txtia favorited Panty Tutorial
25 Jul 17:11
txtia favorited Panty Tutorial
25 Jul 17:11
-
 Step 1
Make your knickers !!
Cut or fold your undies so you can make your pattern. First Cut or fold on seam between front and back of the undies. Then fold each piece in half at the center.( I made a hybrid pattern from two different undies I liked different things about the cut of each)
-
 Step 2
Trace and cut your pattern pieces. There will be three pieces (front, back and the lining) that will be cut on the fold. You should cut the front panel first then cut the crotch off the front panel to get the pattern piece for the lining.
-
 Step 3
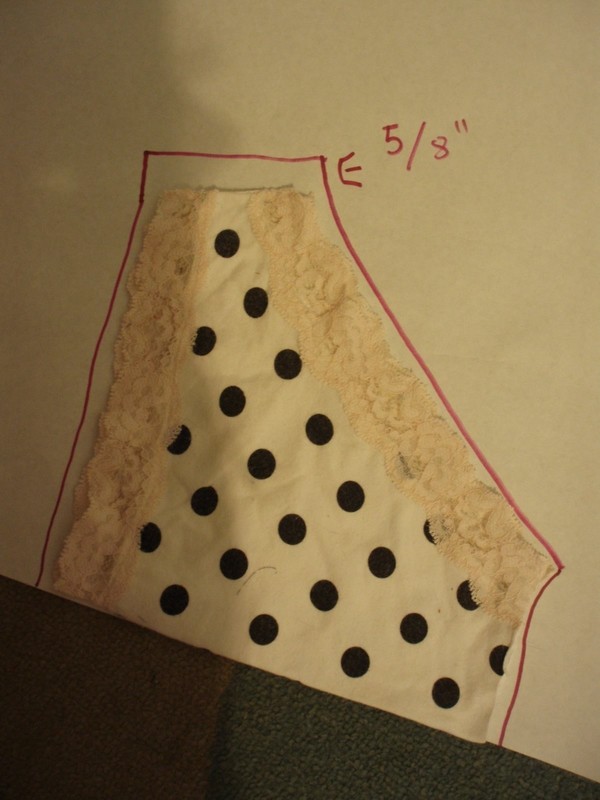
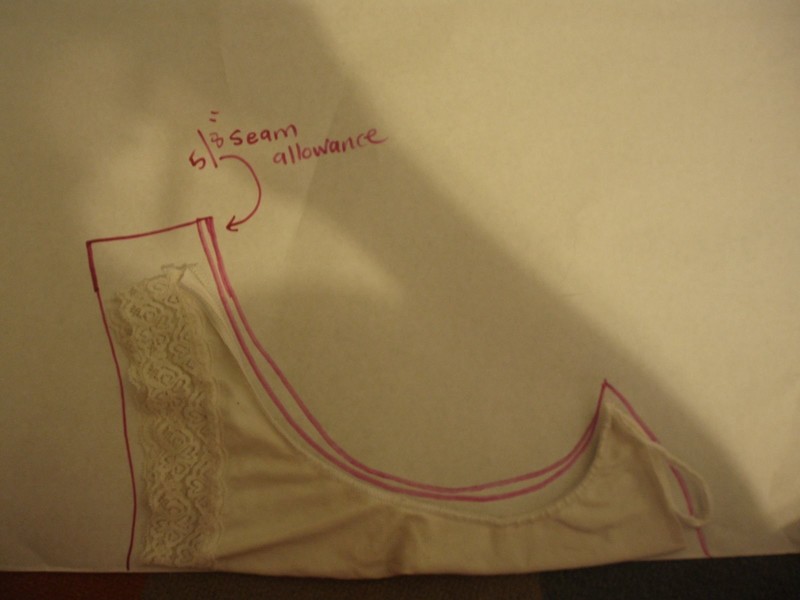
Lie the pieces as flat and symmetrical as possible on your pattern paper(I Try to use the manufactured straight edge of my paper as the center fold line, This way I know that line is straight) Trace around your fabric piece leaving about 1/8-1/4 " edge. At the hips add 5/8 to each piece(front and back ) for your seam allowance.
-
 Step 4
This pattern may take a bit of tweaking to get the way you like so use up and the oldest ugliest t-shirts on your first pair then you can make adjustments to your pattern from there
-
 Step 5
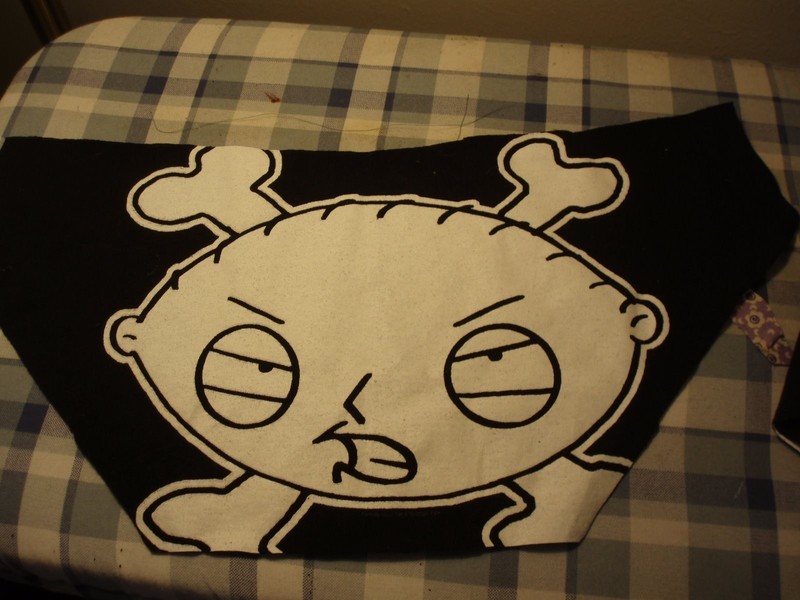
Cut and iron the T-shirt into usable fabric pieces. For my undies I just cut around the seams to free the front panel of this large mans shirt . I was using only the front image for this pair.
I cut the front panel from a large enough scrap of fabric I had in my cotton knit pile.
-
 Step 6
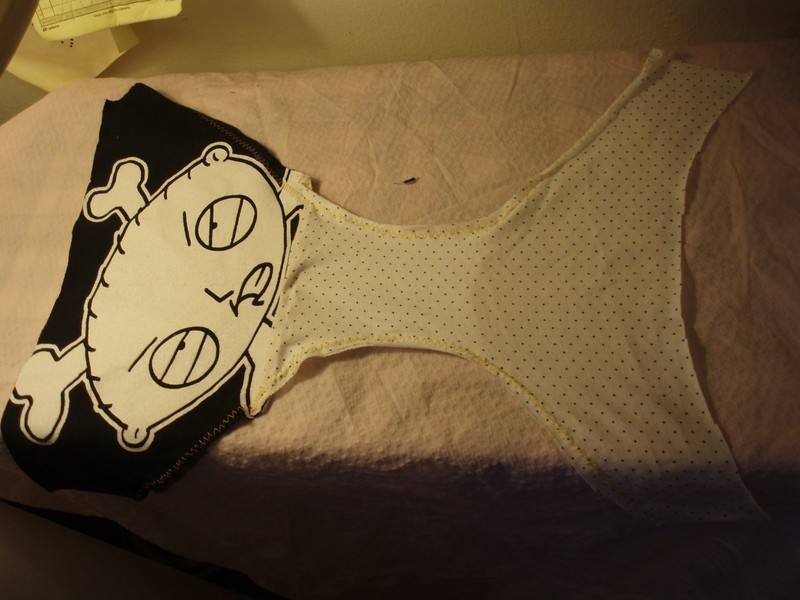
Decide and arrange any key design elements from your fabric.( I wanted stewie's face on the bum)
-
 Step 7
Pin, cut and Iron your pattern pieces from your fabric.
-
 Step 8
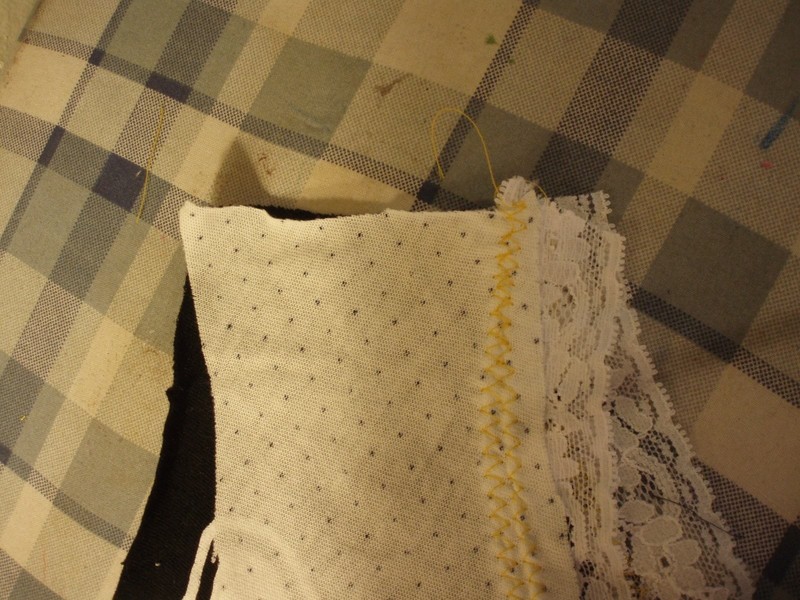
Zigzag your edges on the lining to stop the fray.
-
 Step 9
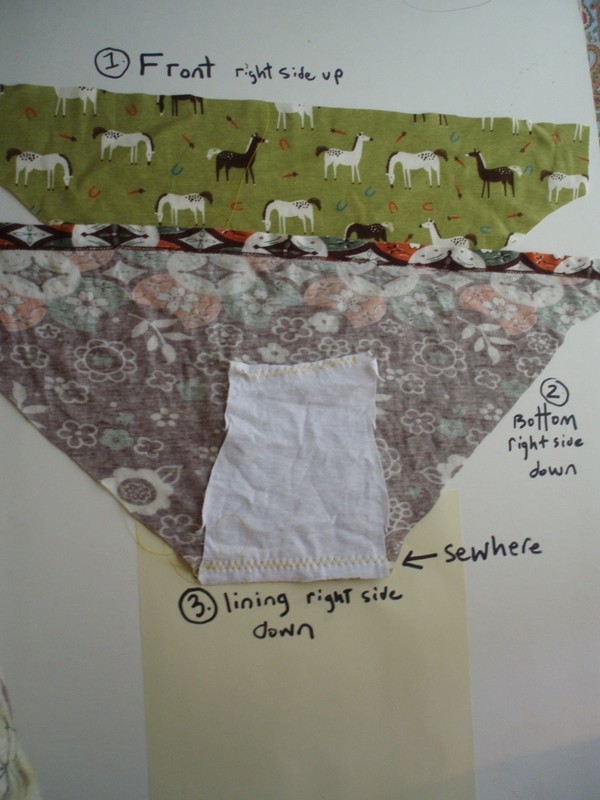
Attach your lining and your panties together. Make a sandwich aligning all the edges from their center; on bottom, front piece wrong side up, next back piece wrong side down, next lining right side down (longest width as the edge ) Zigzag stitch all pieces in place.
-
 Step 10
Flatten and pin the lining to the center of the panties to hold in place.Run your iron over everything to be tidy.
-
 Step 11
Sew both legs about a 1/4" from the edge with a zigzag crossing over the lining( treat the lining as the edge to sew from)
-
 Step 12
trim/ even up any excess edges
-
 Step 13
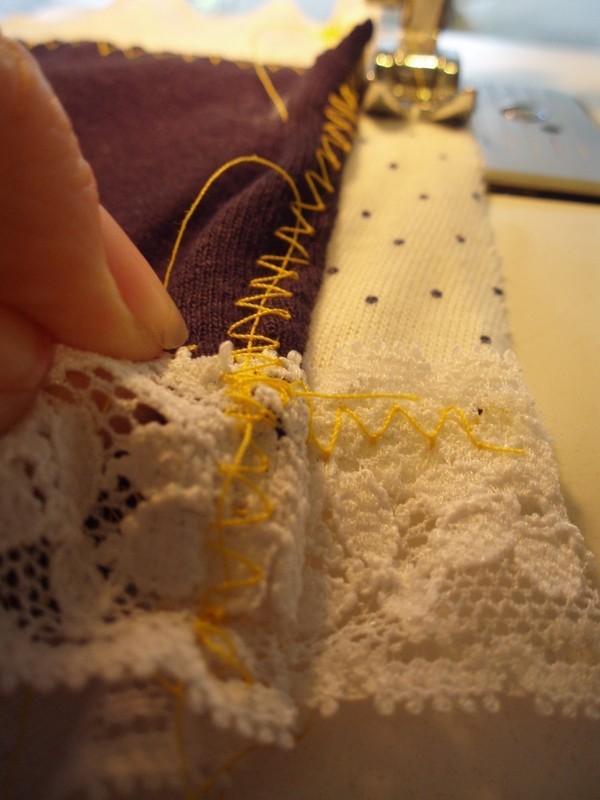
Attach trim to the legs.( I do not cut my trim in advance I work from a large piece and trim it at the end of the stitching)
-
 Step 14
Using a zigzag, topstitch the trim directly to the legs.
-
 Step 15
Attaching stretchy trim to stretchy fabric can be tricky, so if you have not tried this before practice on some comparable scraps to get the hang of it. I do not pin, I simply line up my trim overlapping the panty by about 1/4 " and slow and steady send it through the machine.
-
 Step 16
Most folks will say to try not to stretch either material very much however I do give a little tug to my trim, (not as much as I would with a woven fabric mind you). Maybe my machine pulls the fabric a little. This is something I worked out with my little Brother. That is why I recommend a little practice will take you far.
-
 Step 17
Attach one side of undies. With right side together with a zigzag (5/8 seam allowance).
-
 Step 18
Sew from bottom up matching up the leg trim. Finish the seams with a zigzag and trim
-
 Step 19
Trim waist line if needed to flow smoothly front and back
-
 Step 20
Attach trim to waist just as with the leg trim.
-
 Step 21
Finish by attaching other side of undies with right side together with a zigzag (5/8 seam allowance). Sew from bottom up matching up the leg trim and waist line. Finish the seams with a zigzag and trim.
-
 Step 22
~Some great places to shop online for supplies for this project:
Sewzanne's
Sew Sassy Fabrics
CryBabys Boutique
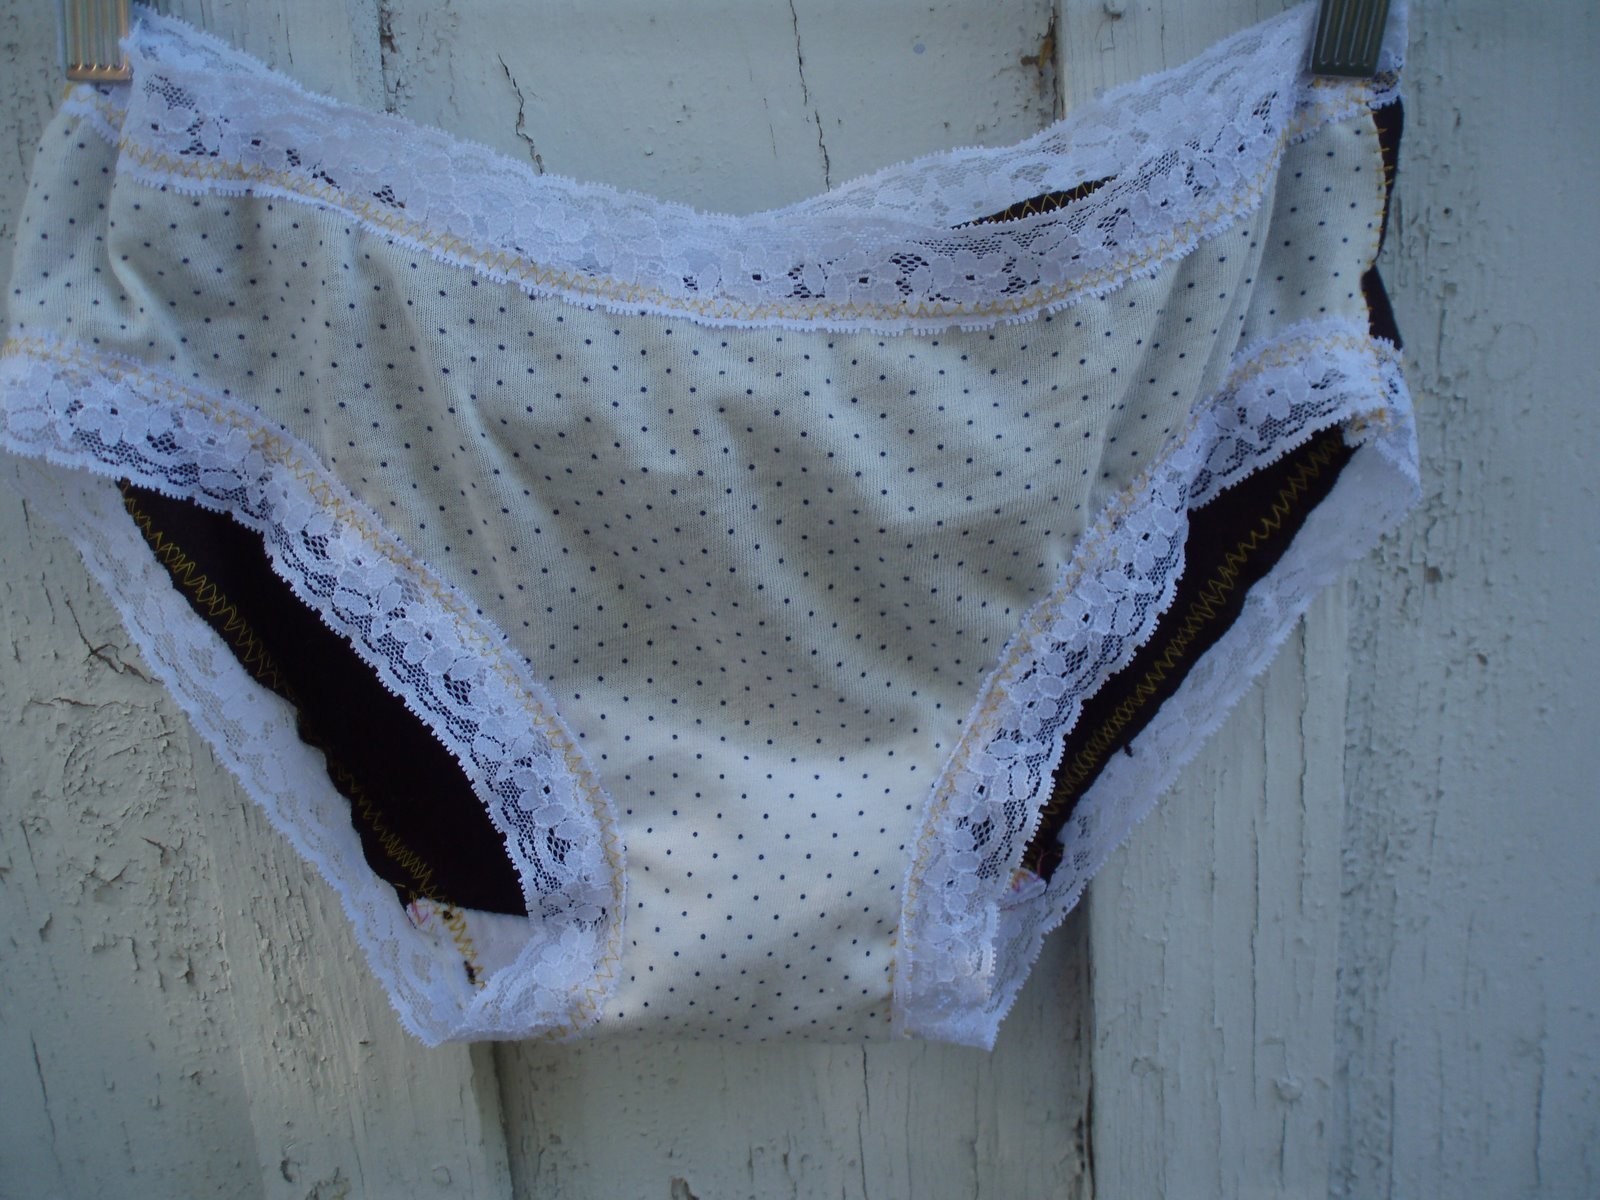
Fashion Fabric Club* just wanted to show you how cute and comfy they are, the model is a willing and knowing legal adult and this is not a dirty picture!


Versions


Posted by
Judith L.

Posted by
Shola K.

Posted by
she's crafty...


Posted by
Neenaws
Comments


