
![Easy, cute, diy ;D <3 . Free tutorial with pictures on how to sculpt a clay food necklace in under 40 minutes by jewelrymaking, molding, and with clay, necklace chain, and ring. Inspired by lollipops and lollipops. How To posted by [I]magine. Difficulty: Easy. Cost: Absolutley free. Steps: 17](https://images.coplusk.net/project_images/64107/image/lol_1282085399.jpg)
![Easy, cute, diy ;D <3 . Free tutorial with pictures on how to sculpt a clay food necklace in under 40 minutes by jewelrymaking, molding, and with clay, necklace chain, and ring. Inspired by lollipops and lollipops. How To posted by [I]magine. Difficulty: Easy. Cost: Absolutley free. Steps: 17](https://images.coplusk.net/project_images/64108/image/lollipop_1282085628.jpg)

About
easy, cute, diy ;D <3
simple and cute! <3 If any questions please email me!
thanks !
Tags
-
 Key West Witch favorited Lollipop Necklace
08 Aug 14:10
Key West Witch favorited Lollipop Necklace
08 Aug 14:10
-
Key West Witch added Lollipop Necklace to Jewelry
30 Jun 04:22
-
Key West Witch added Lollipop Necklace to Snakes A to Zzzzz
30 Jun 04:22
-
 Luna P. favorited Lollipop Necklace
23 May 12:29
Luna P. favorited Lollipop Necklace
23 May 12:29
-
Kristaaa K. favorited Lollipop Necklace
29 Apr 01:07
-
Kristaaa K. added Lollipop Necklace to Clay
29 Apr 01:07
-
 Toxic Cupcake Killjoy favorited Lollipop Necklace
27 Apr 15:44
Toxic Cupcake Killjoy favorited Lollipop Necklace
27 Apr 15:44
-
 jackie c. favorited Lollipop Necklace
08 Mar 00:00
jackie c. favorited Lollipop Necklace
08 Mar 00:00
-
 berta.cooke.7 favorited Lollipop Necklace
06 Mar 20:04
berta.cooke.7 favorited Lollipop Necklace
06 Mar 20:04
-
Emmy S. favorited Lollipop Necklace
30 Jan 19:56
You Will Need
-
 Step 1
You will need any type of polymer clay in multiple colors of your choice. I use Fimo :D For these necklaces, you can use as many colors as you want, BUT to make it look realistic, I prefer to use at least 3 different colors :D
-
 Step 2
From the colors of your choice, take 3 small lumps (LOL funny word xDD), and roll it until it's a smooth ball.
-
 Step 3
roll the lumps into strands, not too thin though. Make sure the strands are fairly the same length.
-
 Step 4
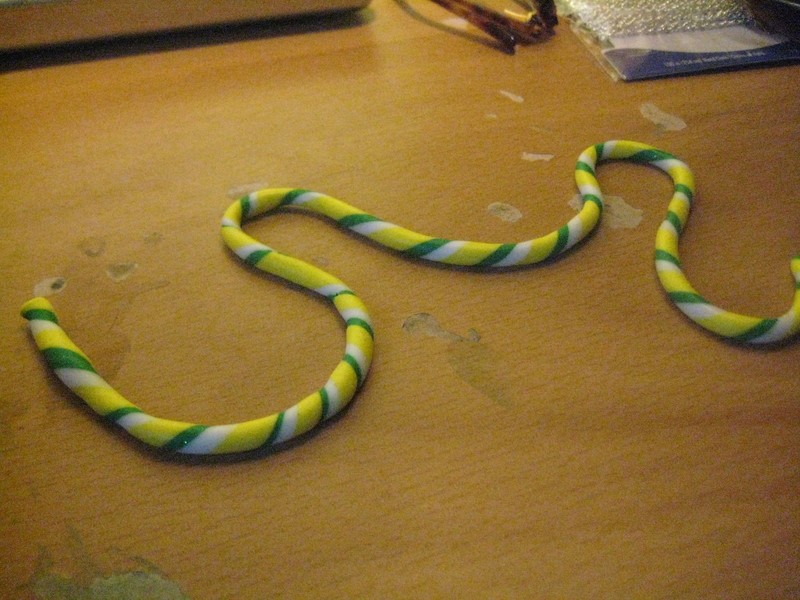
now gently twist, the strands...**you're not using a braiding technique**
-
 Step 5
since your 3 strands are twisted into 1, roll it so the texture is smooth, and it will look something like this.
-
 Step 6
repeat steps 4 & 5 ... twist, and roll, until the strand gets thinner.
**TIP-the more your twist and roll, the closer the colors come together, and the more realistic it will turn out :) BUT don't twist and roll until its too thin and breaks off
-
 Step 7
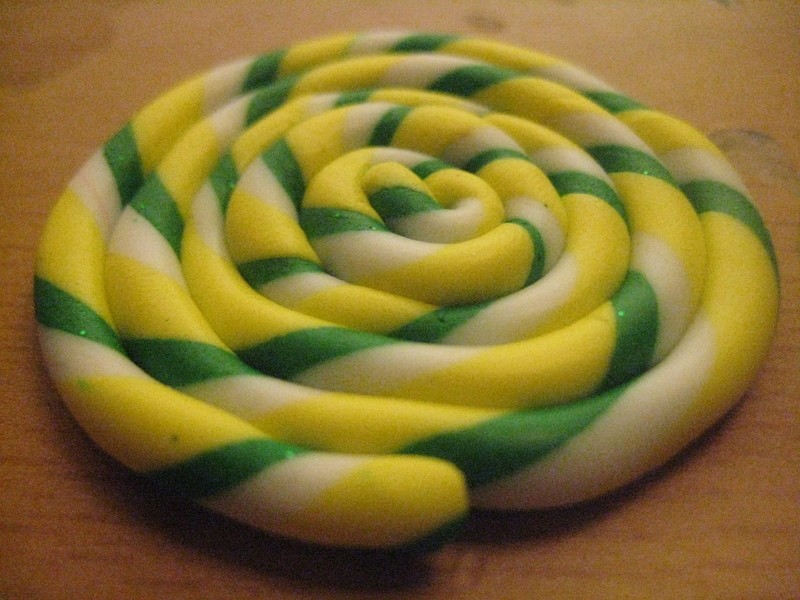
Roll it until it turns into a circle :)
-
 Step 8
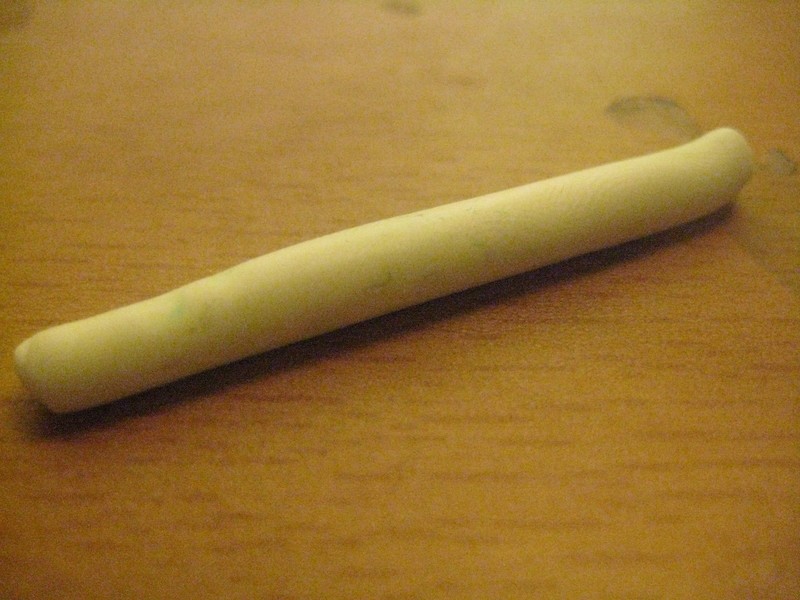
take a small lump of white polymer clay and roll it into a medium strand. This will be the stick part of the lollipop
*if too long, cut to the desired length
-
 Step 9
place the stick under the main piece, *make sure its directly under where the lollipop ends. then, put a little pressure from the main piece onto the stick, so they're attatched
-
 Step 10
Take a SMALL piece of clay, color your choice and roll into a smooth textured ball . ** this will be the bow on your lollipop,
**OPTIONAL STEP***
-
 Step 11
press the ball into a rectangular shape, with curved edged. Then pinch in the middle of the rectangle.
-
 Step 12
press the bow onto where the lollipop ended (directly on the stick), and take a tiny piece of clay and press it onto the center of the bow.
-
 Step 13
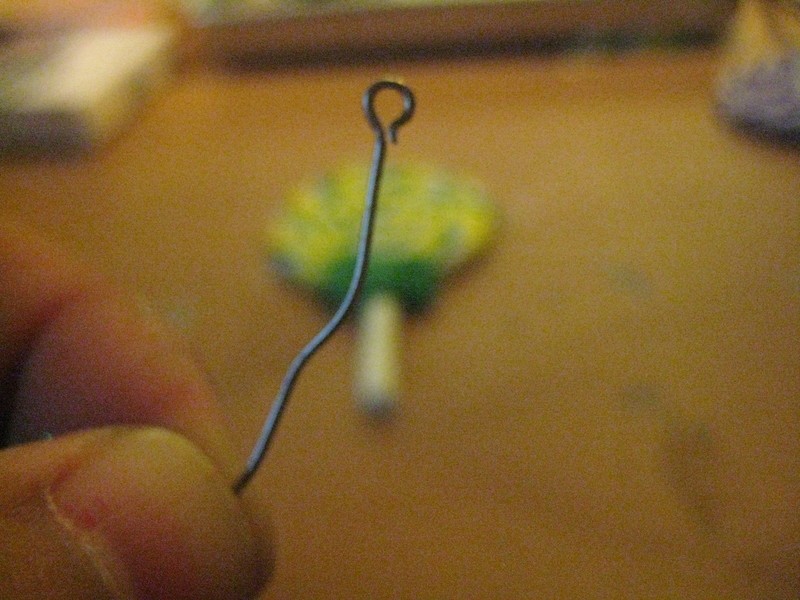
you will need one of these clamp wire type thing..I forget what its called but it looks like this
**TIP** I like to bend it a little so when it dries in the clay, it won't come out
-
 Step 14
stick the wire into the lollipop DIRECTLY above the stick of the lollipop, it should look something like this.
**MAKE sure the circle part of the wire is flat, and not sticking up
-
 Step 15
allign your lollipop on a metal non stick tray ( you can use a cookie sheet) , be careful and make last minute arrangments to your lollipop if you wish to do so.
put in the oven and wait :D**normally, for clays you put it in at 230 degrees Fahrenheit for 30 minutes
-
 Step 16
attatch your jump ring and chain, and this is your final result !
-
 Step 17
Now SMILEEE because you just made a cute lollipop necklace all on your own :3 <333
ps- yes thats me x.x


Versions

Posted by
jewelry_girl


Posted by
TheHappiiZombiie

Posted by
VeronicaSunshinee(:


<3 it !
I actually brought 12 blocks of clay when i saw this i was that desperate to give it a try
i made one :3
aww how cute u are!
and no you don't need to spray ! ^^