
About
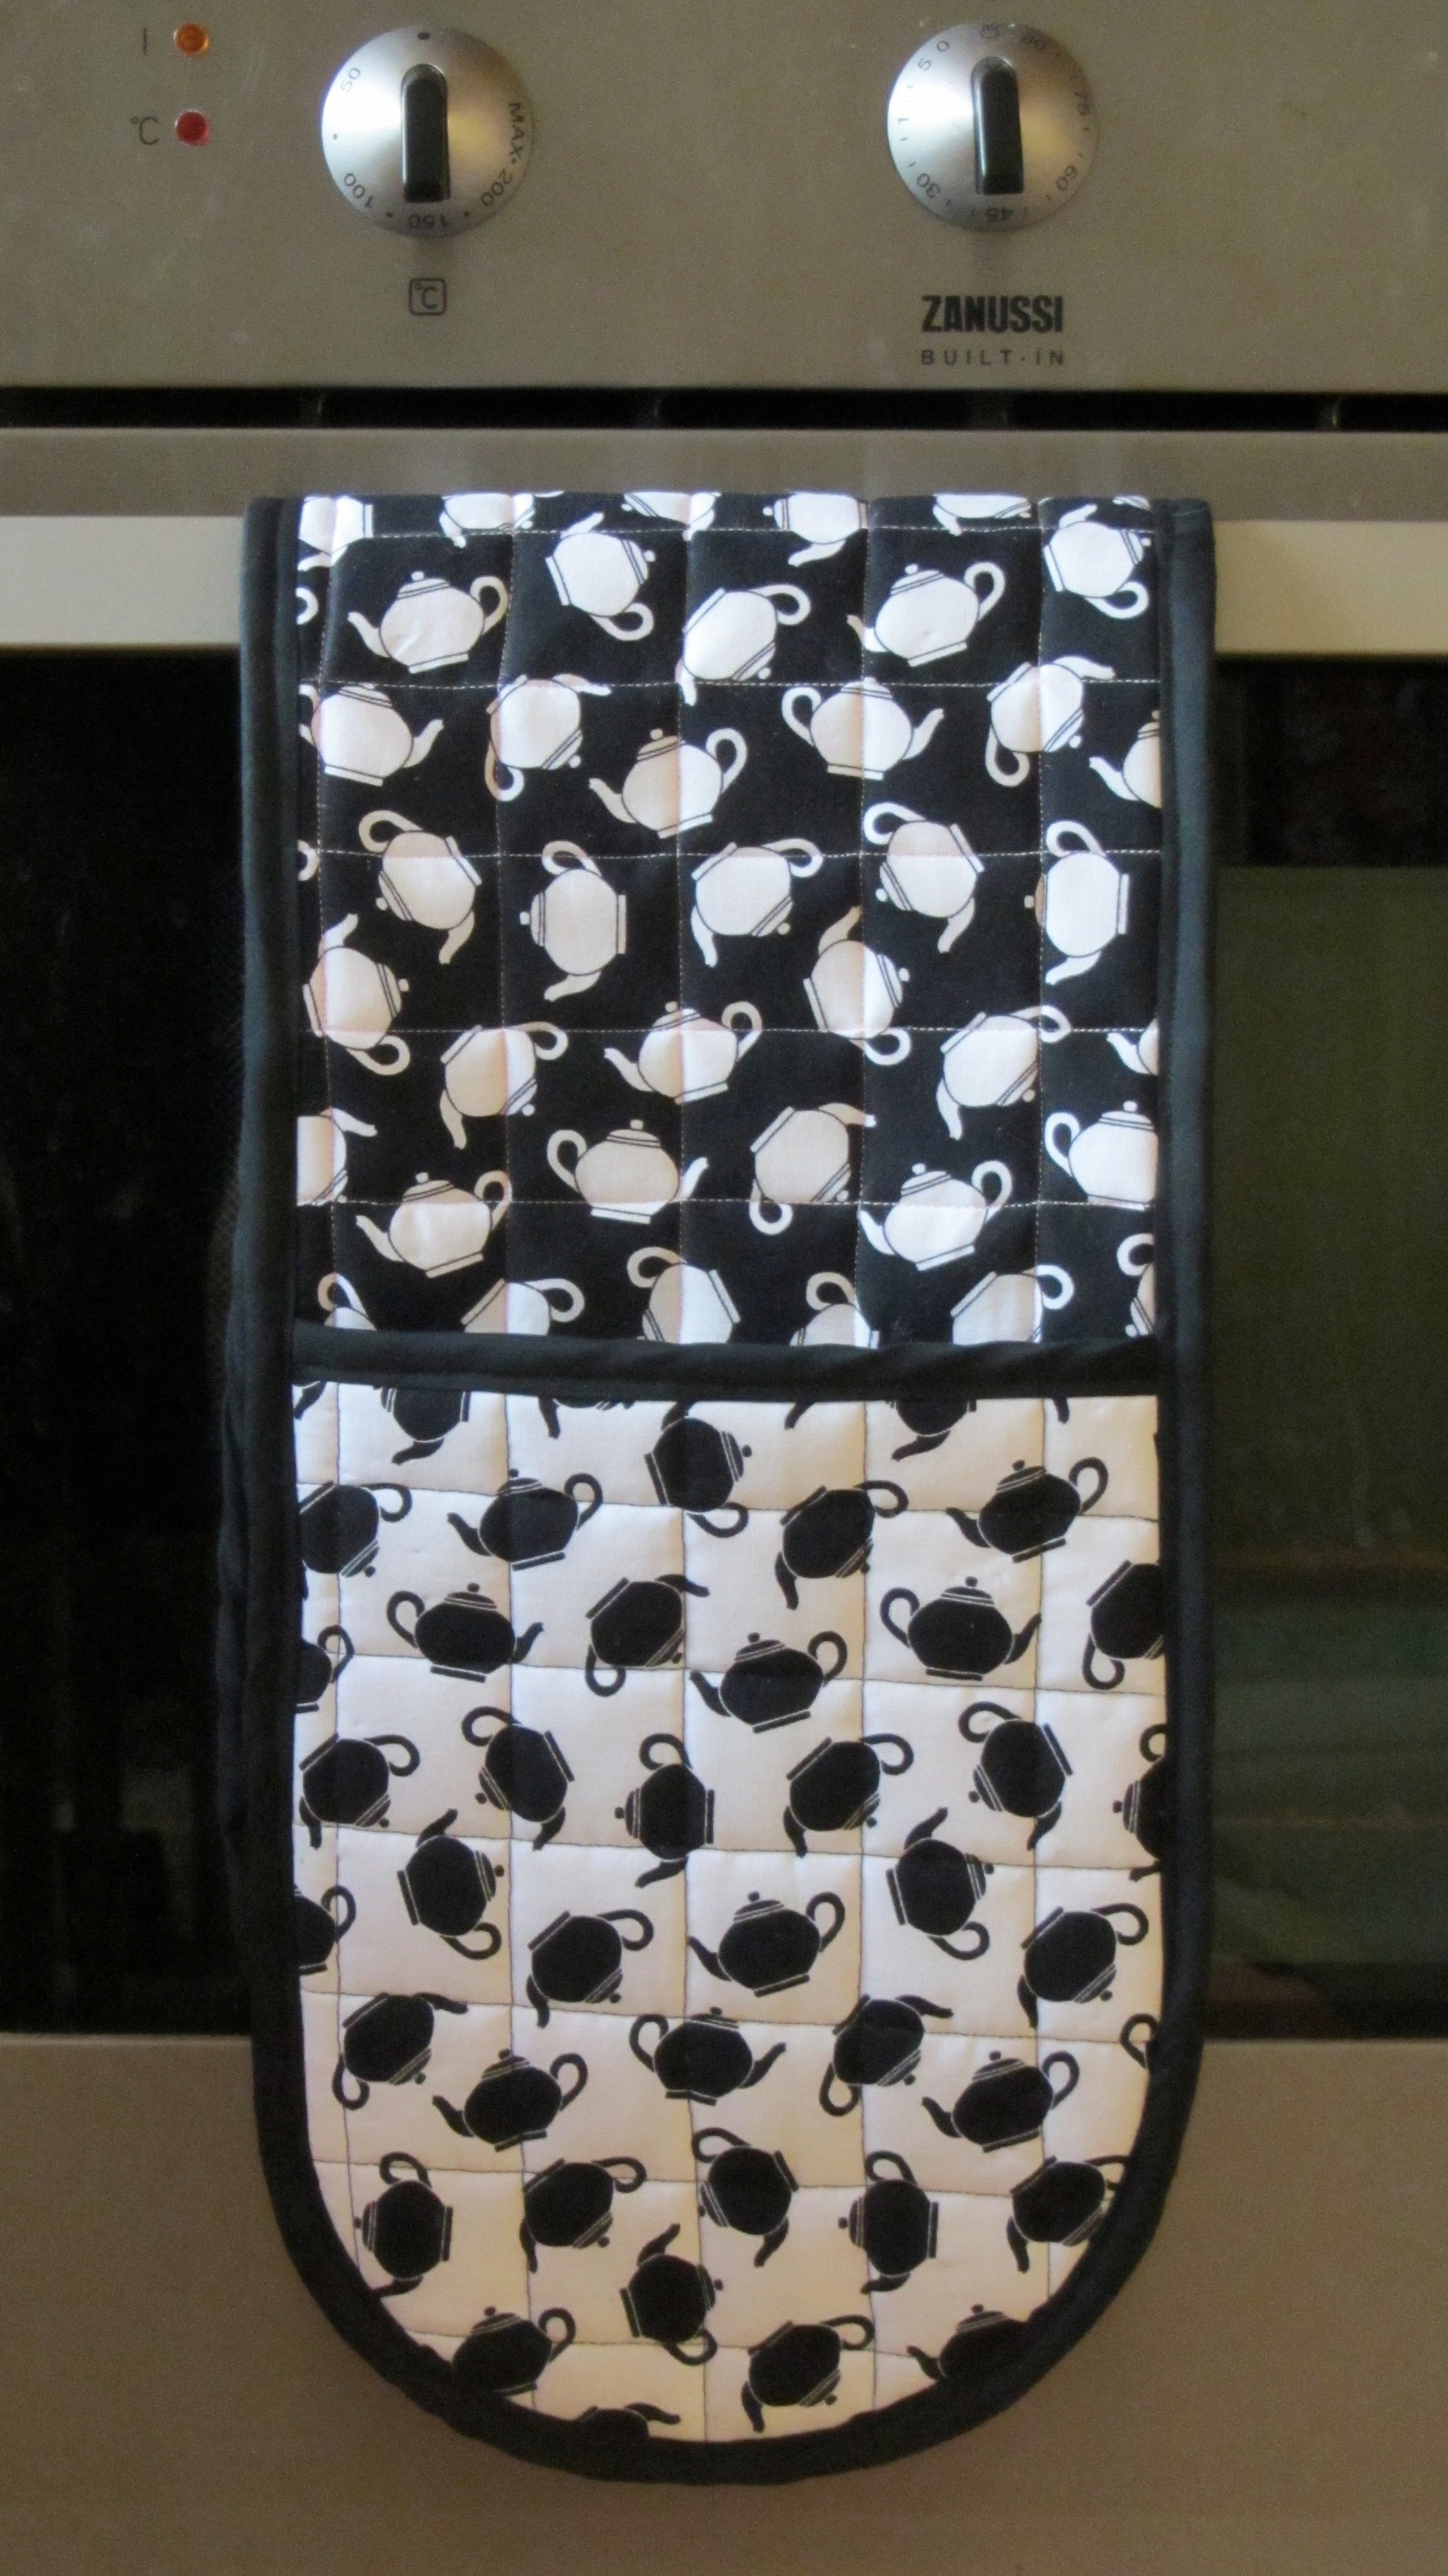
Crate a customised pair of oven gloves to match your kitchen
Oven gloves are one of those things you just can’t live without. How many of you find that they become really dirty after a while but you can’t find the time to wash them as you constantly need them? Mine got into such a state that I needed a spare pair so I made some.
-
 Key West Witch favorited How To Make Oven Gloves
27 Jun 00:51
Key West Witch favorited How To Make Oven Gloves
27 Jun 00:51
-
 K2 favorited How To Make Oven Gloves
28 Dec 22:15
K2 favorited How To Make Oven Gloves
28 Dec 22:15
-
 Terri M. favorited How To Make Oven Gloves
08 Feb 22:04
Terri M. favorited How To Make Oven Gloves
08 Feb 22:04
-
Toodie M. favorited How To Make Oven Gloves
03 Sep 22:54
-
Bek S. favorited How To Make Oven Gloves
02 Aug 11:29
-
 Cassiefairy added How To Make Oven Gloves to Monica's Apartment
10 Mar 07:47
Cassiefairy added How To Make Oven Gloves to Monica's Apartment
10 Mar 07:47
-
 Joanne S. added How To Make Oven Gloves to house stuffs
14 Nov 16:14
Joanne S. added How To Make Oven Gloves to house stuffs
14 Nov 16:14
-
Joanne S. favorited How To Make Oven Gloves
14 Nov 16:14
-
Sandra D. favorited How To Make Oven Gloves
26 Oct 04:52
-
 Claire E published her project How To Make Oven Gloves
25 Oct 09:00
Claire E published her project How To Make Oven Gloves
25 Oct 09:00
-
Step 1
Before you start, decide whether you will quilt your gloves. Quilting often causes the size of your item to shrink a little, sometimes up to 5%. You may want to add a little extra to your seam allowances before cutting to allow for shrinkage. Measure the outside seam, straight seam of gloves and the loop to work out how much bias binding you will need.
-
Step 2
Using your current pair as a guide, cut the full length of the gloves in your main fabric (x2), batting, and Insul-bright. Then cut four of gloves in your contrast fabric, if using and two in batting. Don’t forget to add extra seam allowance if quilting.
-
 Step 3
Mark your quilting pattern on one piece of the main fabric and top gloves.
-
 Step 4
Layer your fabric in the following order: unmarked piece of main fabric wrong side up, batting, Insul-Bright, marked piece of main fabric right side up. Pin through all layers, keeping them smooth and as neat as possible.
Quilt along the pattern you marked. Neaten edges.
Repeat for gloves.
-
 Step 5
Finish the straight edges of gloves with bias binding. Open the binding and match the edge with the raw edge of the gloves. Stitch in place along the line. Fold over the tape and pin in place. Edge stitch in place.
-
 Step 6
Time to put the gloves together. Place the gloves on top on the main gloves and pin in place. Neaten edges if needed. Stitch in place.
-
 Step 7
Now for the final part – adding the bias binding to the outside seam. Pin the bias in place as you did before. Stitch in place but make sure you leave a gap.
-
 Step 8
Fold the gloves in half and pinch together the bias binding edges. Make sure the binding is fully open and stitch down through both pieces. Unfold the glove and stitch the remaining binding into place.
-
 Step 9
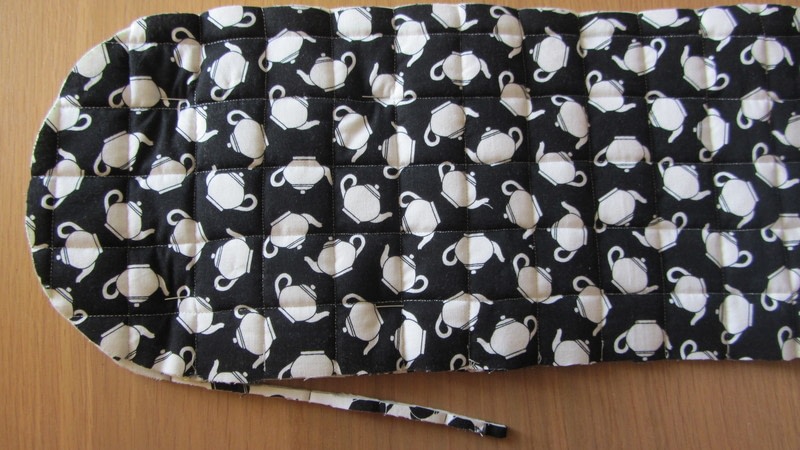
Create the loop. Cut a length of bias binding long enough to create your desired loop length. Fold the edges together and stitch. Pin in place the loop in the middle of the main glove on the opposite side of the gloves. Fold over the bias binding and pin in place, clipping curves if necessary. Stitch in place.