
About
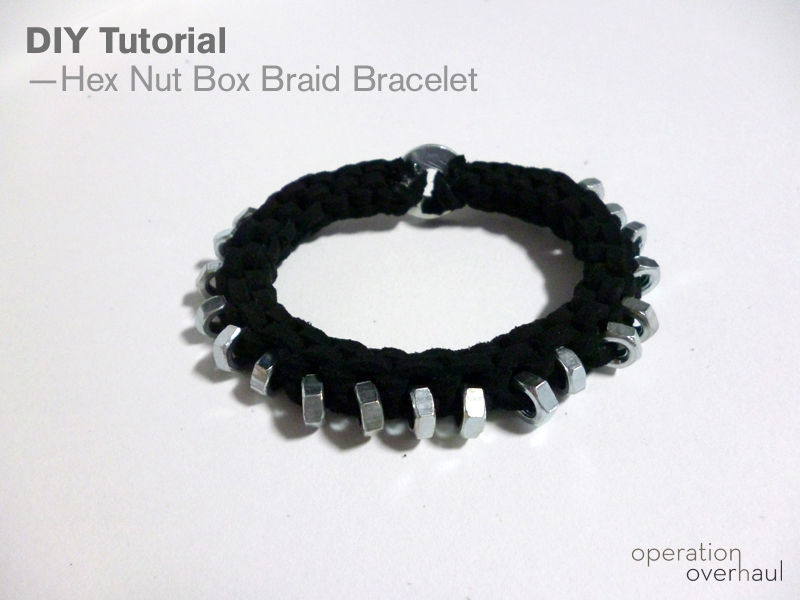
Polished hardware arm candy!
Here’s a tutorial based on HonestlyWTF’s Box Braid Necklace. I really like how polished the necklace looks and many of you have been asking us about it as well. Here we go!
Tags
-
 mmotse03 favorited Hex Nut Box Braid Bracelet
07 Dec 03:12
mmotse03 favorited Hex Nut Box Braid Bracelet
07 Dec 03:12
-
 penny c. added Hex Nut Box Braid Bracelet to projects to try
09 Jun 06:05
penny c. added Hex Nut Box Braid Bracelet to projects to try
09 Jun 06:05
-
 Tina S. favorited Hex Nut Box Braid Bracelet
08 Feb 15:41
Tina S. favorited Hex Nut Box Braid Bracelet
08 Feb 15:41
-
 rouge s. favorited Hex Nut Box Braid Bracelet
12 Nov 00:58
rouge s. favorited Hex Nut Box Braid Bracelet
12 Nov 00:58
-
 AlwaysForeverDreamer favorited Hex Nut Box Braid Bracelet
02 Jul 02:16
AlwaysForeverDreamer favorited Hex Nut Box Braid Bracelet
02 Jul 02:16
-
Leeona added Hex Nut Box Braid Bracelet to armband
15 Jun 14:40
-
 Laura J. favorited Hex Nut Box Braid Bracelet
24 May 21:16
Laura J. favorited Hex Nut Box Braid Bracelet
24 May 21:16
-
 Cute Madness added Hex Nut Box Braid Bracelet to To-make list
05 Mar 12:14
Cute Madness added Hex Nut Box Braid Bracelet to To-make list
05 Mar 12:14
-
 HylianWriter534 favorited Hex Nut Box Braid Bracelet
26 Feb 06:16
HylianWriter534 favorited Hex Nut Box Braid Bracelet
26 Feb 06:16
-
 martha I. favorited Hex Nut Box Braid Bracelet
25 Feb 13:11
martha I. favorited Hex Nut Box Braid Bracelet
25 Feb 13:11
You Will Need
-
 Step 1
Materials:
- 4 strands of 1-yard long suede
- 20 Hex nuts – Ours were 7mm in diameter
- Washer – 15mm in diameter (not pictured).
- Superglue (not pictured). -
 Step 2
To begin, tie the 4 strands together with a knot, leaving a 1.5? excess
-
 Step 3
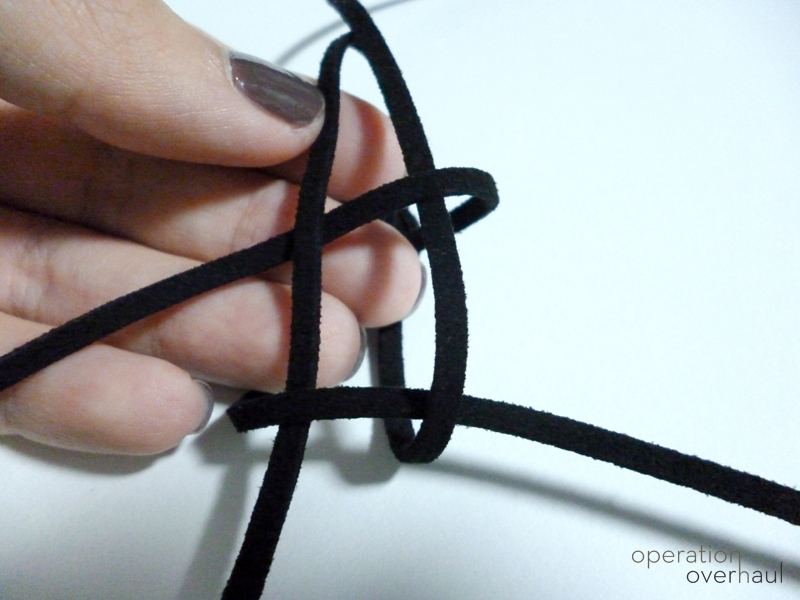
Arrange your suede strands as shown.
-
 Step 4
Bring the top vertical strand down across your palm and the bottom vertical strand up.
-
 Step 5
Bring the bottom horizontal strand over and under.
-
 Step 6
Now, bring the top horizontal strand over and under in the opposite direction.
-
 Step 7
Pull the strands tight. You have now completed a box braid! Do 6 box braids for the beginning of your bracelet.
-
 Step 8
String a hex nut to the top vertical strand and complete a box braid as per normal. Alternate your hex nuts, so it will be one box braid with, next without and thereafter. Do note that you will always be stringing your hex nuts to this same strand, or else they won’t be aligned on your bracelet!
-
 Step 9
When you are done stringing 20 hex nuts, end the bracelet with 6 box braids.
-
 Step 10
I am going to use a large washer to secure the ends here. String 2 suede strands through the large washer.
-
 Step 11
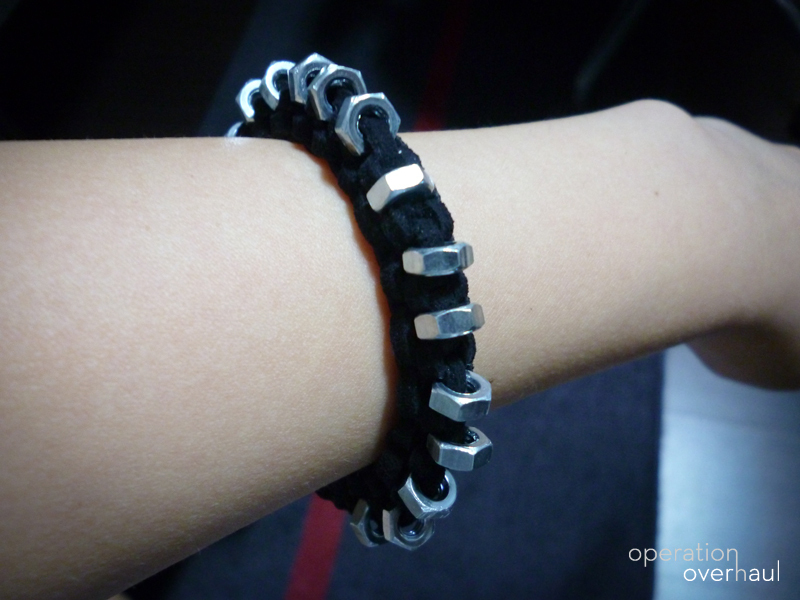
Tie a knot under the washer and repeat for the other end of the bracelet. You don’t have to worry about the size since the box braid gives it a bit of a stretch! It will slip on and off your wrist easily, so no worries.
-
 Step 12
Lastly, trim your ends and secure your knots with a drop of superglue.
-
 Step 13
You’re done! Be creative and play around with washers, beads etc. :)