About
Perfect for gifts!
This cute peg idea was inspired by a gift which I had received more than 5 years ago for my birthday, it was part of the gift wrapping. I duplicated it and changed it until I was satisfied. If you are unsure about any of the steps just comment and I'll explain.
This little butterfly/Firefly can be made bigger to use as Christmas tree decorations, smaller for earrings, or hair clips.
-
 Ms Dorito added Fly Thing Peg to Cruella
12 Jun 00:18
Ms Dorito added Fly Thing Peg to Cruella
12 Jun 00:18
-
 Doodlebert favorited Fly Thing Peg
01 Oct 20:33
Doodlebert favorited Fly Thing Peg
01 Oct 20:33
-
 Step 1
First cut a piece of wire of about 30cm.
Use small round nose pliers and make a twirl at any end of the wire. I used about 2 twirls but the size is up to you.
Thread the biggest of the 2 beads of your choice in, this will form the body.
-
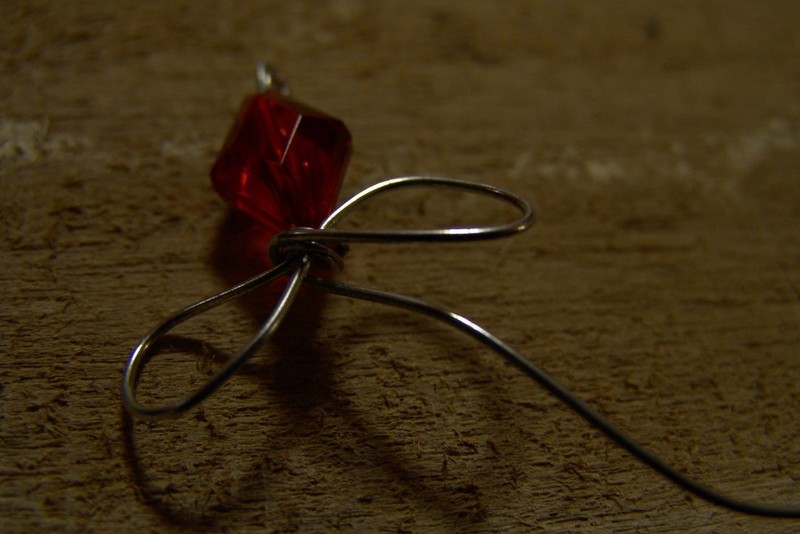
 Step 2
Secure the bead in place by bending the wire as close as possible to the bead, to from the wing, as in the picture in this step.
-
 Step 3
Bring the curve of the wing close to the start of the wing (closest to the bead).
Use the thinner wire and secure the shape of the wing, twist it a few times until you feel it tight enough. Remember to not twist it to much otherwise your final product will not look professional.
Cut of the excess thin wire.
-
 Step 4
Make another wing, it is difficult to get it exactly the same so don't worry to much about it.
Curve the wings as you like, e.g. a flatter side or flatter bottom.
-
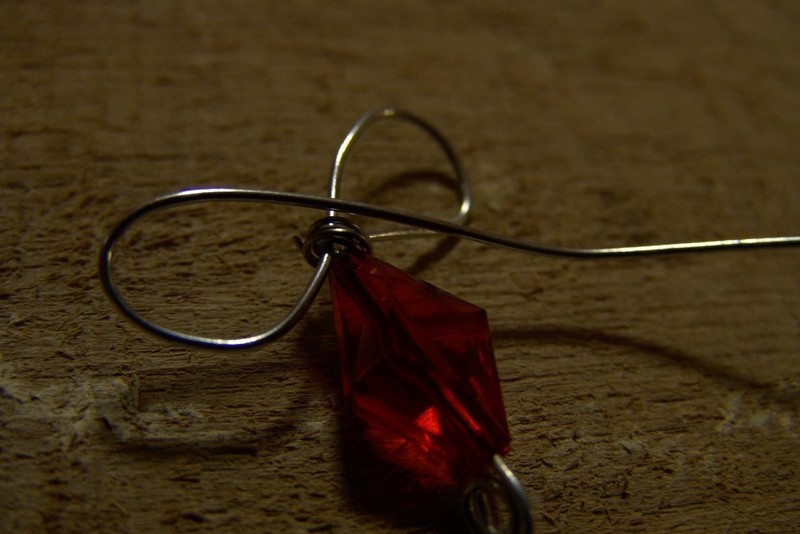
 Step 5
Bend the wire around the center piece, bending it so that the excess wire is at the bottom.
-
 Step 6
Before continuing, check that the bead you have chosen is appropriate. Make sure that on piece of thick wire and two pieces of thin wire can be inside of the bead at the same time.
-
 Step 7
Now you thread your smaller bead on the wire, making it fit between the two wings, this is the head.
Cut your wire shorter and make a loop at the top, also securing the bed in place.
-
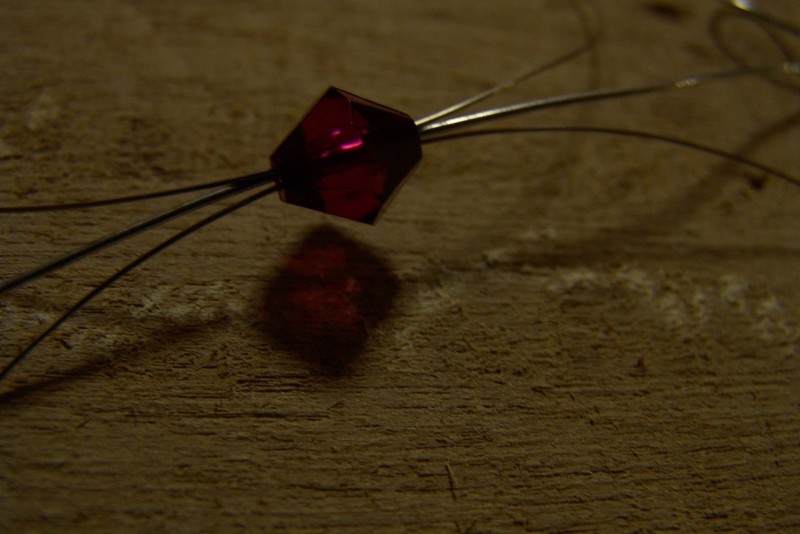
 Step 8
Cut two pieces of thinner wire, each having a length of about 10cm.
Thread the one piece of thin thread through the bead, placing the bead in the middel of the wire.
-
 Step 9
Take the bottom part of the wire and bend it around the center where all the wire meets.
Bend it so that it crosses that piece and then thread it through the wing, securing it on the other side.
Cut of the excess thin wire.
-
 Step 10
Repeat step 9 to complete the other antenna.
Take your round nose pliers an make a twirl at the end of each antenna.
-
 Step 11
Now your little wire and bead insect is complete.
The next few steps is for adding it to the peg.
As I have said in the beginning, these insects can be used for purposes too.
-
 Step 12
Take craft paint and paint your wooden peg.
To further the crystal style of my insect, I used a pearly paint, which glitters nicely.
If you do not have pearly paint, take silver paint which has a glitter, add a tine bit of water and mi it into your paint, which will also give that pearly effect.
-
Step 13
After the paint has dried, add a bit of glue to the bottom of the insect.
A glue gun works nicely, but it gets cold very quickly so I couldn't get a picture :(
Stick it to the top of the peg.
-
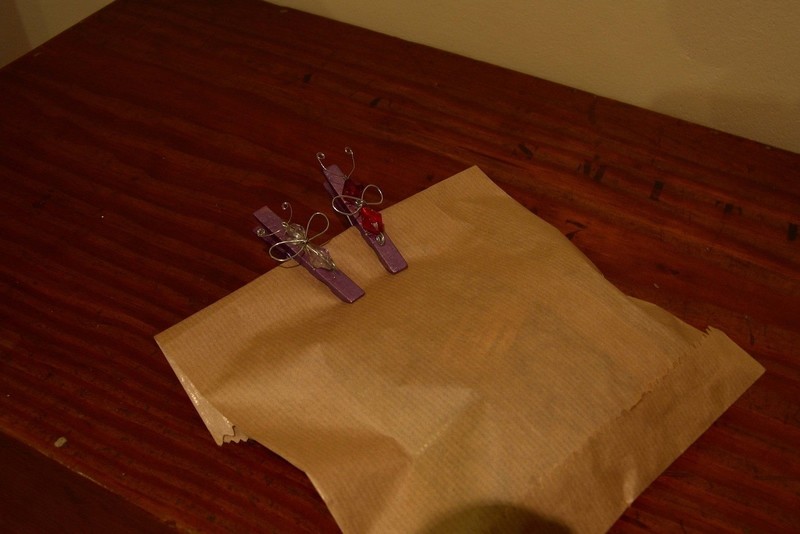
 Step 14
Add a note to your present by clipping it with your homemade peg, making your present look special and it will certainly amaze everyone,