


About
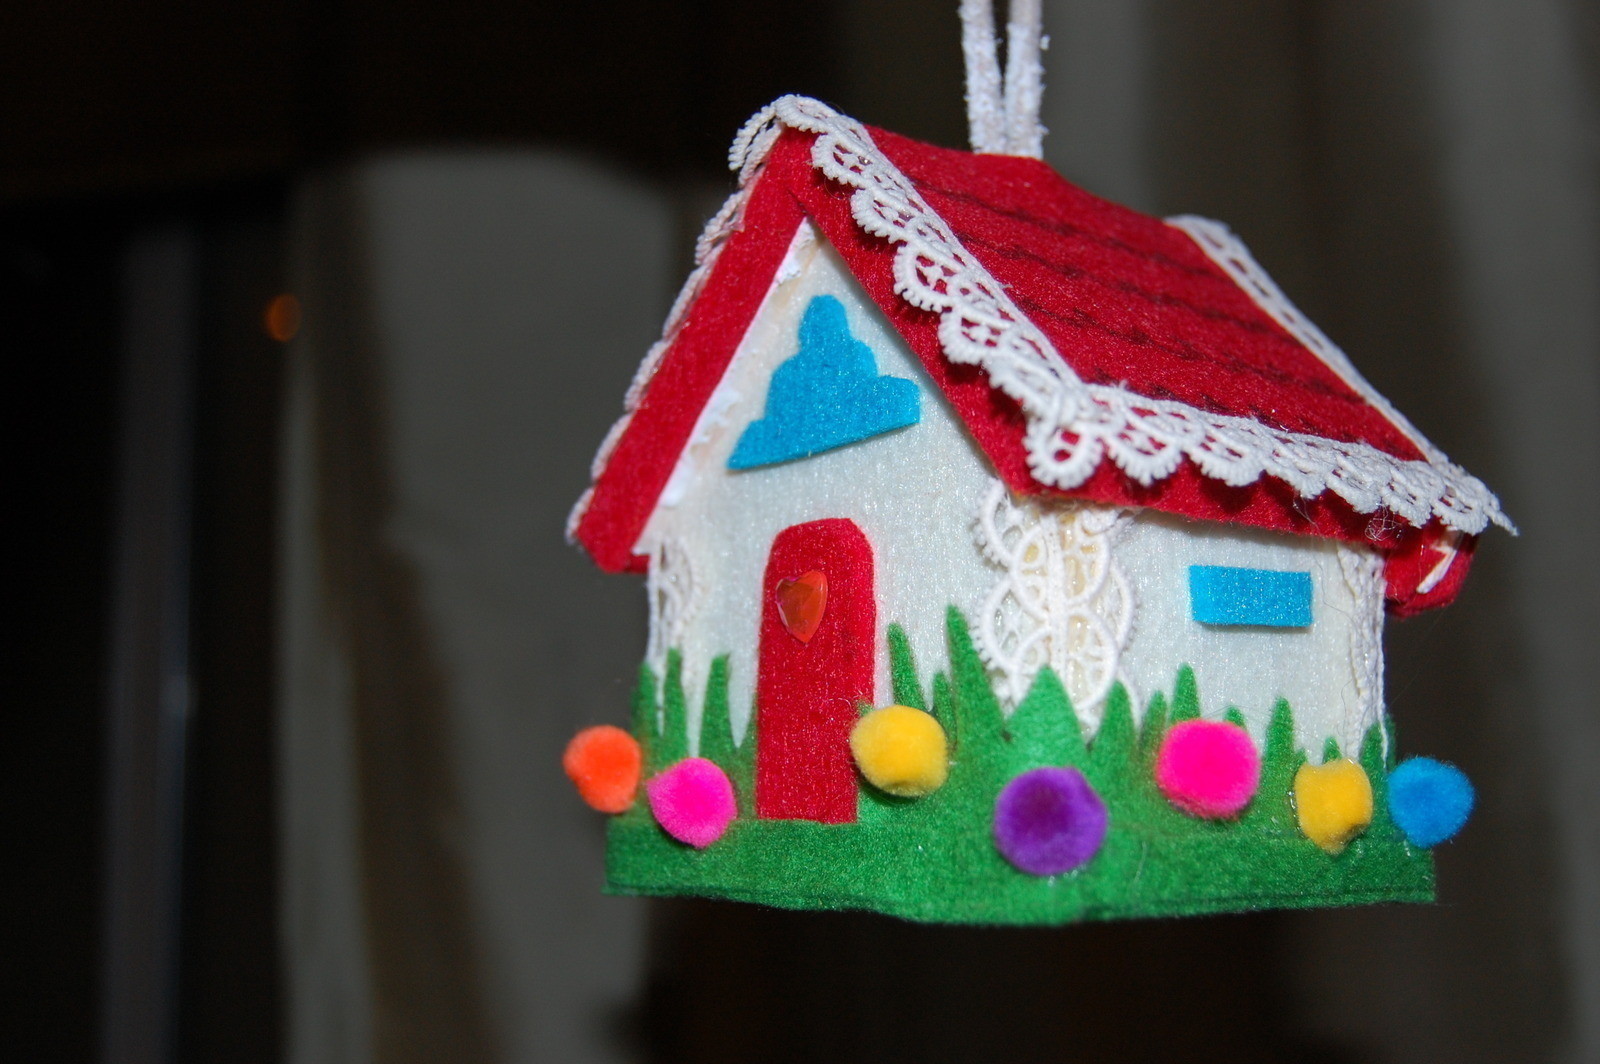
Little Bird House into Fairy Tale Cottage
This project had been inspired by my Spring Cleaning of the House:) I was going through my things in the laundry/craft room and found this little Bird House. Originally I bought it on sale for 99C for a different project but it never worked out and this house was lost in translation but luckily not forever:) I am creating a little theme for my Easter table and this Little Bird house was exactly what I needed. Take a look! May be you have one of those laying around and waiting for a makeover.
-
 Ms Dorito added Fairy Tale Cottage to Plushie
12 Jun 17:22
Ms Dorito added Fairy Tale Cottage to Plushie
12 Jun 17:22
-
 tyler t. favorited Fairy Tale Cottage
15 Mar 10:21
tyler t. favorited Fairy Tale Cottage
15 Mar 10:21
-
 roseann f. commented on Fairy Tale Cottage
19 Jan 07:09
roseann f. commented on Fairy Tale Cottage
19 Jan 07:09
-
 mmotse03 favorited Fairy Tale Cottage
14 Apr 10:43
mmotse03 favorited Fairy Tale Cottage
14 Apr 10:43
-
Shelby W. added Fairy Tale Cottage to Felt
30 Jan 03:09
-
 Step 1
I have listed all the materials already but now it just a visual.
-
 Step 2
Trace the roof of your bird house on the back of the Self-Adhesive Felt Sheet. Trace the sides of the roof as well.
-
 Step 3
Don’t forget to mark the top of the roof. Cut out pieces
-
 Step 4
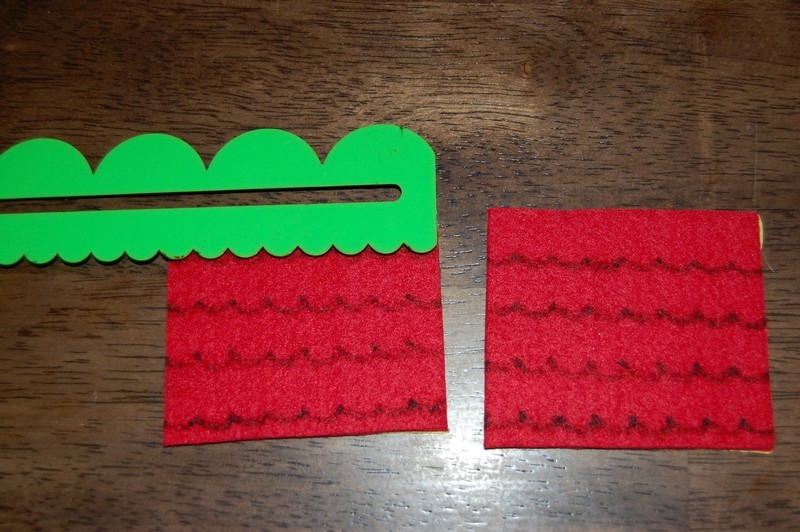
Before you will expose the sticky back, draw roof tiles using fabric markers of your choice and the shape of your scrapbook ruler.
-
 Step 5
Remove paper from the back of your cut out pieces and start placing them on the bird's house roof.
-
 Step 6
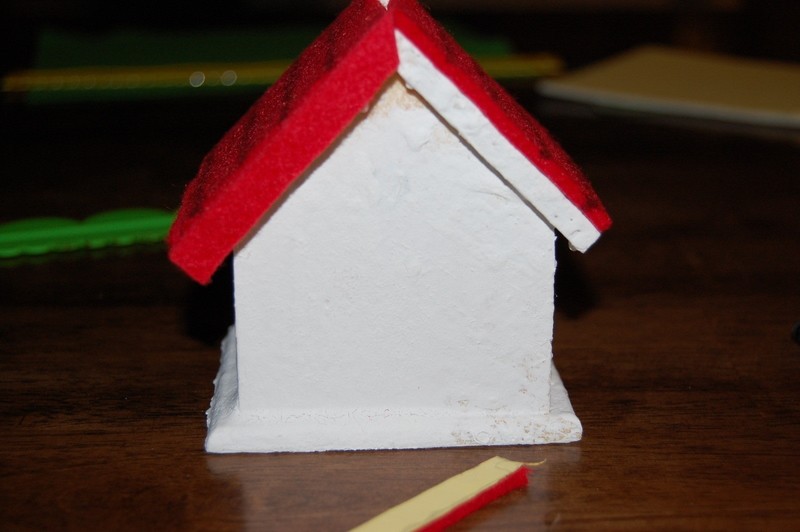
Cover the entire roof
-
 Step 7
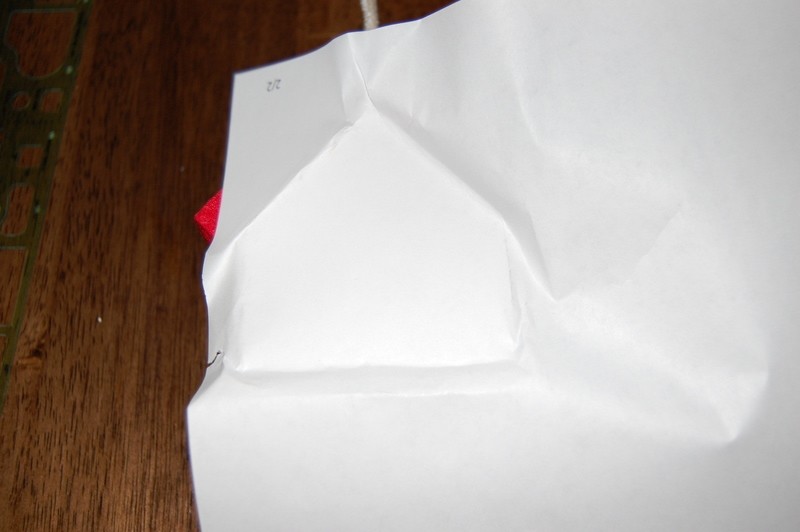
Let’s work on the front and the back of the bird house. I’ve started with the back first. Since I didn’t want to spend a lot of time measuring and creating a pattern, I’ve used a simple technique. I’ve pressed in the regular white paper to get the shape of the back of the house. Then, I’ve traced that to the back of the self adhesive felt material, cut it out and used the backing of that material as a template for the front of the house, where the shape gets more complicated.
-
 Step 8
The yellow paper that you see is the backing of my self-adhesive felt. By using this piece, I was able to create a more complicated template.
-
 Step 9
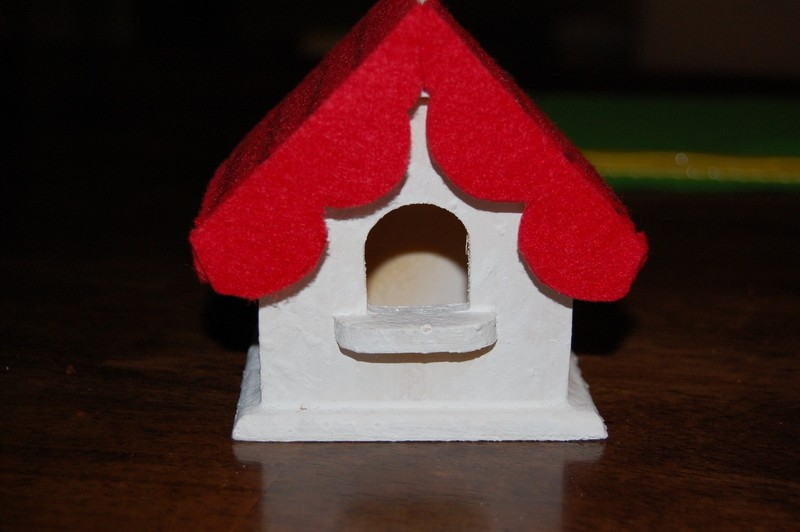
Pick the shape for your Cottage door.
-
 Step 10
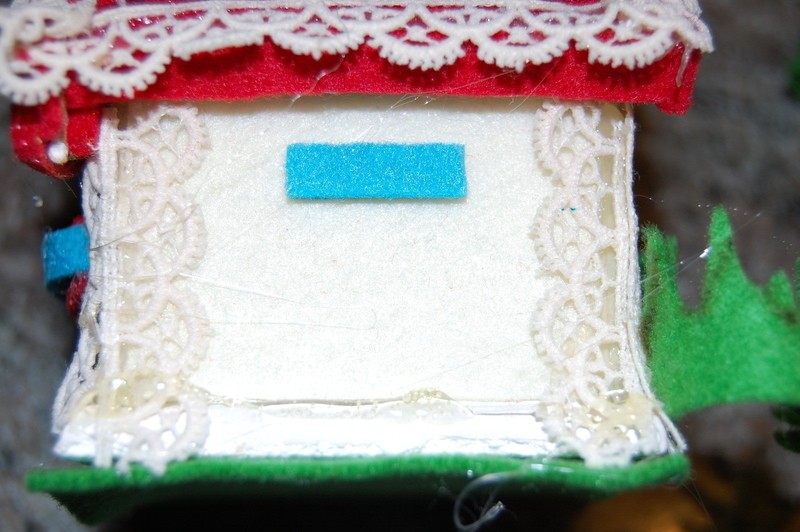
This step you can skip, but in my case, I’ve decided to use a ribbon to cover all the corners and sides of the Cottage. It serves two purposes – hides the joints, and creates that soft magical look.
-
 Step 11
Measure the perimeter of the house, minus the door, to create a felt grass. I didn’t use my measuring tape (I felt lazy that day) to estimate the length, so I’ve used a piece of regular ribbon. Wrapped it around and
-
 Step 12
used that length to estimate the legth of the grass for my Fairy Tale Cottage.
-
 Step 13
Draw a random shape grass and cut it out
-
 Step 14
Now it’s time to play. Be creative in decorating your Fairy Tale Cottage. I've used whatever I could find. That’s how mine looks now.
-
 Step 15
Have fun!
Note: You see my Fairy Tale Cottage next to the Sheep (my last tutorial, which you can find on this web site "Pom Pom Sheep") and "Easter Tree" (my new tutorial which is coming up in a day or so).
I will be happy to see your creations inspired by this tutorial


Comments


