About
duct tape-étui with zipper with out sewing
About a week i must go to the hospital for staying a few weeks.(nothing earnest!)
I must always have to do something so i will bring all my coloured pencils and markers and bruches and paint and paper with me.
so i will be able to work in bed. So i had a short of etuis.
I had seen on a other side a duct tape pounch with a zipper without sewing, so i thougt i can make a version of a etui.
And when it was working and i was finished a thought maybay its a good project for this side, so i made a how to, and make an other etui as well.
But some of the pictures i have trown away before using. Not so clever, it was too late in the evening. So some of the pictures a have replace with a drawing. I hope that you can follow this drawings. With the tapping a used to let see how you tape above the earlyer tape in differences collors yellow. In the real pictures the tape was one collor yellow.
And I had only at home old use little zippers, so i had to staple two zippers in the gate.But you can use of course only one if you have a longer zipper. I this fabric had given my little sister me, she had bought it for her girls and didn't used it. So its mayby childish, but i like that:-)
-
 bemeself favorited étui With Zipper With Out Sewing
24 Aug 21:30
bemeself favorited étui With Zipper With Out Sewing
24 Aug 21:30
-
 craftgirl14 favorited étui With Zipper With Out Sewing
06 Jun 19:38
craftgirl14 favorited étui With Zipper With Out Sewing
06 Jun 19:38
-
 Lola K. favorited étui With Zipper With Out Sewing
17 Sep 22:14
Lola K. favorited étui With Zipper With Out Sewing
17 Sep 22:14
-
 Step 1
Maybay jou must make a patroon on paper, i didn't do that,But if you needed it, do so, and cut it out of the paper and outflank that on the fabric, On the wrong side!
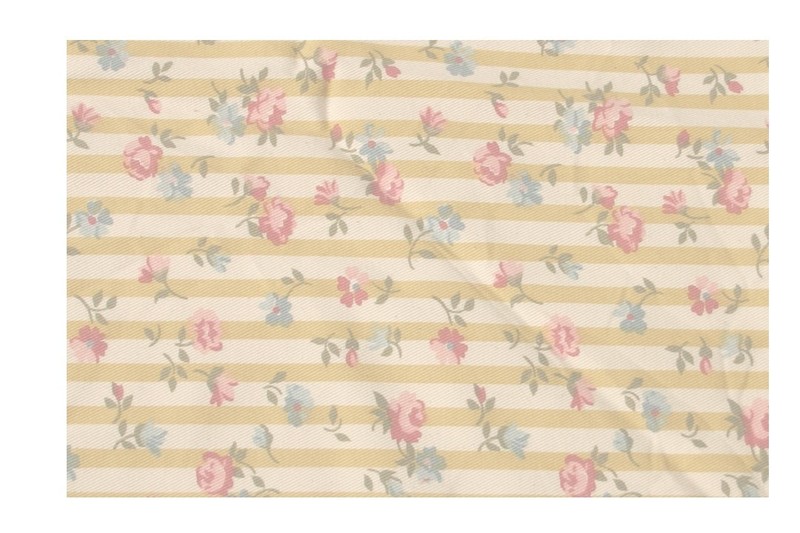
choose your fabric, and cut a rectangle with the measures of 31 cm by 37,5 cm.(12,3 X 14,12 inches)
And be sure your fabric is ironed. I had done it later:-(. (It make it easy to tape a smooth fabric! -
 Step 2
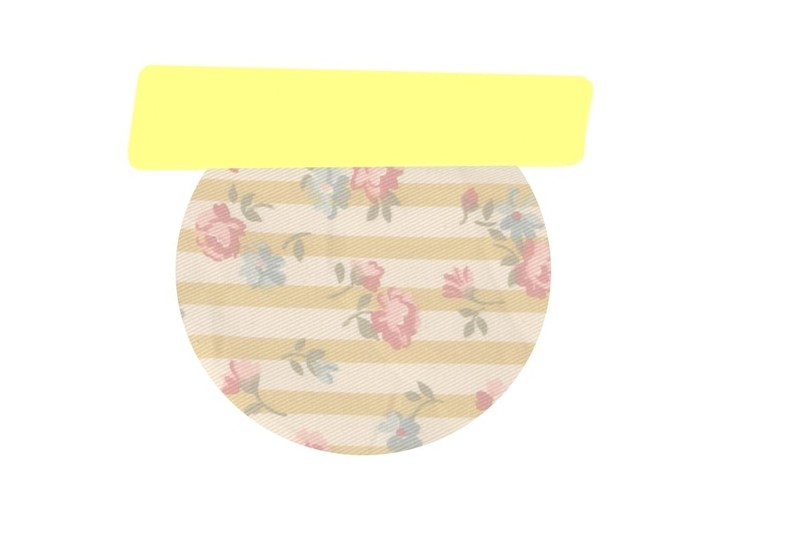
cut out the fabric two circles of 11,5 cm (4,12 inches)
-
 Step 3
turn the fabric of the retacgle on the ride side for the taping. I had losted that picture, so i have the fabric make lighter. :-(
-
 Step 4
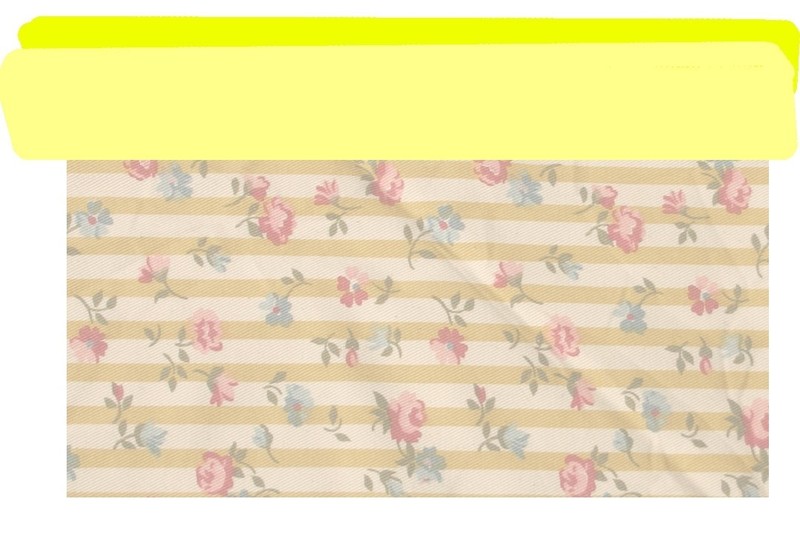
began with taping. a truc of myself. I tape with little pieces the fabric on the tableside.
so the taping will be easily and smooth.
The tapes go over the edges and sides of the fabric! -
 Step 5
tape the seccond tapestrook half over the first and do that too with the 3e and so with the others .
-
 Step 6
When all the the fabric is coverd with tape it will show as you can see in the drawing.
click on the drawing, i see that the picture is too large for the frame! -
 Step 7
turn the fabric/tape over to the right side. Cut the tape off and following the outline shape of the fabric.
-
 Step 8
When you have done that on the tape side, its something like this drawing.
-
 Step 9
The zipper.
Lay the zipper on his place on the fabric. The right side on the right side. See the picture. and stapple the zipper on the fabric.
Attention: do not staple the zipper too near to the teeth.
Because you must allow to fold the cover the teeth slightly. -
 Step 10
Turn over the fabric again, the side of the tape is now above and fold the seam down, see the picture.
-
 Step 11
Tape over the staples, do not tape too near to the teeth, otherwise it could block the slider!!!
Thats for the finishing, and to protect your stuff for damaging on the staples. -
 Step 12
something like this.
-
 Step 13
Fold the fabric and the zipper so that the two ends laying on each other. The right side on the right side (and this is still inside), and the tape outside. and stapple this zipper side on the fabric too.
-
 Step 14
Tape the both side of the staples down like you have done at the first side of the zipper.
this is not advertisement fot canon:-) My camara couldn't focus, because everything had almost the same collor! So i had to put somthing witht it:-)
On other pictures you can see too materials thats doesn't do matter:-) -
 Step 15
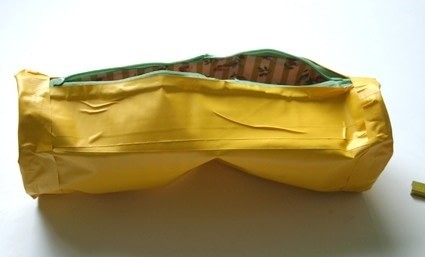
when you have done that, it looks something like this.:-)
You must make the zipper open, thats practical for the following staps! -
 Step 16
Now you start with the circles. Lay the fabric with the wrong side upside the table.
And start with the duct taping. Likewise the ductaping of the rectangle -
 Step 17
cut of the overzised tape. and your done Do the same with the other circle.
when the circle sits not right you can push throug the open zipper the fabric outside so it fits. -
 Step 18
Now you have to staple the circle in the gate of tube.
Began with two stapples on the zipper and do it across the circle again with one staple. -
 Step 19
stapple the circle on the same way on the other half. See the picture.
-
 Step 20
stapple the circle where now no stapples are full.
do the same with the other circle.
-
 Step 21
Now You must finisch the stapples off, by way of taping it off.
See drawing. Start for the zipper point and go over the starting point futher to the point after the zipper. Then it is more strenght.! -
 Step 22
Fold the tape over the seam inside. see the picture.
-
 Step 23
Do the same with the other circle stapples seam too,
-
 Step 24
Now you almost finished.!!! You can turn the inside out. Do that with care!
I put my etui full to the brim, so I have done extra staples on the downtaped stapple seam of the zipper and i have given it an extra taping off. But that is choice selection of you own!
Good luck and have fun. It seams more diffucult than it is!:-)
I have so much drawing and pictures to make it easyer for you:-) (I hope soo:-))


Versions


Comments