

About
Now you can have a bag to match every pair of shoes!
I'm about a season and a half behind on this whole clutch-bag trend thing, so naturally right as I'm like "WOW, I WANT AN ENVELOPE CLUTCH", every store ever stops carrying them. So, I came up with this project.
The final size of my bag was about 9.5"x5" with a 3.5" tall flap.
This bag was SO EASY. There's kind of a lot of steps, but it didn't take a lot of time or sewing skills.
The amount of fabric you need depends on the size of your bag, but I used about 1/2 a fat quarter for the lining. (This is an awesome large scrap project!) And it's technically reversible!
If you don't understand something, I'd be more than happy to clarify!
**A few of the pictures got cut off. Click to enlarge!
Tags
-
 pandanomz favorited Envelope Clutch
08 Sep 15:49
pandanomz favorited Envelope Clutch
08 Sep 15:49
-
 federica f. favorited Envelope Clutch
14 May 19:08
federica f. favorited Envelope Clutch
14 May 19:08
-
 riet.olsder added Envelope Clutch to zelf maken, tasje
31 Mar 20:31
riet.olsder added Envelope Clutch to zelf maken, tasje
31 Mar 20:31
-
riet.olsder favorited Envelope Clutch
31 Mar 20:30
-
 Miss_Fit added Envelope Clutch to Next Steps
17 May 23:31
Miss_Fit added Envelope Clutch to Next Steps
17 May 23:31
-
 TheGreenSprite favorited Envelope Clutch
15 Apr 00:56
TheGreenSprite favorited Envelope Clutch
15 Apr 00:56
-
 Bela-chan favorited Envelope Clutch
11 Apr 01:31
Bela-chan favorited Envelope Clutch
11 Apr 01:31
-
 Miss_LTS favorited Envelope Clutch
05 Apr 22:36
Miss_LTS favorited Envelope Clutch
05 Apr 22:36
-
 lisa123 added Envelope Clutch to 1
16 Mar 15:17
lisa123 added Envelope Clutch to 1
16 Mar 15:17
-
lisa123 favorited Envelope Clutch
16 Mar 15:16
-
 Step 1
First, make your pattern. I'm drawing mine on a piece of newspaper.
Start with the body of the bag. The base (or width) of the bag should be your desired width, plus one inch for seam allowance. Also mark the middle of this line.
Make the length (or height) of your bag 2 times your desired length, plus one inch for seam allowance. Connect the lines to make a rectangle.
Go back to the center mark on your base. Draw straight up until you hit the top of your rectangle. Then continue the line for however long you want your flap to be. Connect the top of this extending line to the upper corners of the rectangle.
Your pattern should be a rectangle with a triangle on top.
-
 Step 2
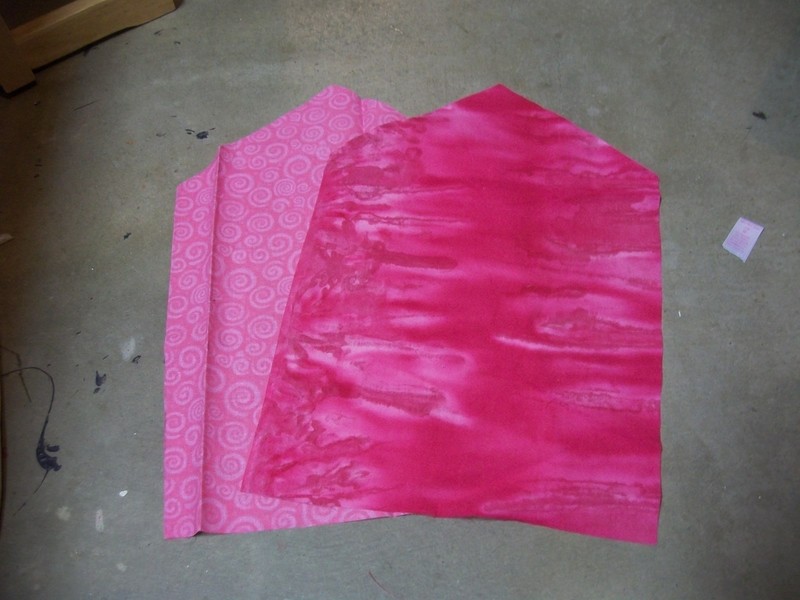
Cut two pieces of fabric from your pattern, one for the lining and one for the outer.
The dark pink is my outer and the light pink is my lining.
-
 Step 3
Press both pieces flat.
-
 Step 4
I'm going to make an inside pocket on my bag to fit a few credit cards.
Make the width of your bag your desired width + 1" for seam allowance.
Do the same for your height.Hem top edge.
-
 Step 5
Approximate where you want the pocket to go. Center the width of the pocket and mark with pins.
-
 Step 6
Pin and sew pocket in place.
-
 Step 7
Match outer and lining right-sides together and sew around, leaving the bottom edge open.
-
 Step 8
Cut corners.
-
 Step 9
Press side seams open.
-
 Step 10
Flip right-side out and press flat.
-
 Step 11
Now fold the edge of the open bottom inward. Make sure it's flat and straight! Press.
-
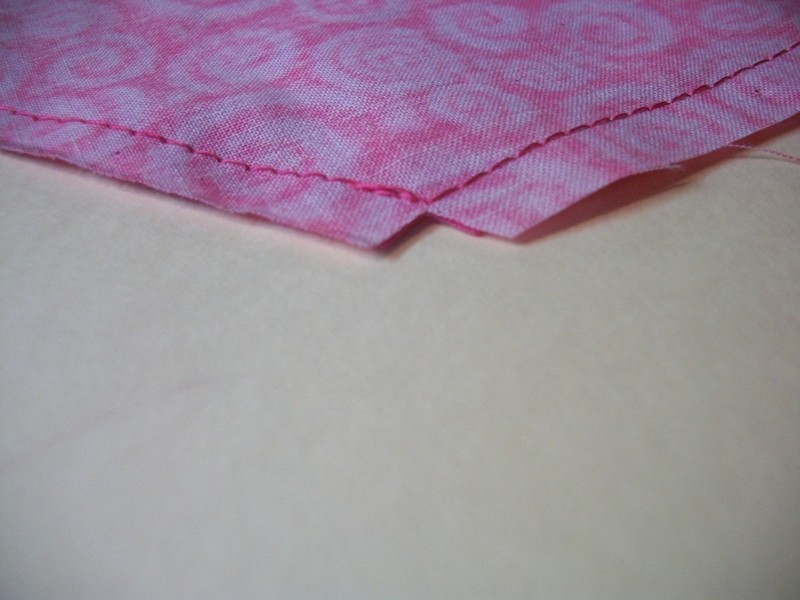
 Step 12
Pin and sew edge shut.
-
 Step 13
Now, on the wrong side of the bag, mark about 1/2" down from where the flap starts. Do this one both sides.
-
 Step 14
Fold bag in half, right-sides together. Match the bottom edge of the bag up with your pin marks. Pin and sew sides in place.
-
 Step 15
Flip right-side out and press. Add any desired closures or applique, etc.
-
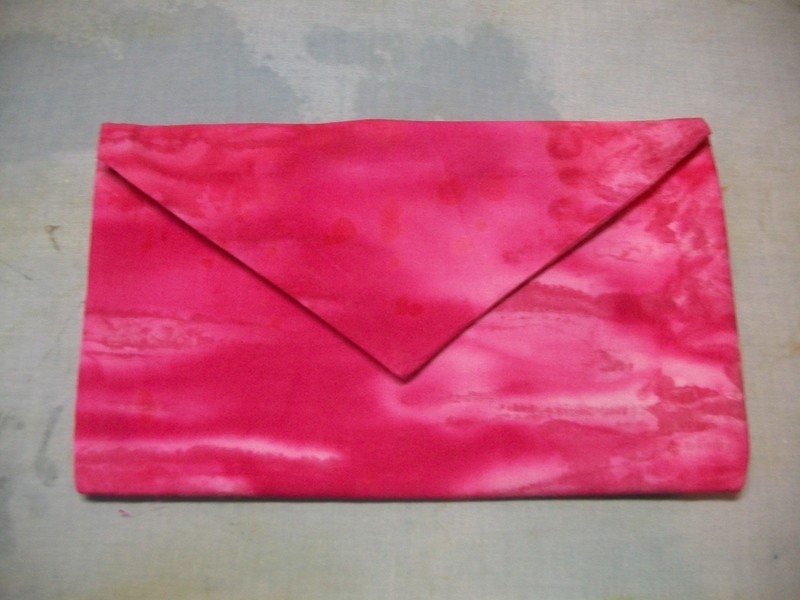
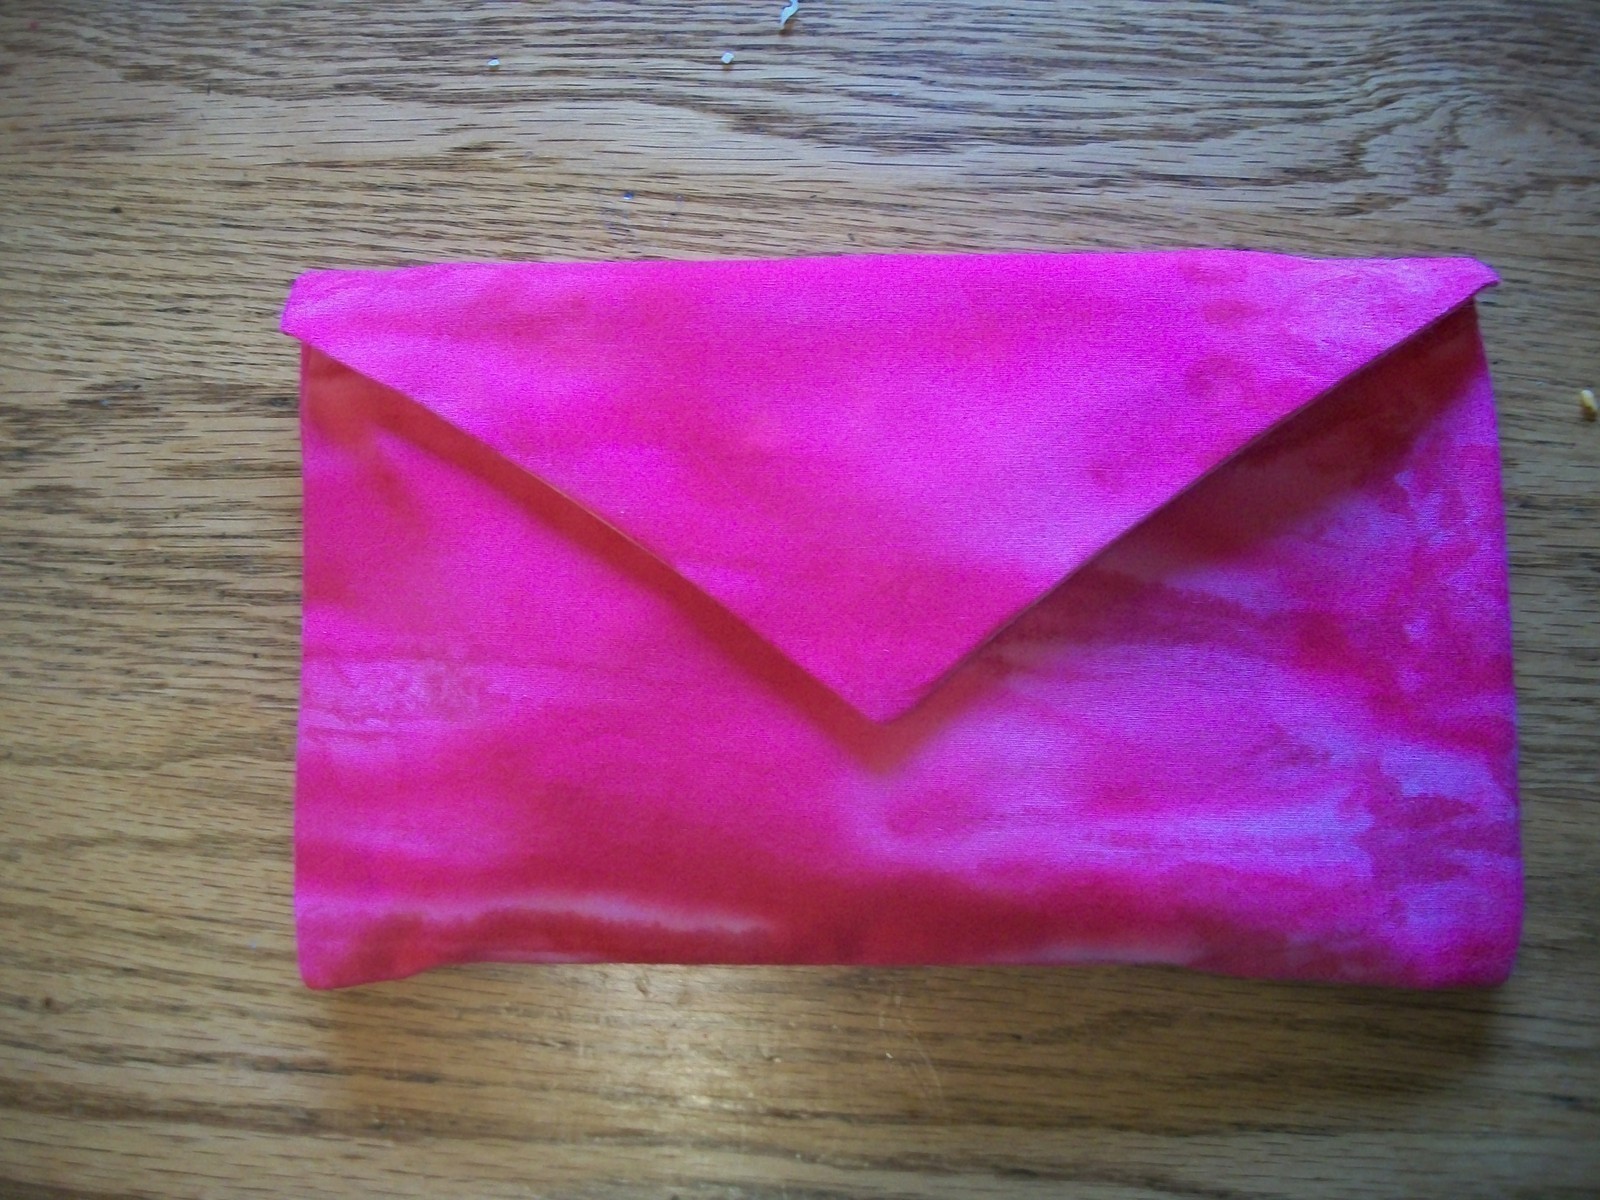
 Step 16
Ta-da! You're done! Enjoy your new envelope clutch!