


About
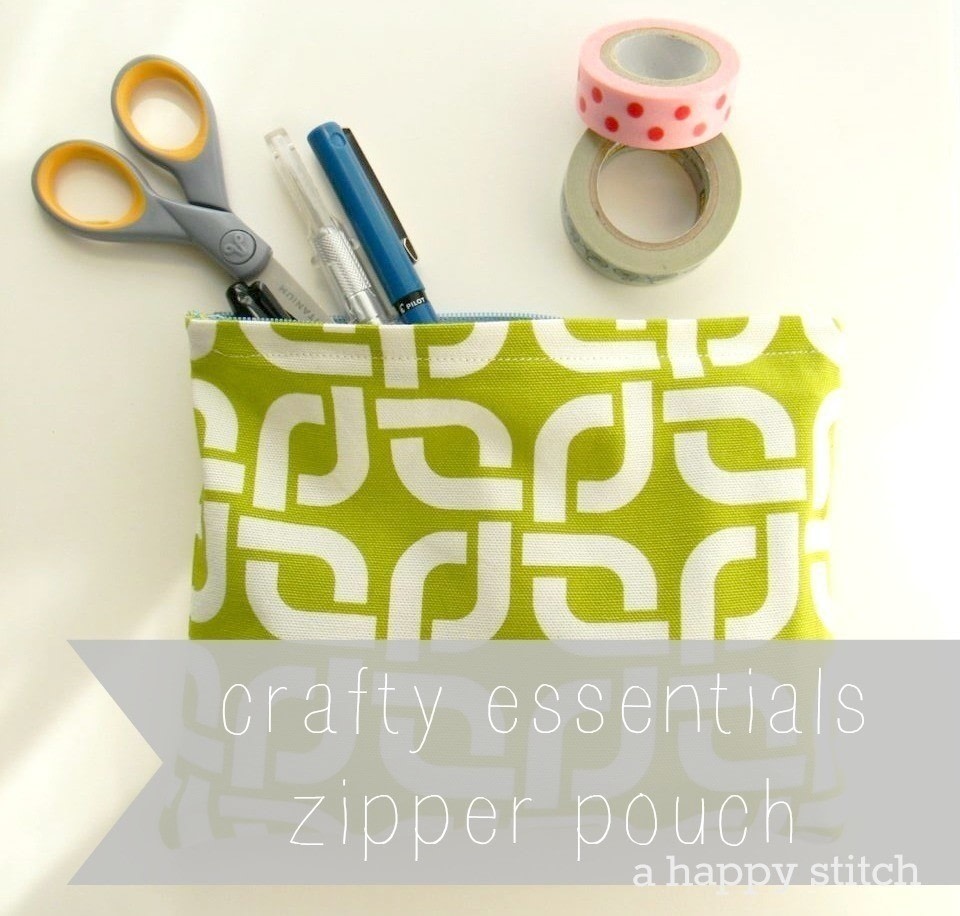
Whip up an easy zipper pouch!
Conquer your fears! No need to be afraid of sewing a zipper with this easy tutorial. Putting in a zipper can be stress free. Plus, you can make dozens of these cute zipper pouches to organize your life or give as easy gifts!
-
 Julie R. favorited Easy Zipper Pouch
27 Mar 04:05
Julie R. favorited Easy Zipper Pouch
27 Mar 04:05
-
 Whitney I. favorited Easy Zipper Pouch
12 Aug 08:59
Whitney I. favorited Easy Zipper Pouch
12 Aug 08:59
-
 Ashley K. added Easy Zipper Pouch to Sewing :3
13 May 16:59
Ashley K. added Easy Zipper Pouch to Sewing :3
13 May 16:59
-
Wild A. favorited Easy Zipper Pouch
21 Mar 04:40
-
amelia b. commented on Easy Zipper Pouch
15 Mar 06:50
-
 Crafterella featured Easy Zipper Pouch
13 Mar 23:00
Crafterella featured Easy Zipper Pouch
13 Mar 23:00
-
 Kimya J. favorited Easy Zipper Pouch
13 Mar 04:24
Kimya J. favorited Easy Zipper Pouch
13 Mar 04:24
-
 martina.groenevelt favorited Easy Zipper Pouch
04 Mar 07:43
martina.groenevelt favorited Easy Zipper Pouch
04 Mar 07:43
-
 A Happy Stitch (Melissa Q.) published her project Easy Zipper Pouch
27 Feb 09:00
A Happy Stitch (Melissa Q.) published her project Easy Zipper Pouch
27 Feb 09:00
-
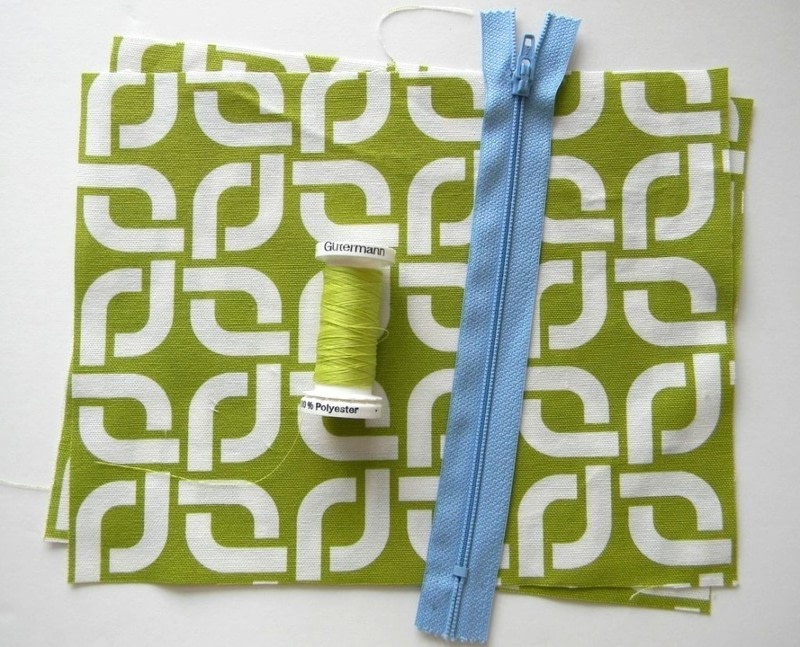
 Step 1
Gather one 7" zipper, two pieces of fabric cut size 7" by 9" and a spool of matching thread.
-
 Step 2
Place both pieces of fabric right sides together with the 9″ (long side) of the fabric horizontally on your mat. Using a marking tool, draw a notch 1″ in on both the left and right sides of your fabric, on the wrong side.
Sew along this seam with a 4/8″ seam allowance but with two different seams allowances. Begin with a regular stitch length up to the mark you made (this will mean you sew regular stitch length for 1″), then switch to a basting stitch length until you reach the next mark, for the final 1″ of the seam return to the regular stitch length. Press open your seam with an iron.
-
 Step 3
Place the zipper face down on the seam with the zipper running directly over the seam. The zipper should lay 1″ from the beginning and end of the seam such that the beginning and end of the actual zipper (not the zipper twill tape but the actual working zipper parts) are laying over the portion of the seam sewn with a basting stitch. Use scotch tape to hold the zipper it in place. You will be sewing right over the tape.
To put in the zipper, switch to a zipper foot on your machine and sew, with a regular stitch length, along both sides of the zipper’s twill tape. Be sure to leave enough distance from the zipper teeth that you can sew a straight stitch taking into account the bulk of the zipper head.
Once you have sewn in the zipper, remove the tape.
-
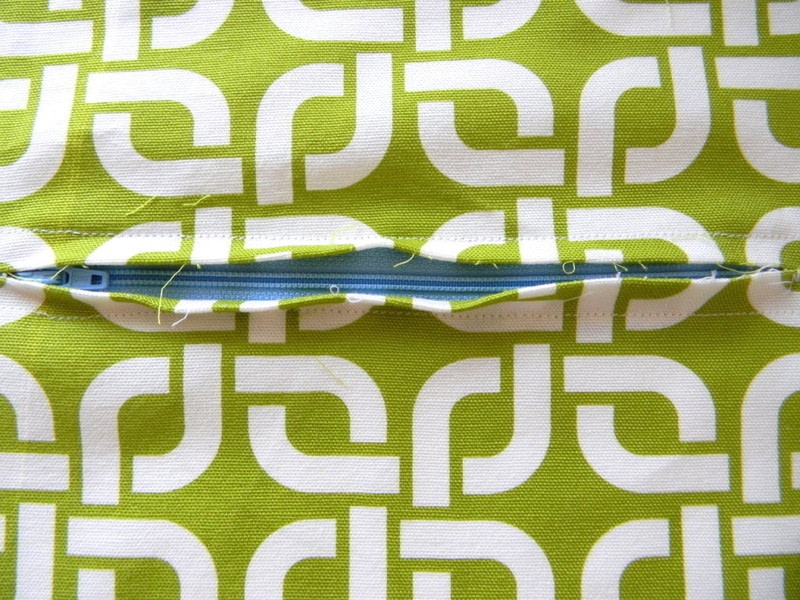
 Step 4
Flip over your fabric and using a seam ripper, unpick the basting stitches to reveal the zipper!
Yay you! If you want to, you can add a little zigzag stitch to each end of the zipper for a little extra security.
-
 Step 5
Open up the zipper about 2/3rds of the way.
We will be using a french seam method to finish up the zipper pouch. Begin by placing the two pieces of fabric wrong sides together, pin the three remaining sides in place and sew with a 2/8″ seam allowance
Trim the seam allowance to around 1/8″ but be careful not to trim any stitches!
Turn the zipper pouch inside out and iron down the sides. You are going to make one final stitch along the three side you have just sewn. It will enclose all the raw edges inside the stitch. That is why you want your sides to be flat and without bulk.
-
 Step 6
To make your final stitch and enclose the raw edges tidy and neat inside the stitch, begin sewing an inch or two down from the top and sew with a 2/8" seam allowance around the three sides.
-
 Step 7
Once you have sewn the rest of the three sides, you can return and sew the remaining bit. This will make it easier because the sewing machine can stitch over bulky parts (such as the twill tape of the zipper, in our case) when it can come at it from the other direction and doesn’t have to start a stitch where there is lots of bulk.
Turn the whole thing right side out and you have yourself a nifty little pouch for all your crafty essentials.


Comments

