


About
Easy Cake Pop Recipe
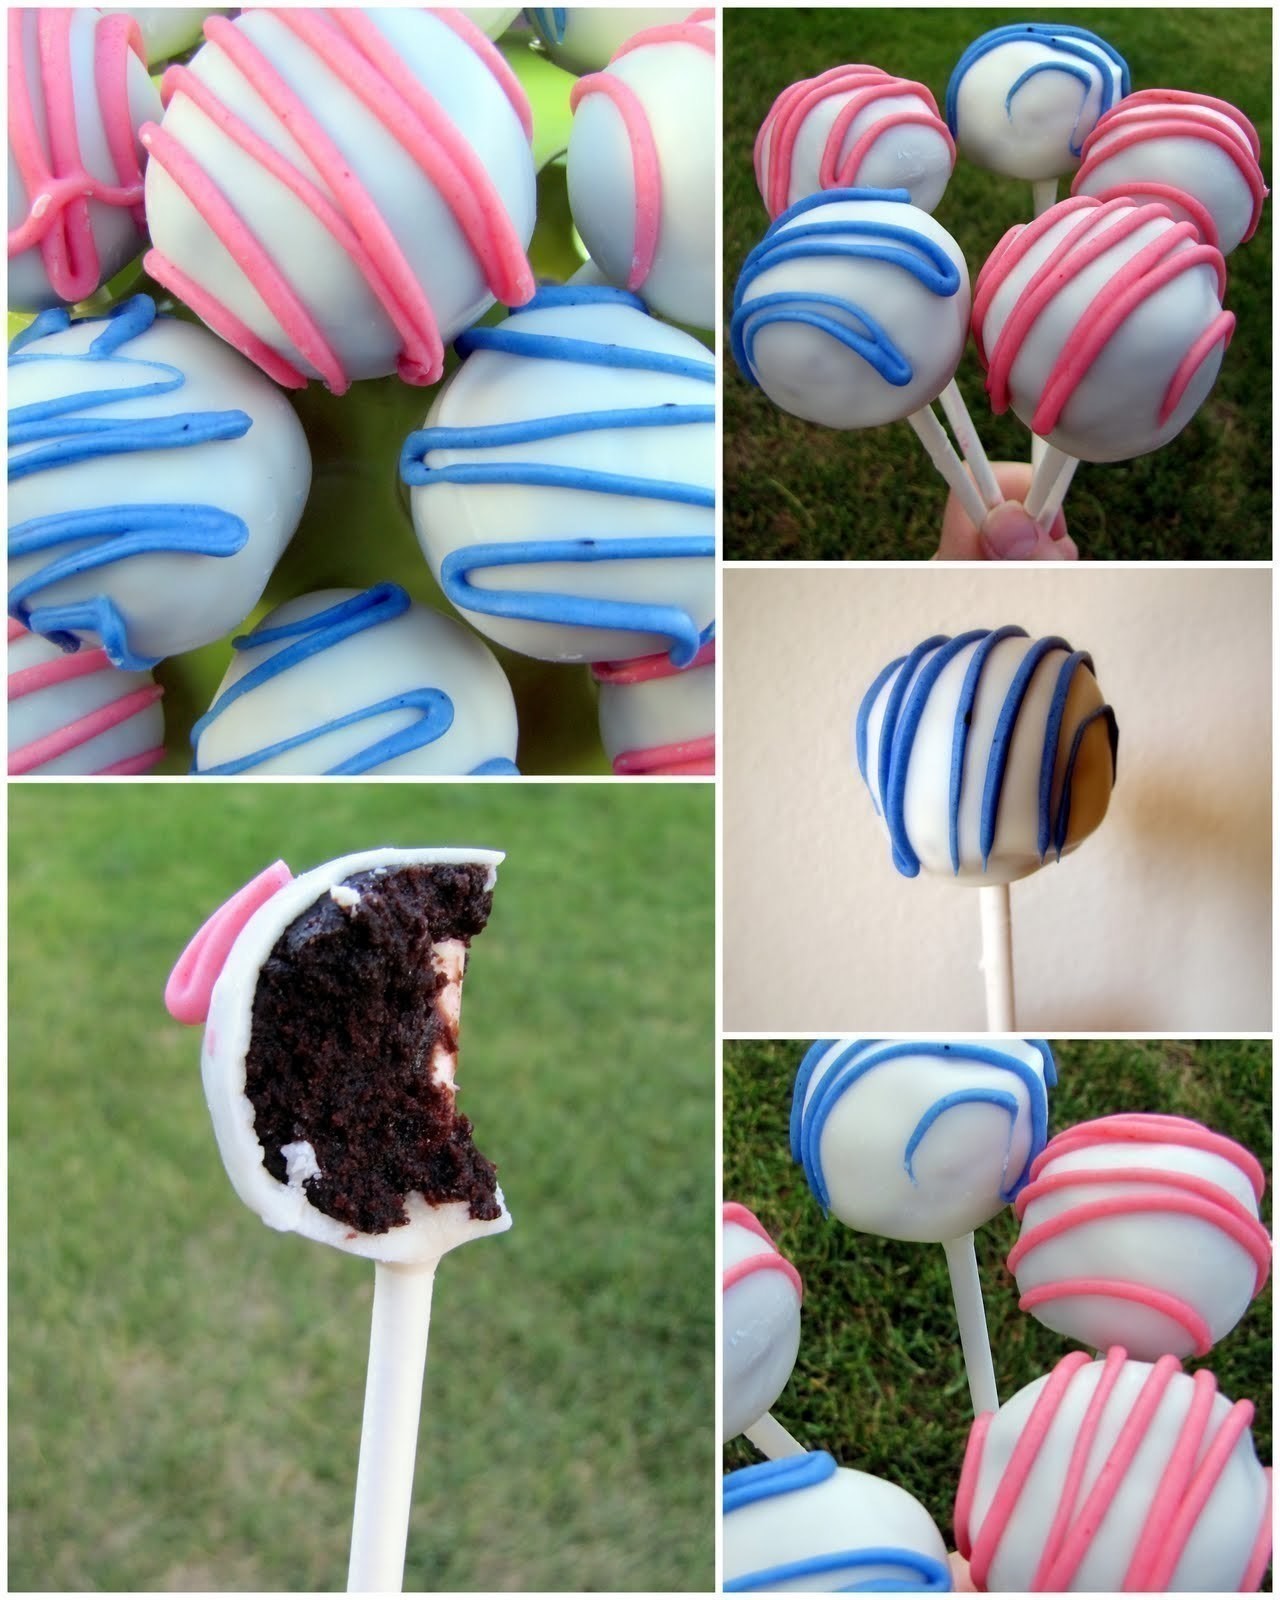
Perfect for any party or get together, these super easy cake pops are sure to rock your world! A quick shout out to my beautiful and talented sista-in-law, Lyndsi, who was patient in teaching me to make these glorious yummies.
Want to learn how to make these for yourself?
Here are the step by step instructions with pictures.
Feel free to leave a comment with any questions.
Ready, set, go!
-
 Key West Witch favorited Easy Cake Pops
12 May 15:35
Key West Witch favorited Easy Cake Pops
12 May 15:35
-
 Lesie W. added Easy Cake Pops to interest
11 Jul 14:31
Lesie W. added Easy Cake Pops to interest
11 Jul 14:31
-
Lesie W. favorited Easy Cake Pops
11 Jul 14:31
-
 Brittney S. added Easy Cake Pops to Food
07 Jul 05:46
Brittney S. added Easy Cake Pops to Food
07 Jul 05:46
-
 Sameer s. commented on Easy Cake Pops
06 Sep 07:39
Sameer s. commented on Easy Cake Pops
06 Sep 07:39
-
Sameer s. commented on Easy Cake Pops
06 Sep 07:39
-
Sameer s. commented on Easy Cake Pops
06 Sep 07:38
-
 crochetmommie added Easy Cake Pops to Food Tutorials
19 Sep 04:51
crochetmommie added Easy Cake Pops to Food Tutorials
19 Sep 04:51
-
 beadmommie added Easy Cake Pops to Food Tutorials
10 Sep 15:15
beadmommie added Easy Cake Pops to Food Tutorials
10 Sep 15:15
-
 Terry T. favorited Easy Cake Pops
19 Oct 05:30
Terry T. favorited Easy Cake Pops
19 Oct 05:30
-
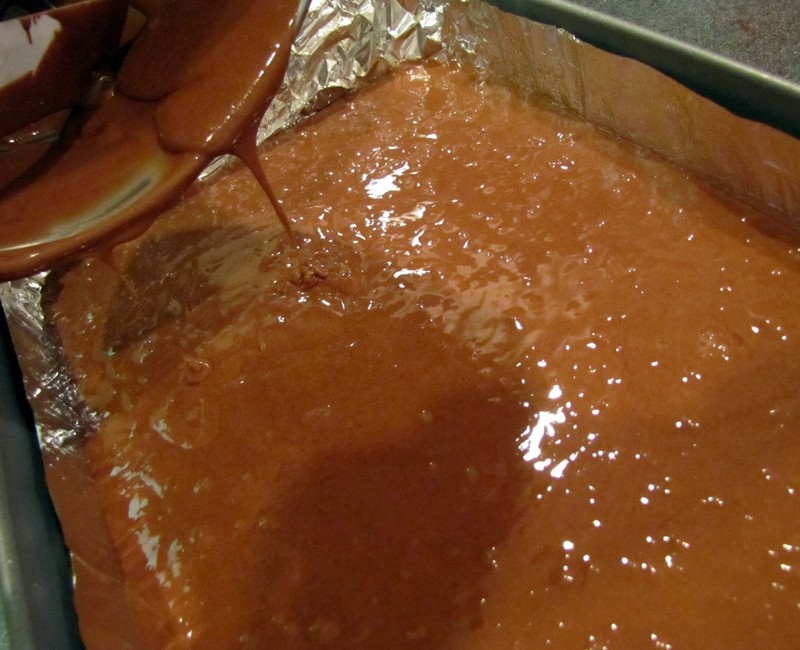
 Step 1
Line your large cake pan with foil.
-
 Step 2
Now grease the foil with vegetable oil spray.
-
 Step 3
Follow the recipe on your cake mix and bake your cake as directed.
-
 Step 4
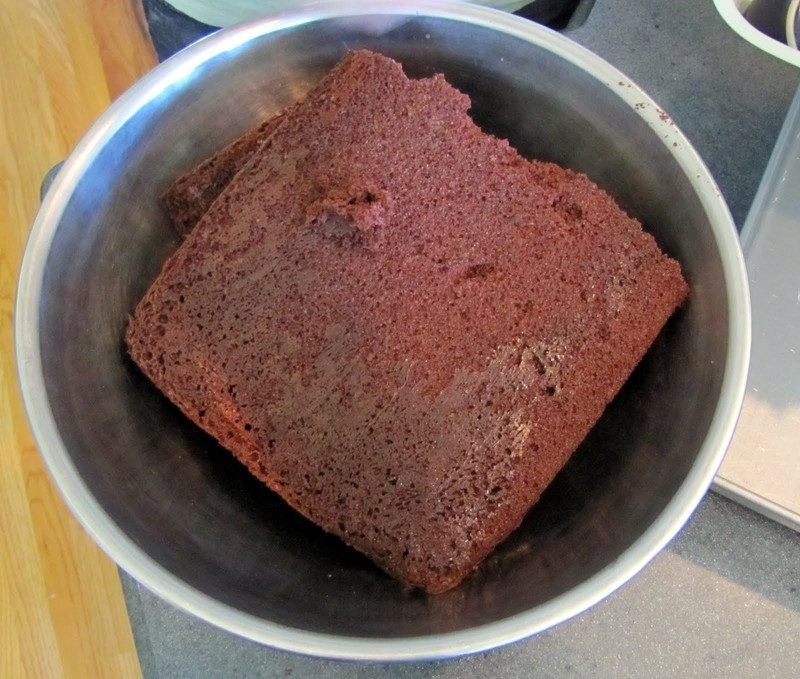
Allow the cake to cool.
-
 Step 5
Put your baked cake in a large mixing bowl.
-
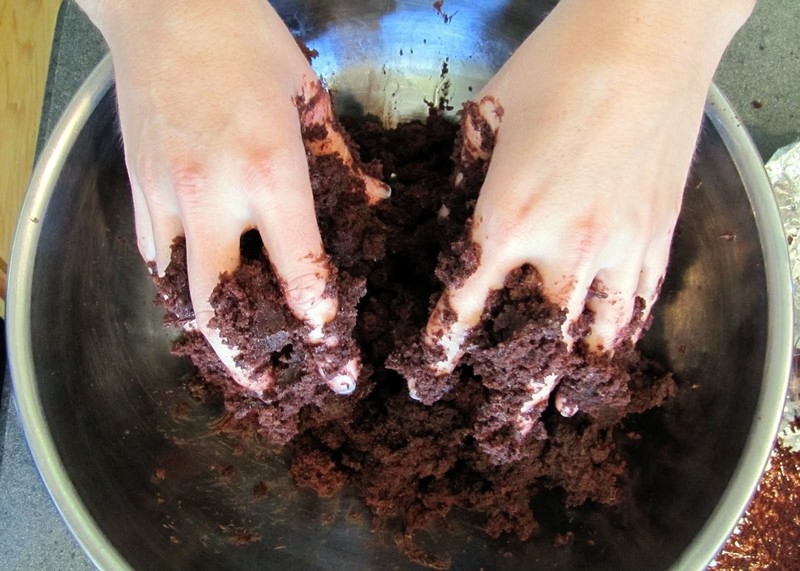
 Step 6
Use your hands to crumble the entire cake.
-
 Step 7
Add about 1/2 of the package of chocolate frosting to the crumbled cake.
The chocolate frosting is what acts as a glue to hold the cake balls together. -
 Step 8
Now its time to get dirty.
Use your hands to mix the frosting evenly throughout the crumbled cake mix until the cake mix is well moistened. -
 Step 9
Your cake mix should be moist enough to shape into a large mound and keep its shape.
-
 Step 10
And if your hands don't look like this, then you're doing it wrong {lol}.
-
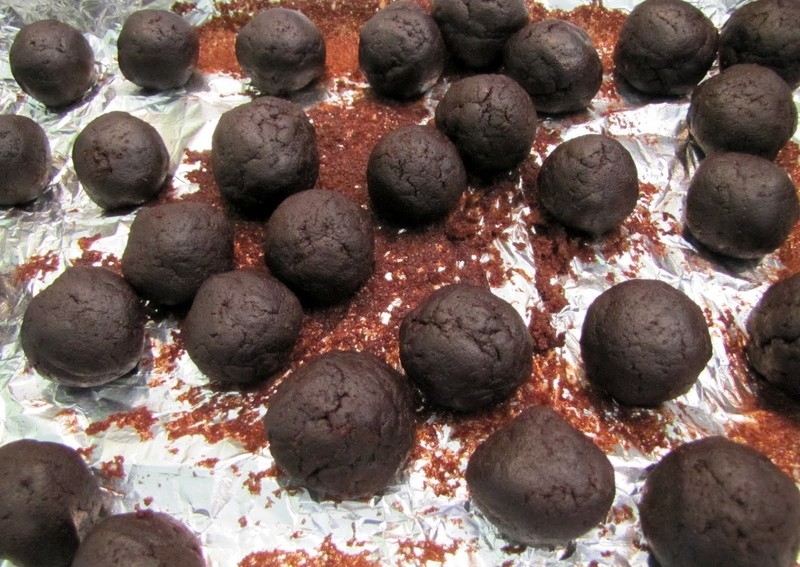
 Step 11
Roll your cake mix into 1 inch balls using the palms of your hands.
-
 Step 12
You should be able to get 35-40 cake balls from a single batch of cake mix.
-
 Step 13
Now we prepare the chocolate shell. Pour one entire package of white chocolate candy melts into a microwave safe bowl. Follow the melting instructions on the package. *Be sure not to burn the candy melts or they will taste super yucky*
-
 Step 14
Pull out your melted white chocolate and stir thoroughly with a spoon until COMPLETELY smooth. Once smooth, add a large spoon full of shortening {Crisco} to the white chocolate to thin out the consistency a bit. Stir thoroughly again.
-
 Step 15
Take a cake pop and dip into the white chocolate about 1 inch.
-
 Step 16
And then place it into the center of your cake ball.
This will act as a glue keeping your cake pop and stick attached. -
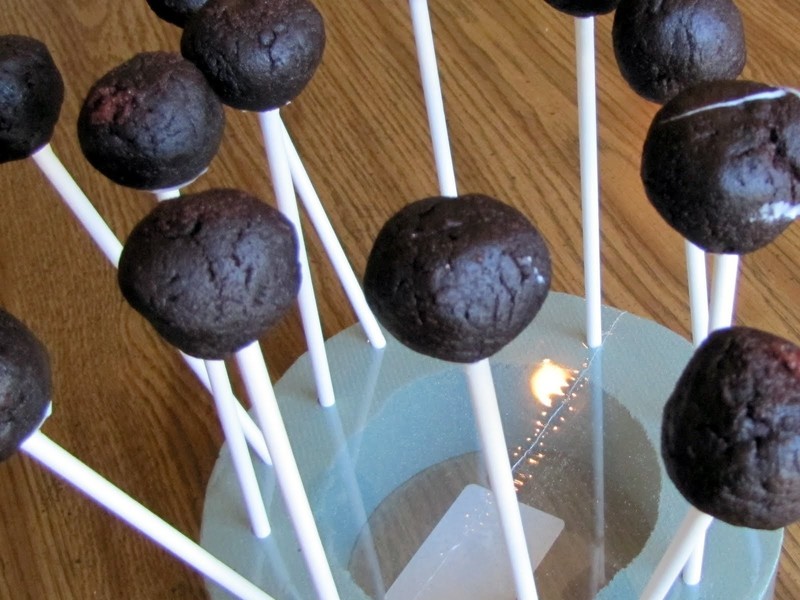
 Step 17
Then place your cake pop in the Styrofoam to harden.
Continue with the remaining cake pops. -
 Step 18
Now you are ready to coat your cake pops in the delicious white chocolate.
This is the most tricky step of the entire recipe. It took me some practice before I was good at evenly coating the chocolate on the pop. -
 Step 19
The key is to place the pop in the chocolate at a sideways angle with one hand. Using the other hand, spoon the chocolate mixture all around the pop. Try to do this as quickly as possible before the chocolate begins to harden and get lumpy.
-
 Step 20
Once you have evenly coated the pop, gently tap the stick on the side of the bowl to get off any excess chocolate that would drip.
-
 Step 21
Now its time to make your pops look extra pretty. Use the remainder of your white chocolate for the drizzle. If you run out, make more following the steps above. Add the GEL food coloring of your choice until you receive your desired color. The liquid food coloring will immediately harden and ruin your chocolate.
-
 Step 22
Fill a Ziploc bag with your colored white chocolate. Cut a small hole in one corner of the Ziploc back so that you can drizzle the colored chocolate over your pops.
-
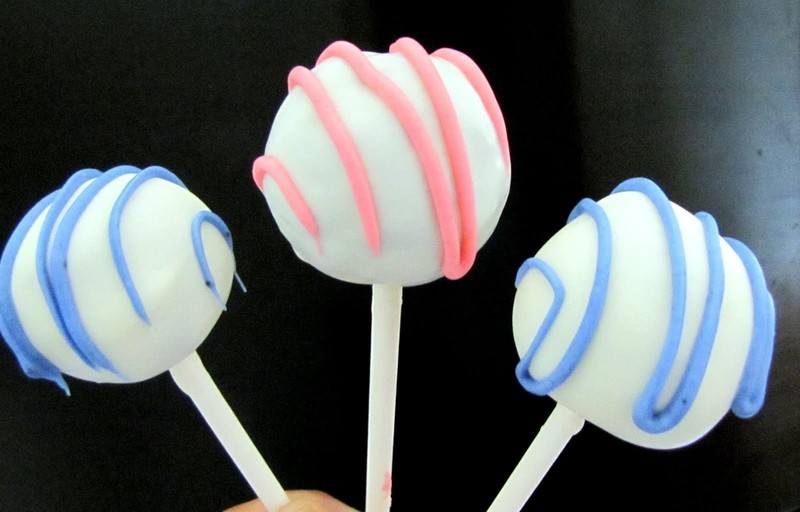
 Step 23
Now let your pops dry and then you are done!
Lyndsi and I preferred the way the cake pops taste after they have chilled in the refrigerator for a bit.I am so making these at the next baby shower I throw {that's right Kristyn}!
How pretty are these bad boys?!


do we have to use the crisco shortning in the chocolate? what would happen if i didnt?
thanks!!! ~~~~Sammie~~~~