


About
Easter Tree Project
This project had been inspired by my last year find - a set of miniature Easter Ornaments. The ornaments were so cute that I couldn't resist a purchase and I've decided to figure out later how I am going to use these cute ornaments. Well, a year later, I found this box full of ornaments, thanks to my spring cleaning:) and I've had an epiphany... Take a look!
Tags
-
 missy l. added Easter Tree Project to Spring
17 Feb 18:26
missy l. added Easter Tree Project to Spring
17 Feb 18:26
-
 Step 1
Fold green Chenille Stems in half creating a V-shape – they are going to be your future tree brunches. Fold brown chenille stems in half and one more time in half creating another V-shape– that will be your future tree trunk. Connect those two Vs, just like you see on the picture, by twisting them together.
-
 Step 2
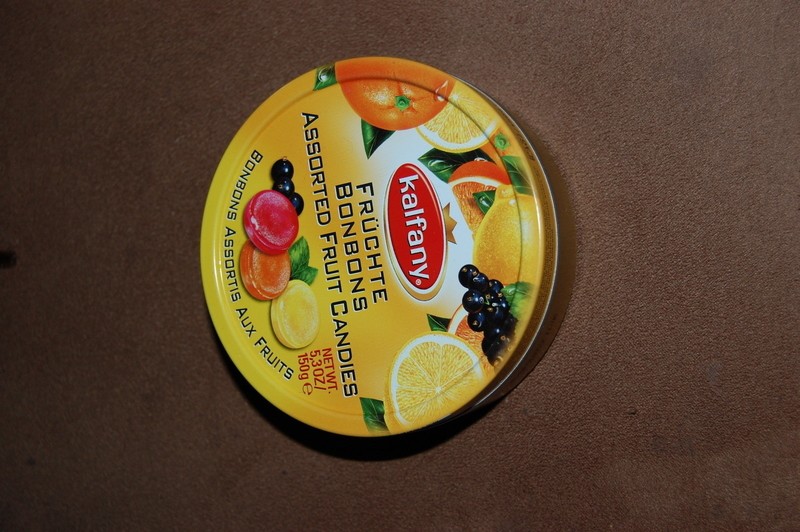
Tree base. I am using a round tin box from my favorite candies but any container will work. Trace the top, bottom and sides of the container on a piece of green felt,
-
 Step 3
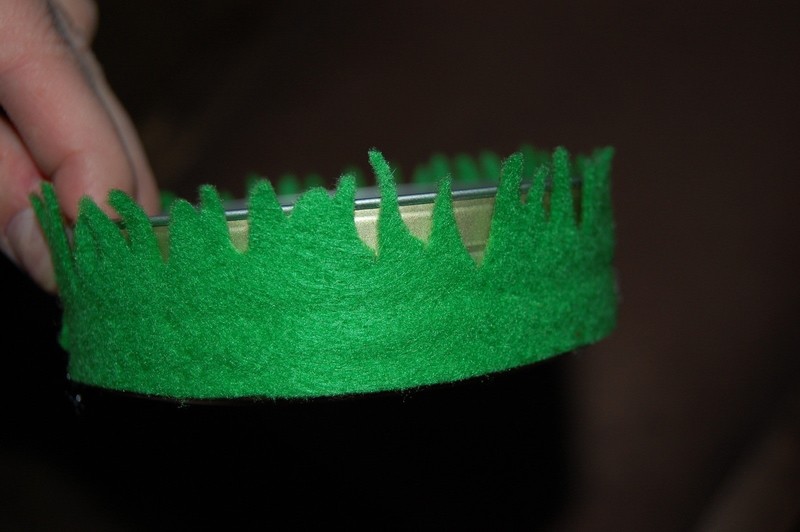
cut out and cover tin container with felt using glue gun.
-
 Step 4
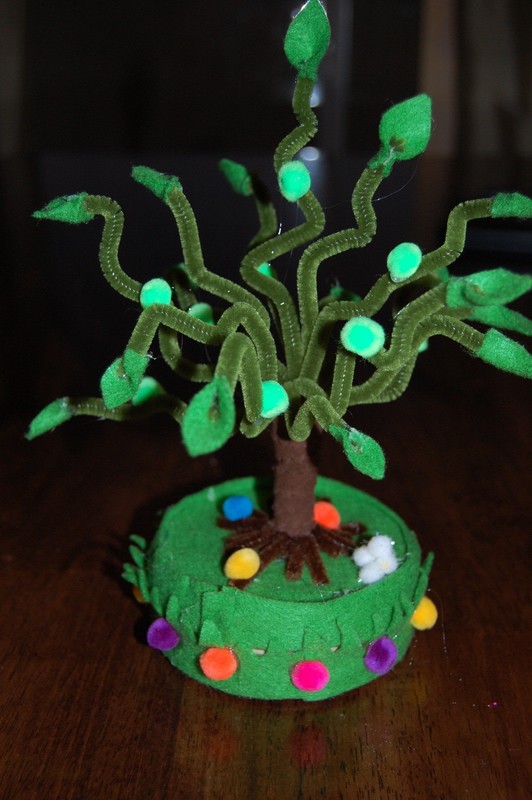
Using a strip of Brown felt wrap the tree trunk and secure with hot glue.
Add few green pom poms to the tree brunches.
Cut leaves out of green felt and attach them to the tree brunches using hot glue gun. In my case I needed only few leaves, because the main portion of the tree will be taken by Easter ornaments, but you can create a tree of your choice.
Attach tree to a tree base using hot glue gun.
Decorate tree base using multi colored pom poms. -
 Step 5
That's how my tree looks like with those miniature ornaments.
You see it next to my Fairy Tale Cottage, that's my other tutorial that you are more than welcome to use.
Oh, the fun part: you can put special treats inside of your tin container/tree base and let kids make a pleasant “discovery”
Have fun! I would love to see your projects inspired by this one.


Comments


