

About
an easy fun project
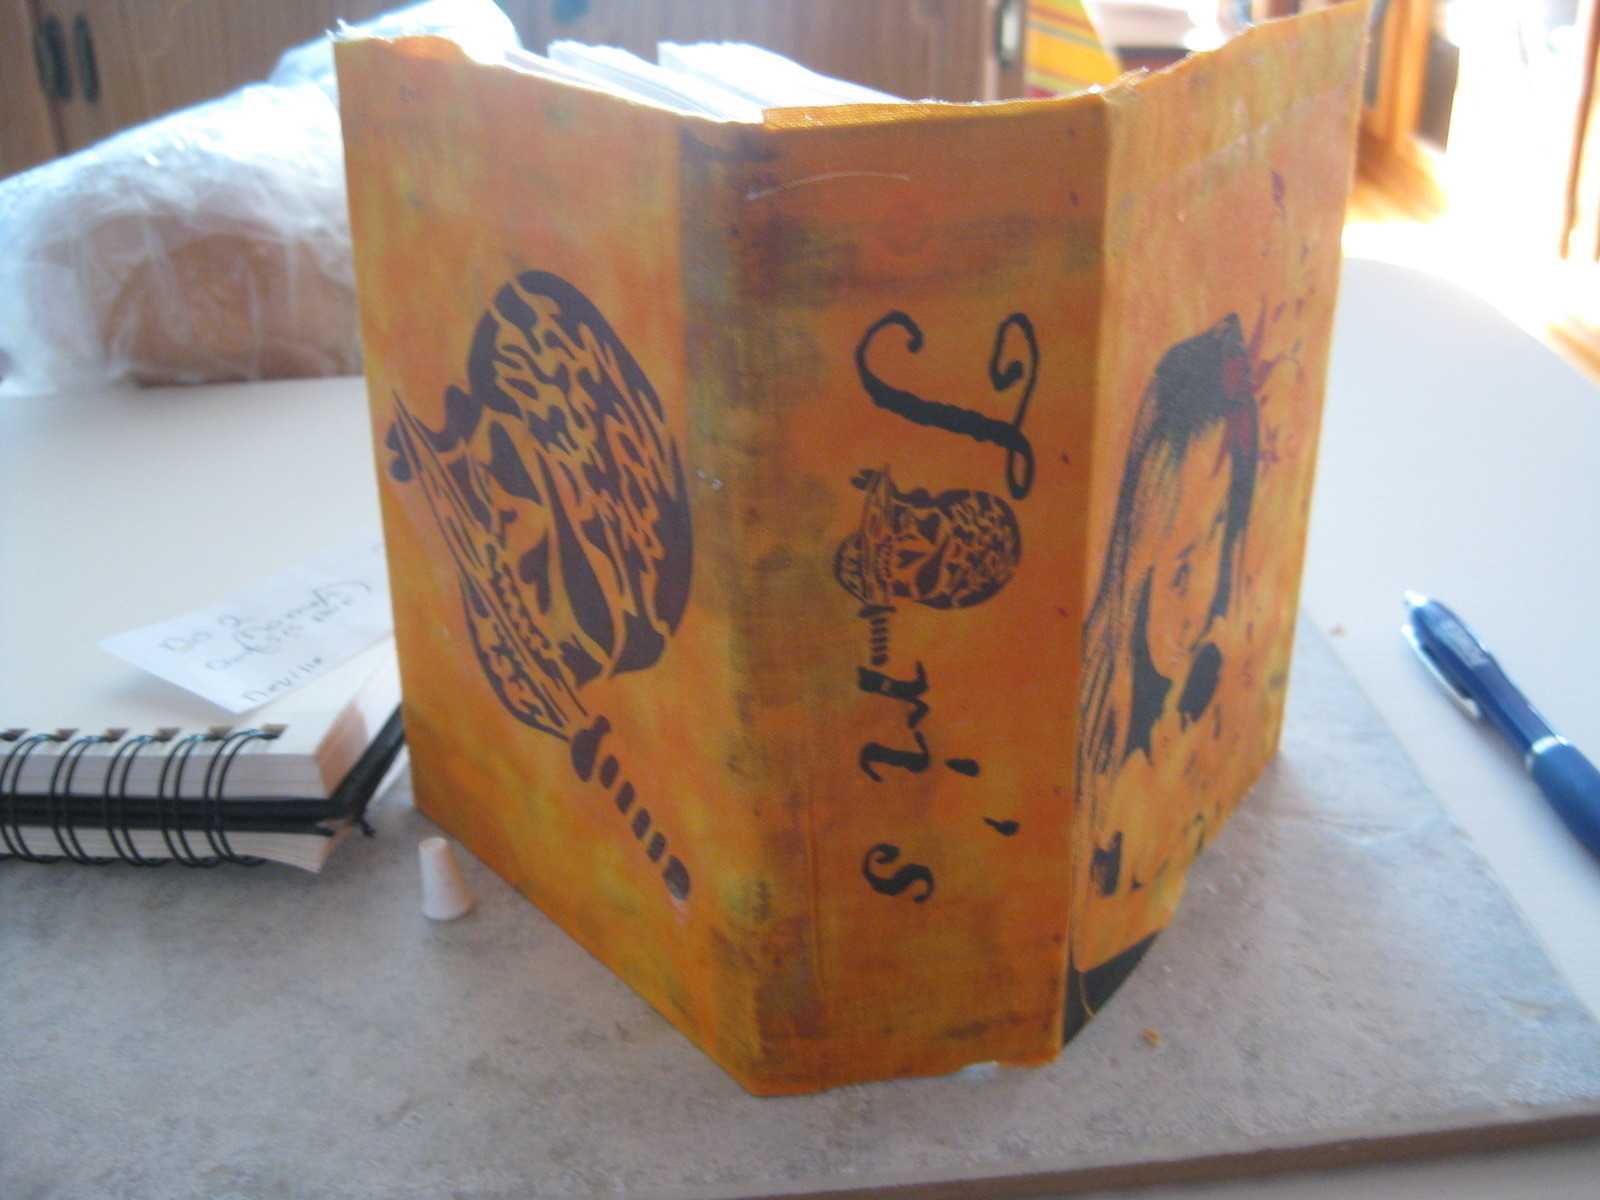
fabric covered photo album
You Will Need
-
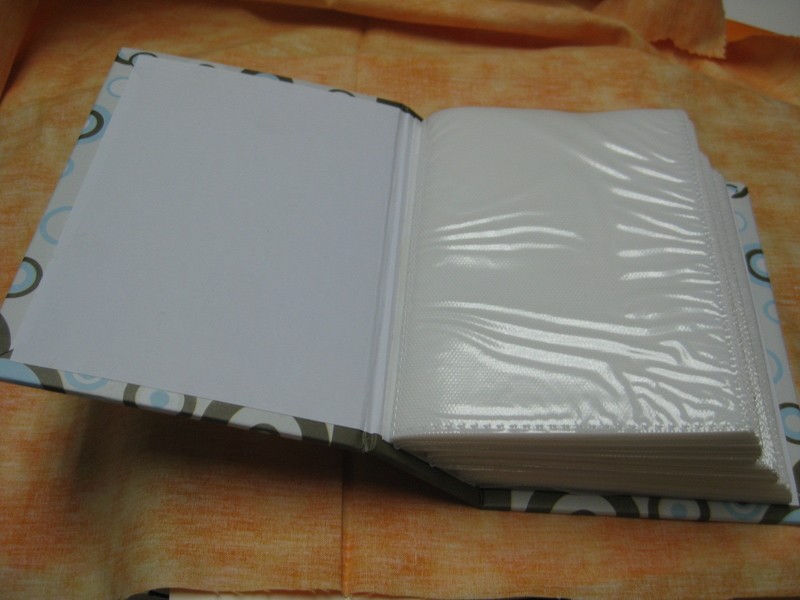
 Step 1
lay out your project materials
-
 Step 2
now lay out your fabric and place the album on top
pull some fabic onto the inside album cover
-
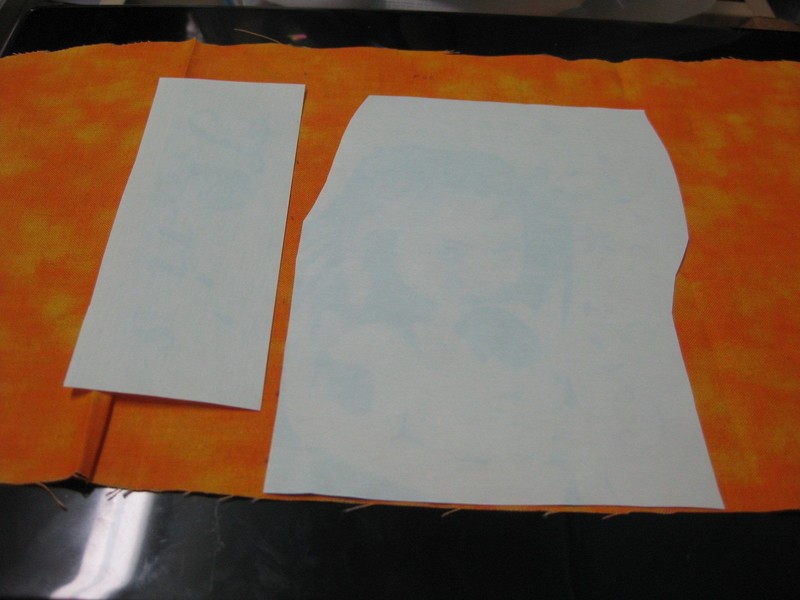
 Step 3
now you can measure it or do it my way
I lay the book on top and cut the fabric around it
-
 Step 4
now using a pen or marker
mark the inside/outside covers/spine
great way to remind you where to place your images
-
 Step 5
now on your computer, lay out your images that you want to use
for front, spine....
remember to reverse images before printing
-
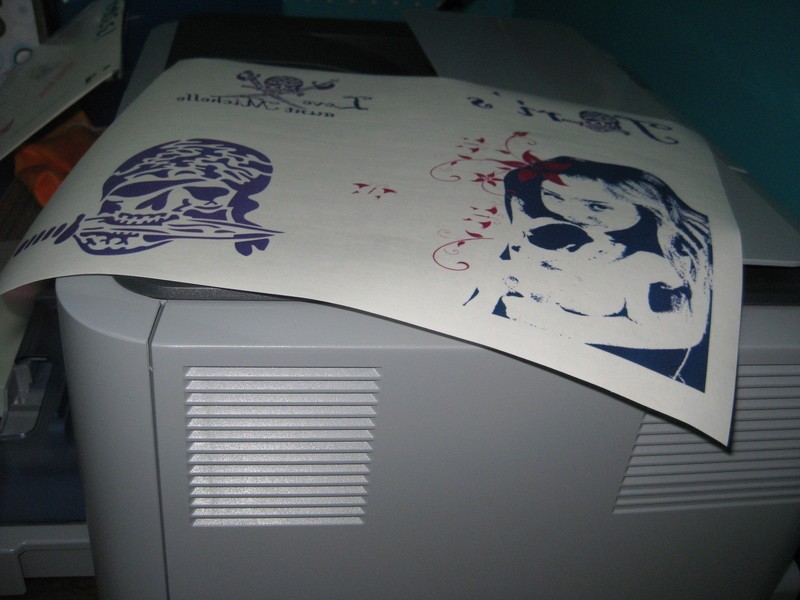
 Step 6
print out on transfer paper and turn the heat press on(180 degrees)
cut the images out while waiting for it to heat up
-
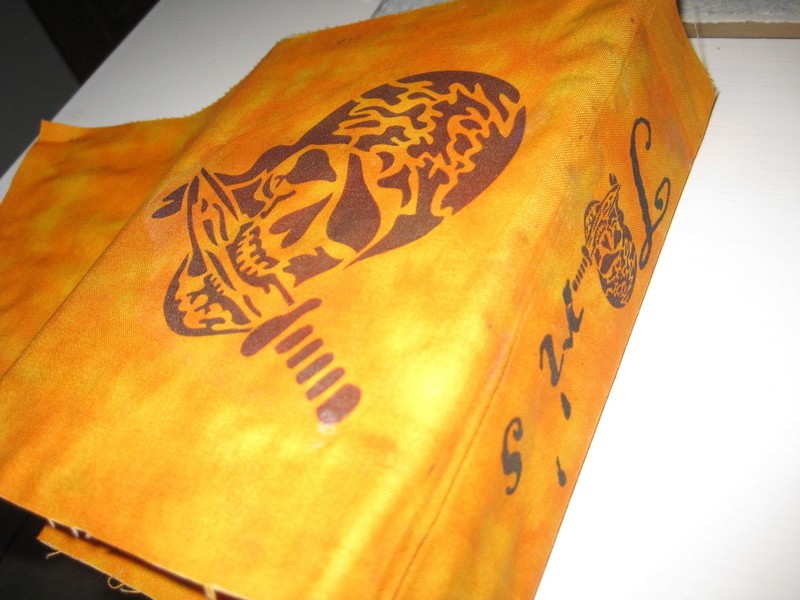
 Step 7
now lay the fabric in the press, place the images in the correct spots
lay a silcone sheet or parchment paper over the sheet
careful not to move the images out of place and put the press lid down
hold for 25 -30 secs
then lift press lid up
remove the images while hot
-
 Step 8
now with your freshly pressed fabric
get your glue ready for some gluin
place the fabric, printed side down on a table
squeeze some glue out onto fabric
then place the album ontop
-
 Step 9
press the fabric evenly onto the album cover and let dry